 Fixated on Home
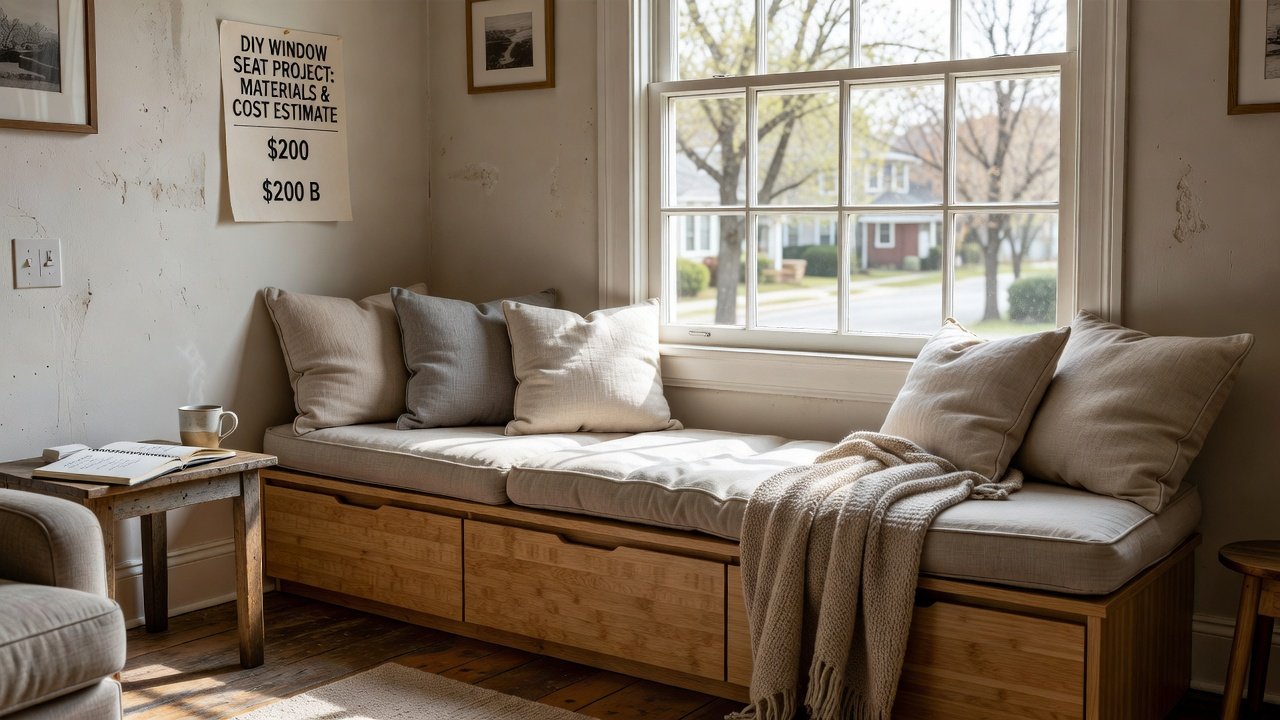
Introduction to Budget-Friendly Window Seats in 2026
Fixer-upper homes often feature underutilized spaces around windows that can be transformed into valuable seating and storage areas. A DIY window seat project delivers practical benefits like extra seating for reading or relaxing, hidden compartments for organizing belongings, and an overall boost to the home's functionality. This beginner-friendly guide emphasizes builds that stay under a modest budget while aligning with 2026 home improvement trends that prioritize sustainable materials, multifunctional designs, and quick weekend projects. Homeowners tackling older properties will find these ideas especially useful for maximizing every square foot without requiring professional contractors or expensive renovations.
Why Window Seats Work for Fixer-Uppers
Older homes frequently have awkward alcoves or bay windows that disrupt flow and waste potential living space. Installing a window seat addresses these issues by creating a cozy nook that invites daily use while providing concealed storage for items such as blankets, books, or seasonal decorations. Beyond practicality, these additions enhance the aesthetic appeal of a room, making it feel more complete and inviting. In budget renovation scenarios, window seats add perceived value to the property through thoughtful customization that feels permanent yet remains reversible if needed later. They also support energy efficiency by allowing better use of natural light and reducing the need for additional furniture pieces.
Built-In vs Modular Options
Built-in window seats integrate directly with existing window frames and trim for a seamless, custom appearance that suits long-term homeowners. This style demands accurate measurements and basic carpentry skills but results in a polished finish that complements the home's architecture. Modular designs, by contrast, consist of freestanding benches or box units placed against the window, offering flexibility for renters or those who prefer to experiment with layouts before committing. When comparing the two, consider your experience level, the permanence of the home project, and whether future moves might require disassembly. Built-ins generally provide superior stability and storage volume, whereas modular versions excel in adaptability and ease of installation.
Essential Tools for 2026 Home Improvement Projects
Successful DIY window seat construction begins with a reliable set of tools that balance affordability and performance. Core items include a retractable tape measure for precise dimensions, a circular saw or handsaw for cutting lumber cleanly, a cordless drill for driving screws efficiently, a carpenter's level to ensure stability on potentially uneven floors common in fixer-uppers, and various grits of sandpaper for smoothing surfaces. Additional helpful tools for 2026 projects feature a cordless nail gun to accelerate assembly and reduce hand fatigue, along with a speed square for marking accurate angles. Always prioritize safety equipment such as goggles, gloves, and ear protection. Beginners can reference detailed guides from established sources like Family Handyman to learn proper tool handling and maintenance techniques that extend equipment life across multiple projects.
Material Lists for Under-$200 Builds
Selecting cost-effective materials forms the foundation of any successful budget window seat. Primary lumber choices include affordable pine boards or plywood sheets that offer good strength-to-weight ratios. A representative shopping list encompasses side panels, a sturdy seat top, support framing, wood screws, construction adhesive, and finishing supplies such as primer and paint. Cushion components require high-density foam cut to size and durable upholstery fabric. Alternative options include using reclaimed wood for an eco-conscious touch that matches 2026 sustainability trends or opting for pre-primed boards to save time on preparation. Source materials from local hardware stores or online marketplaces during sales periods to maintain overall project affordability while ensuring quality that withstands regular use.
Precise Measuring Tips
Accurate measurements prevent costly mistakes and material waste during construction. Begin by recording the full width and depth of the window area, including any existing baseboards or trim that may interfere with placement. Measure at multiple points along the window to account for irregularities typical in older homes, then select the smallest dimension as your working width. Factor in the desired seat height, usually around 18 inches for comfortable sitting, and mark all cut lines with a pencil before sawing. Employ a laser level on sloped floors to achieve a perfectly horizontal seat surface. Double-check every measurement against your notes to confirm consistency, and consider creating a simple sketch of the window wall for reference throughout the build process.
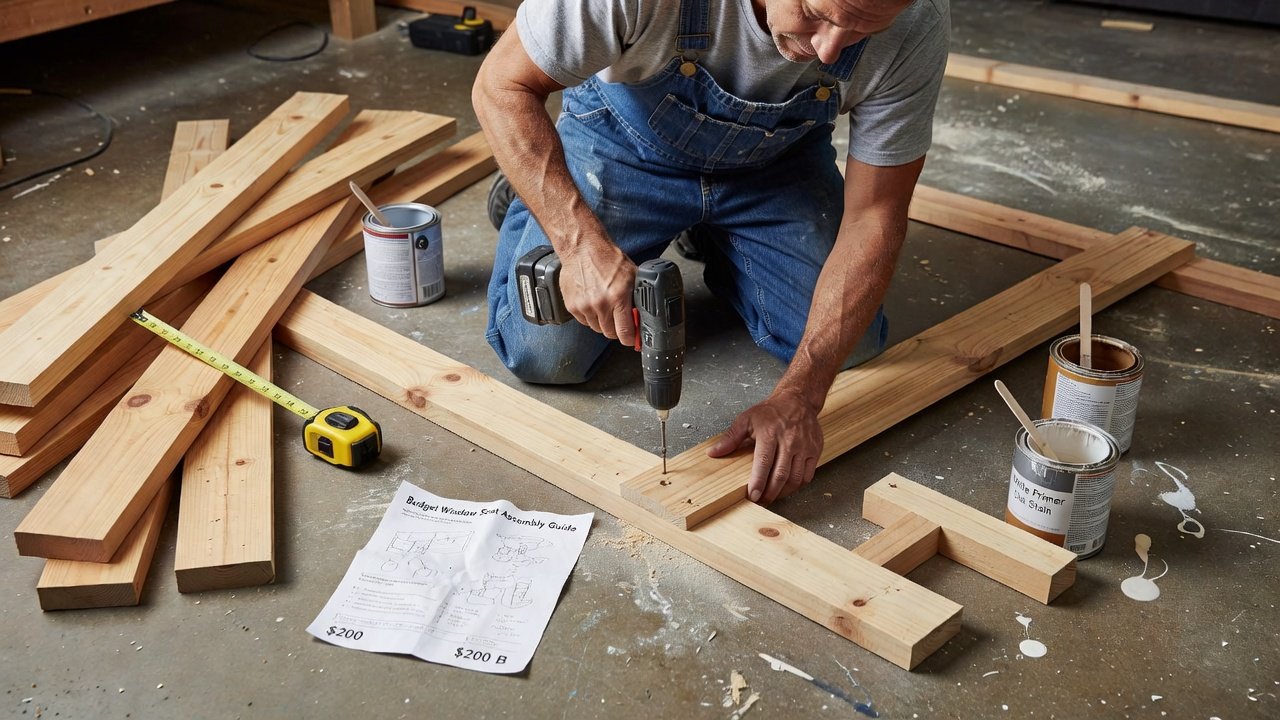
Step-by-Step Assembly Guide
- Prepare your workspace by clearing a flat area and laying out all pre-cut pieces according to your diagram.
- Assemble the base frame by joining vertical supports to horizontal braces using screws and glue, checking for square alignment at each corner.
- Attach the side panels to the frame, ensuring they sit flush and plumb before securing permanently.
- Install the seat top board, countersinking screws for a smooth finish, then sand all exposed edges thoroughly.
- Apply primer followed by your chosen paint or stain in thin coats, allowing full drying time between applications to avoid drips.
- Position the finished cushion using adhesive strips or ties for secure yet removable attachment that facilitates cleaning.
Proceed methodically, pausing after each major step to verify fit and stability. Safety remains paramount—always secure workpieces with clamps and keep power tools unplugged when making adjustments.
Budget-Friendly Cushion and Paint Finishes
Finishing touches transform a basic frame into an attractive, functional seat. For cushions, select medium-density foam from craft retailers and wrap it with sturdy canvas or outdoor fabric that resists wear. Secure the cover with a zipper or hook-and-loop tape for easy removal and washing. Paint selections should favor low-VOC formulas in soft neutrals or muted tones that align with current design preferences for calm, versatile interiors. Apply finishes in well-ventilated areas using quality brushes to achieve even coverage without brush marks. These economical choices refresh the entire project while protecting surfaces from moisture and daily handling in busy households.
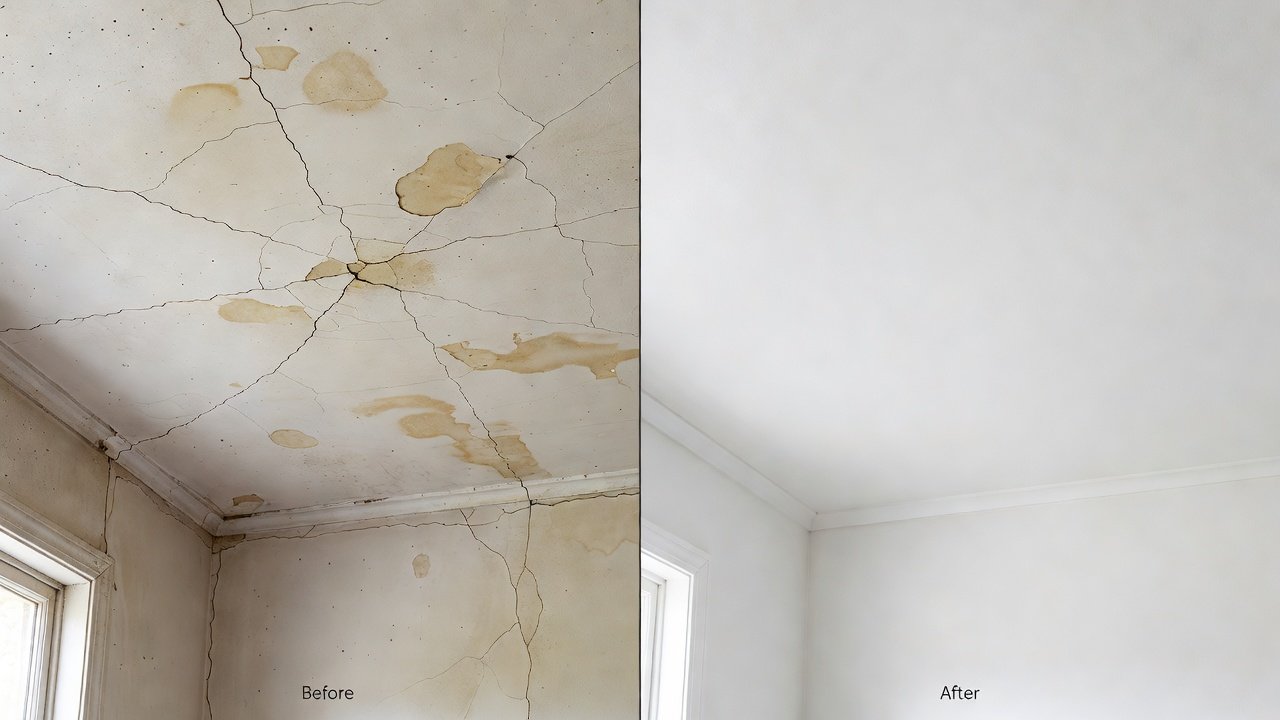
Before-and-After Examples
Real-world applications demonstrate the transformative power of these builds. One homeowner converted a neglected bay window in a 1950s bungalow into a spacious reading retreat complete with lift-top storage, dramatically increasing usable floor space and creating a focal point for the living area. Another project involved assembling modular cube units beneath a narrow kitchen window, yielding quick additional seating for family meals and later serving as a permanent herb garden display after customization. A third example featured a narrow hallway alcove turned into a compact window bench with drawer storage, proving effective in tight urban fixer-uppers where every inch counts. These cases highlight how thoughtful planning yields both immediate utility and long-term aesthetic gains.
2026 Trends for Lasting Curb Appeal
Current design movements emphasize blending functionality with environmental responsibility. Incorporating sustainable lumber, neutral color palettes, and integrated storage solutions ensures window seats remain relevant beyond the immediate renovation. Homeowners are also exploring mixed-material accents such as metal brackets or woven panels to add visual interest without added expense. These elements contribute to improved curb appeal by presenting a cohesive, updated exterior impression when viewed from outside through the windows. Staying informed about evolving preferences helps future-proof your DIY efforts.
Common Pitfalls and FAQ
- Uneven floors: Shim the base carefully and test with a level before final attachment.
- Weak joints: Pre-drill all screw holes and apply generous wood glue for lasting strength.
- Over-budget materials: Compile a detailed shopping list in advance and compare prices across suppliers.
- Poor ventilation during finishing: Work outdoors or use fans to prevent fumes and ensure proper drying.
FAQ: How long does a typical build take for beginners? Expect four to eight hours spread over one or two days. Can these projects succeed without prior carpentry experience? Yes, provided measurements are double-checked and instructions followed sequentially. What maintenance is required afterward? Occasional dusting, cushion rotation, and touch-up paint keep the seat looking fresh. How do I adapt the design for very small windows? Scale down dimensions proportionally while maintaining proportional storage depth.
Conclusion
These 2026 DIY window seat projects illustrate how strategic planning and basic skills can convert budget limitations into opportunities for enhanced living spaces. By following detailed steps for tools, materials, assembly, and finishing, homeowners achieve professional-looking results that improve both storage capacity and visual appeal. Begin with careful planning tailored to your specific window, and enjoy the satisfaction of a completed project that adds genuine value to your fixer-upper. For further inspiration and technique refinement, explore resources at Bob Vila and This Old House.
No comments yet. Be the first!