 Fixated on Home
Introduction: Adding Natural Light on a Budget
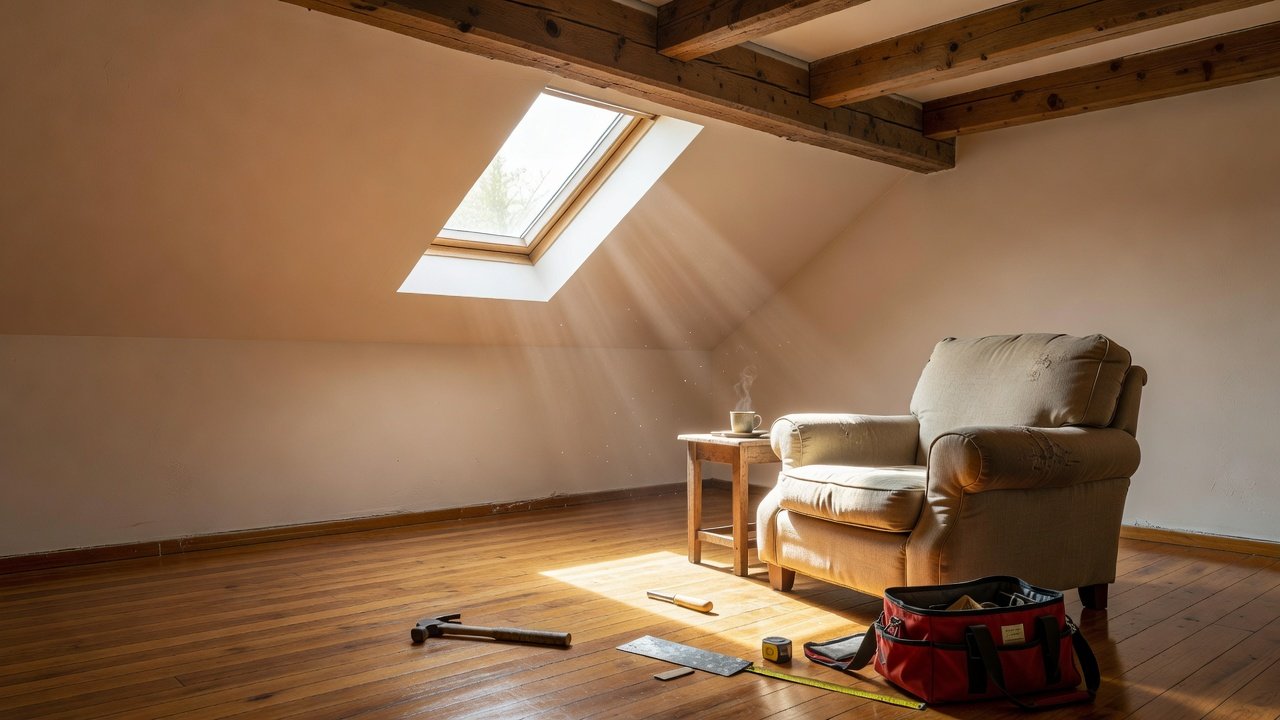
Fixer-upper renovations often focus on maximizing natural light to transform dark, dated spaces without major structural overhauls. Installing skylights yourself can brighten rooms, improve energy efficiency, and boost home value. This guide walks through practical strategies for budget-conscious homeowners tackling older homes, emphasizing safety, proper integration with existing roofs, and beginner-friendly techniques. Older homes frequently present challenges like uneven rafters, outdated roofing materials, and limited attic access. Addressing these early ensures a successful project that enhances both aesthetics and functionality. Homeowners report noticeable improvements in mood and reduced electricity use after adding skylights, making this upgrade a high-ROI choice during phased renovations.
Benefits of Skylights in Fixer-Upper Projects
Skylights introduce daylight that reduces reliance on artificial lighting during daytime hours. They also promote better ventilation when paired with operable models. In renovation contexts, these additions align well with strategies that prioritize cost-effective upgrades yielding strong returns on investment through improved livability and appeal to future buyers. Beyond aesthetics, increased natural light can support better sleep patterns and lower stress levels according to studies on indoor environments. In fixer-uppers with small windows or north-facing rooms, skylights provide a targeted solution that avoids expensive window replacements or wall expansions.
Comparing Tubular and Fixed Skylights
Tubular skylights suit narrow spaces or areas with complex rooflines, channeling light through reflective tubes. Fixed skylights offer larger views and more dramatic light effects but require more roof space. Both types can incorporate energy-efficient glazing to minimize heat loss or gain, making them suitable for varying climates. Tubular options generally involve simpler cuts and less structural work, while fixed models demand careful framing to maintain roof integrity. Consider your room size, roof pitch, and desired light intensity when deciding between the two.
Selecting Energy-Efficient Models
Focus on units with low-E coatings and insulated frames to maintain indoor comfort. Check for certifications that verify performance standards. Pairing your choice with existing insulation upgrades in the attic amplifies overall efficiency gains during the renovation. Look for double- or triple-pane options that reduce condensation risks common in older homes. Measure your ceiling opening needs accurately to avoid oversized units that complicate installation.
Tools and Materials Required
Gather essentials including a circular saw for clean roof cuts, reciprocating saw for precise openings, drill for securing frames, level to ensure proper alignment, caulk gun for sealants, roofing nails, flashing kits, and safety gear like goggles, gloves, and harnesses. Materials typically involve the skylight unit, underlayment, sealant, and lumber for framing if rafter modifications are needed. Always verify compatibility with your roof type before purchasing. Additional helpful items include a stud finder, chalk line for marking, and tarps to protect interiors during cutting.
Pre-Installation Planning and Permits
Before starting, assess your roof condition and attic structure. Check for existing damage, insulation type, and rafter spacing. Many localities require permits for roof penetrations, so contact your local building department early. Review manufacturer instructions thoroughly and consider consulting a structural engineer if your home has unusual framing. This planning phase prevents costly rework and ensures compliance with codes.
Step-by-Step Installation Process
Begin with careful planning: measure your roof pitch and locate rafters using a stud finder. Mark the interior ceiling location first, then transfer measurements to the roof. Cut the opening precisely, reinforcing any cut rafters with headers. Work methodically and pause frequently to double-check alignment.
- Prepare the attic space by clearing insulation and ensuring clear access. Lay down protective sheeting to catch debris.
- Install temporary supports if modifying structural elements to prevent sagging during cutting.
- Secure the skylight frame and apply flashing around all edges for water resistance, starting at the bottom and working upward.
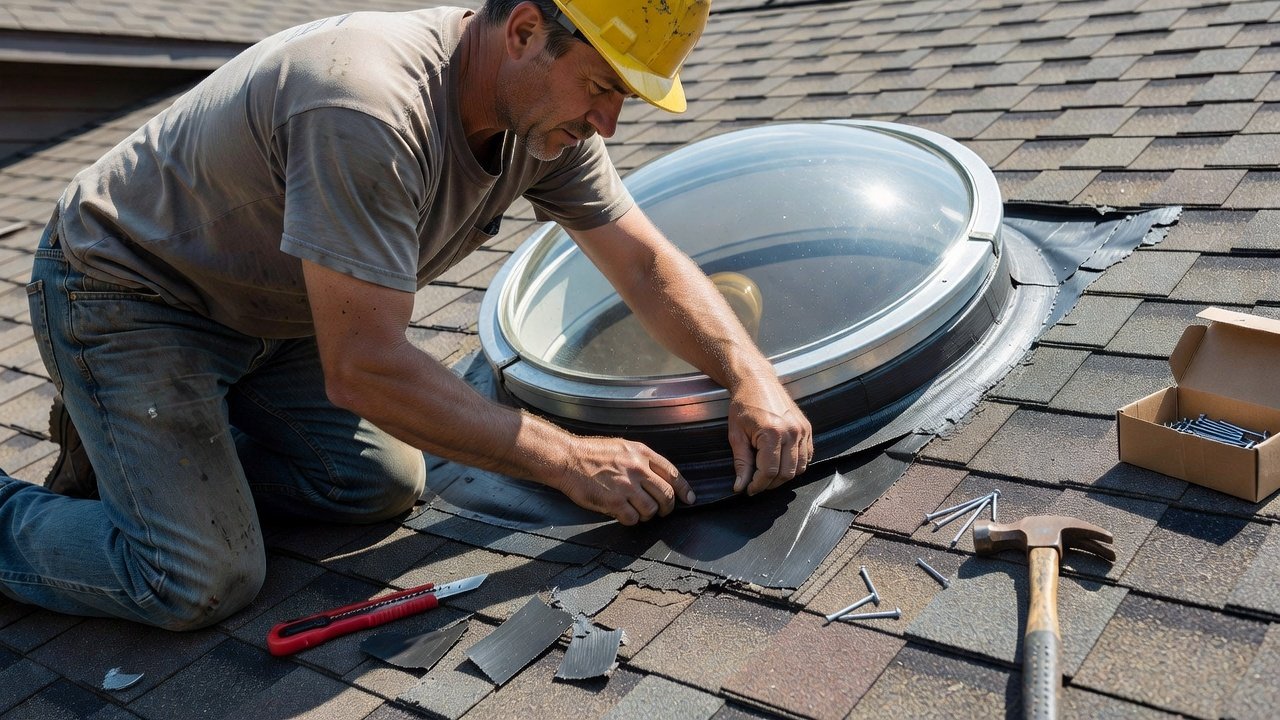
- Integrate with existing shingles or roofing by overlapping layers correctly to direct water flow away from the unit.
- Seal all joints thoroughly with compatible caulk and test for leaks before finishing interior trim with drywall or wood.
Safety remains paramount—work on stable ladders or scaffolding and avoid solo roof work in poor weather. Wear fall protection and have a spotter when possible.
Waterproofing Methods and Roofing Integration
Effective waterproofing prevents common issues in older homes. Use high-quality step flashing and ice-and-water shield around the unit. Ensure the skylight sits slightly above the roof plane for proper drainage. Overlap all layers following the direction of water flow, and apply additional sealant at corners. Consult resources from the U.S. Department of Energy for additional guidance on building envelope improvements. Proper integration preserves your roof warranty and prevents interior water damage over time.
Real-World Examples from Budget Renovations
Homeowners have successfully added tubular skylights to kitchens in 1950s ranches, transforming gloomy workspaces into inviting cooking areas with minimal disruption. Another project integrated fixed units into a Victorian attic conversion, creating a bright reading nook that increased usable living space. A third example involved a 1920s bungalow where multiple small tubular skylights were placed in a hallway, solving persistent darkness without altering the historic exterior. These cases highlight how matching skylight size to room scale maximizes impact while controlling expenses and respecting the home's original character.
Common Mistakes to Avoid
- Skipping professional inspection of roof condition beforehand, which can lead to discovering rot or weak spots mid-project.
- Neglecting proper flashing overlap, leading to interior damage and expensive repairs later.
- Choosing oversized units that overwhelm small spaces visually and complicate structural support.
- Ignoring local building codes for permits and load requirements, risking fines or forced removal.
- Rushing the sealing process without allowing adequate curing time for adhesives and caulks.
Maintenance and FAQ
Regular cleaning of the exterior glazing and inspection of seals keeps units performing well. Address any condensation by improving attic ventilation. Schedule annual checks after heavy storms.
Frequently Asked Questions
How do I prevent leaks? Thorough flashing and quality sealants combined with correct installation slope are key. Always follow the manufacturer's layering sequence.
What maintenance is needed? Clean glass twice yearly and check flashing annually for wear or debris buildup.
Are these projects suitable for beginners? With proper preparation and following safety protocols, motivated DIYers can complete simpler tubular installations successfully.
How long does installation typically take? Most single-unit projects can be finished in one to two weekends when all materials are ready.
Can skylights be added to metal or tile roofs? Yes, but specialized flashing kits are required; consult manufacturer guidelines for compatibility.
For deeper technical references, explore guidelines at National Association of Home Builders and safety standards from OSHA.
Conclusion
DIY skylight installation offers a rewarding way to elevate fixer-upper homes affordably. By focusing on energy-efficient selections, meticulous waterproofing, and step-by-step execution, you can achieve bright, comfortable spaces that enhance daily living and long-term property value. Start with thorough assessment of your specific roof and proceed methodically for best results. This project combines practical skills with visible transformation, making it ideal for homeowners committed to hands-on renovation success.

No comments yet. Be the first!