 Fixated on Home
Introduction to Budget-Friendly Plumbing Repairs in 2026
Homeowners tackling fixer-upper properties often face plumbing challenges that can quickly drain budgets if professionals are called in every time. This guide focuses on empowering beginners to handle common issues like leaks, clogged drains, and fixture replacements using affordable tools and materials. By following these practical methods, you can achieve quick wins while aligning with budget reno goals popular in 2026 home improvement projects. Many first-time renovators discover that mastering basic plumbing not only cuts costs but also builds long-term confidence for future upgrades across the entire property.
Whether you're updating an older home or managing a renovation on a tight timeline, understanding basic plumbing saves money and builds valuable skills. We'll cover essential safety measures, detailed step-by-step instructions, sourcing advice, and comparisons to contractor services. Real-world examples drawn from recent 2026 budget renovations illustrate how these fixes integrate seamlessly into larger home improvement efforts without requiring advanced expertise.
Essential Safety Protocols Before Starting Any Repair
Safety comes first in any DIY plumbing project. Always turn off the main water supply before working on pipes or fixtures to prevent flooding. Wear protective gloves and eye gear, especially when dealing with old pipes that may contain debris or residues. Ensure your workspace is well-ventilated, and never mix chemical cleaners without reading labels carefully. In older homes common to fixer-uppers, inspect for signs of mold or asbestos before disturbing walls or floors around plumbing lines.
Check local building codes, as some areas require permits even for minor fixes. Consulting resources from the Environmental Protection Agency helps understand water conservation standards during repairs. Test your smoke and carbon monoxide detectors before beginning work near gas lines. Additionally, keep a first-aid kit nearby and inform household members of your project schedule to avoid accidental water use. Proper preparation reduces risks and ensures smooth execution from start to finish.
Tools and Materials Checklist for Under $150 Projects
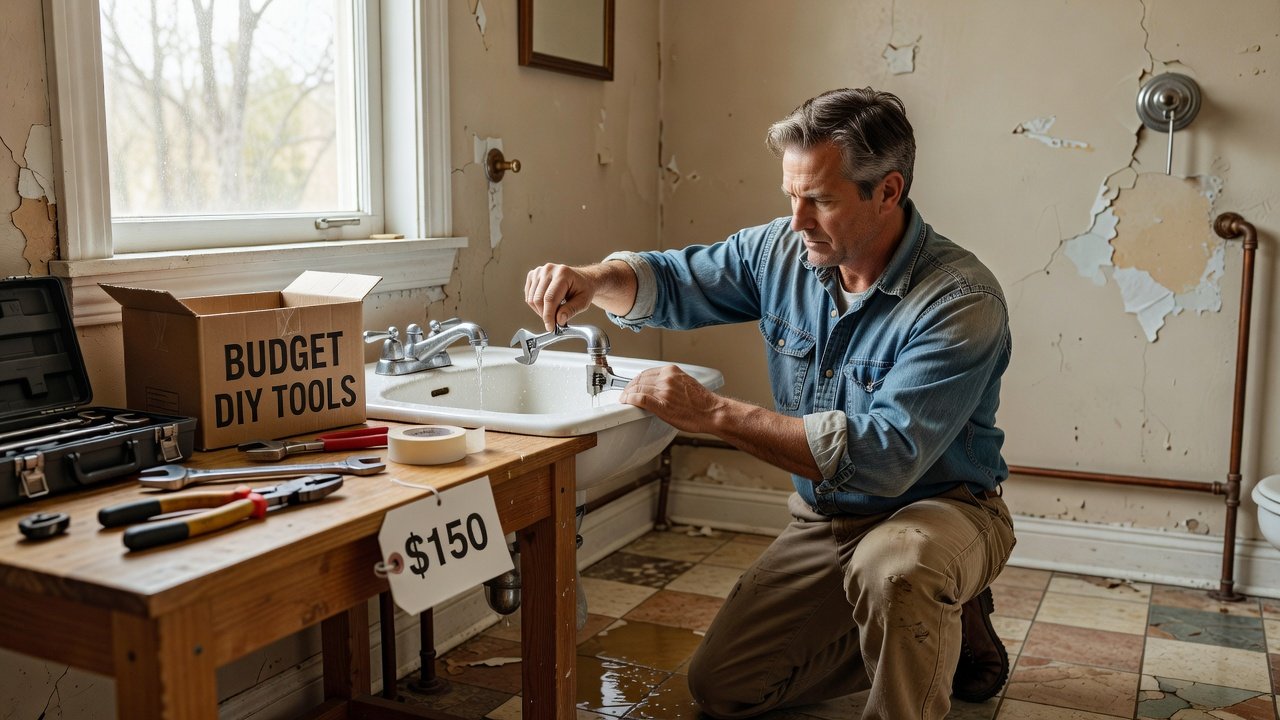
Stocking a basic toolkit keeps costs low for 2026 fixer-upper fixes. Focus on versatile items that handle multiple tasks without excess spending. Start with an adjustable wrench set for various nut sizes, paired with needle-nose pliers for tight spaces. A standard plunger and manual drain snake form the core of your clog-fighting arsenal, while plumber's tape and silicone sealant handle sealing needs across multiple applications.
Include an assortment of replacement washers, O-rings, and compression fittings in common sizes. A reliable flashlight with extra batteries illuminates dark under-sink areas, and a sturdy bucket catches drips during disassembly. For more advanced cuts on copper or PVC, add a compact pipe cutter. These essentials typically support multiple repairs when sourced from hardware stores or online marketplaces. A well-organized kit prevents mid-project store runs and encourages consistent maintenance habits throughout your renovation timeline.
Consider adding a basin wrench for hard-to-reach faucet nuts and a pair of channel-lock pliers for extra grip. Label each tool clearly and store them in a portable caddy dedicated to plumbing tasks. This organization pays dividends during time-sensitive fixes in occupied homes.
Step-by-Step Guide to Fixing Common Leaks
Leaky faucets are among the most frequent issues in older homes. Begin by identifying the source—usually a worn washer or loose packing nut. Shut off water, disassemble the handle using the appropriate wrench, and replace the washer with a matching size from your kit. Reassemble carefully, tightening components evenly to avoid cross-threading. Test for drips at low pressure first before restoring full flow.
For pipe leaks, apply pipe tape to threaded connections or use epoxy putty for temporary seals on small cracks. Clean the affected area thoroughly with a wire brush before applying any sealant. Real examples from 2026 budget renovations show these fixes resolving issues in under an hour when caught early, often preventing water damage to surrounding cabinetry and flooring.
Address slow leaks at joints by replacing compression rings or tightening connections incrementally. Document each step with photos for future reference, especially if the repair involves multiple fixtures in a single bathroom or kitchen.
Unclogging Drains Without Harsh Chemicals
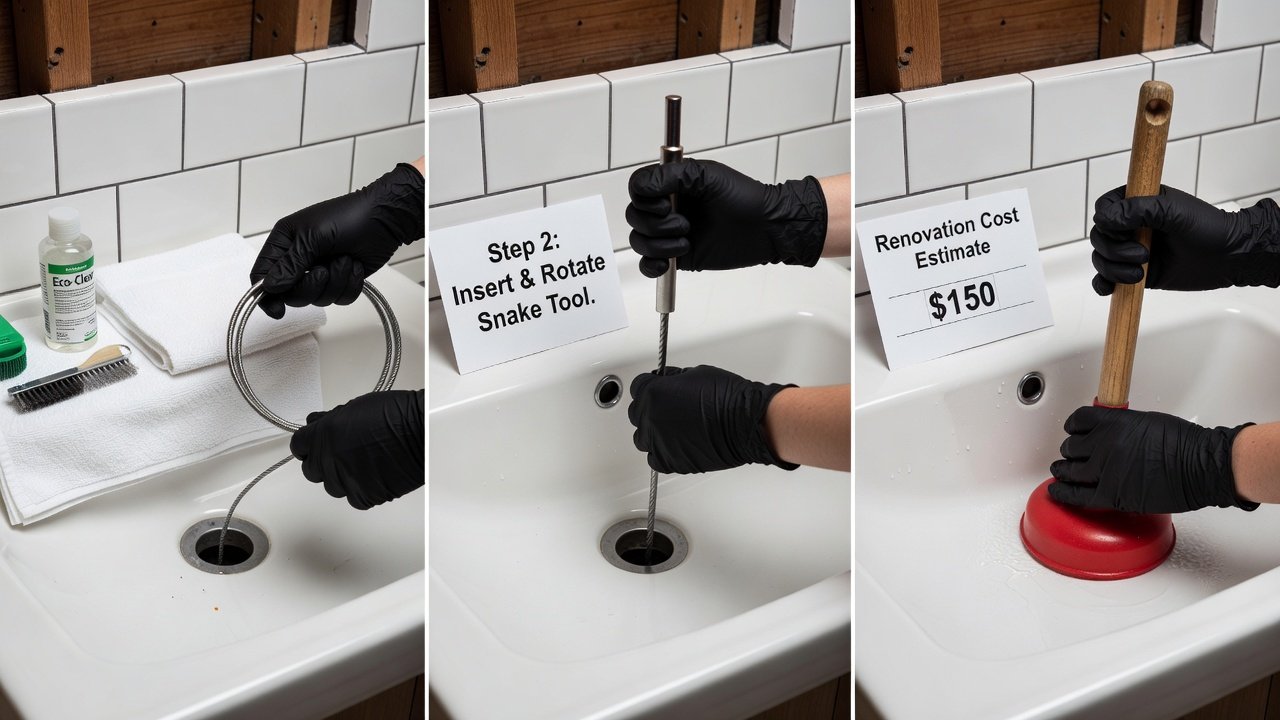
Start with a plunger for sink or tub clogs. Create a tight seal and pump vigorously for 30 to 60 seconds. If that fails, insert a drain snake to break up blockages mechanically by rotating the handle while advancing the cable. Remove debris carefully and flush with hot water to clear remaining residue. Avoid chemical drain cleaners when possible to protect pipes and the environment.
Preventive maintenance like monthly hot water flushes and installing drain screens helps avoid recurring problems in fixer-uppers. For stubborn buildup, combine mechanical methods with baking soda and vinegar solutions as a natural alternative. These techniques have proven effective in multiple 2026 renovation case studies where chemical avoidance preserved older plumbing systems.
Replacing Fixtures on a Budget
Swapping out old faucets or showerheads improves both function and aesthetics. Match new fixtures to existing plumbing sizes by measuring thread diameters beforehand. Turn off water, disconnect supply lines using basin wrenches, and install the new unit following manufacturer instructions. Many 2026 DIYers report successful upgrades using basic compression fittings that require no soldering.
Take time to clean mounting surfaces before installation to ensure a watertight seal. After securing the fixture, run water gradually to check for leaks at all connection points. This methodical approach minimizes callbacks and extends the life of your budget-conscious upgrades.
Material Sourcing Tips and Real Cost Comparisons
Shop at local hardware stores or reuse centers for discounted parts that meet quality standards. Online options often offer bulk deals on essentials like tape and washers with fast shipping. Compared to contractor quotes that frequently exceed several hundred dollars per visit, these DIY approaches deliver substantial savings while maintaining quality. Examples from recent renovations highlight how sourcing secondhand tools through community groups further reduces expenses and supports sustainable practices.
Compare material grades by reading specifications on packaging to avoid low-quality substitutes that fail prematurely. Building relationships with local suppliers can yield future discounts on repeat purchases during extended renovation timelines.
FAQ: Permits, Pitfalls, and Next Steps
Do I need a permit for simple fixes? Minor repairs like washer replacements usually do not, but check with your local municipality for any restrictions on fixture changes or pipe alterations.
What common pitfalls should I avoid? Over-tightening connections can crack pipes—use moderate force and test gradually. Always double-check shutoff valve locations before disassembly to prevent unexpected water release.
How do I know when to call a pro? If leaks persist after basic fixes or involve main lines, professional help ensures safety and code compliance. Complex electrical or gas-related plumbing issues also warrant expert intervention.
By mastering these techniques, homeowners gain confidence for ongoing budget renovations. Start small, document your progress, and expand skills with each successful project. Regular practice transforms initial challenges into routine maintenance tasks that protect your investment over time.
No comments yet. Be the first!