 Fixated on Home
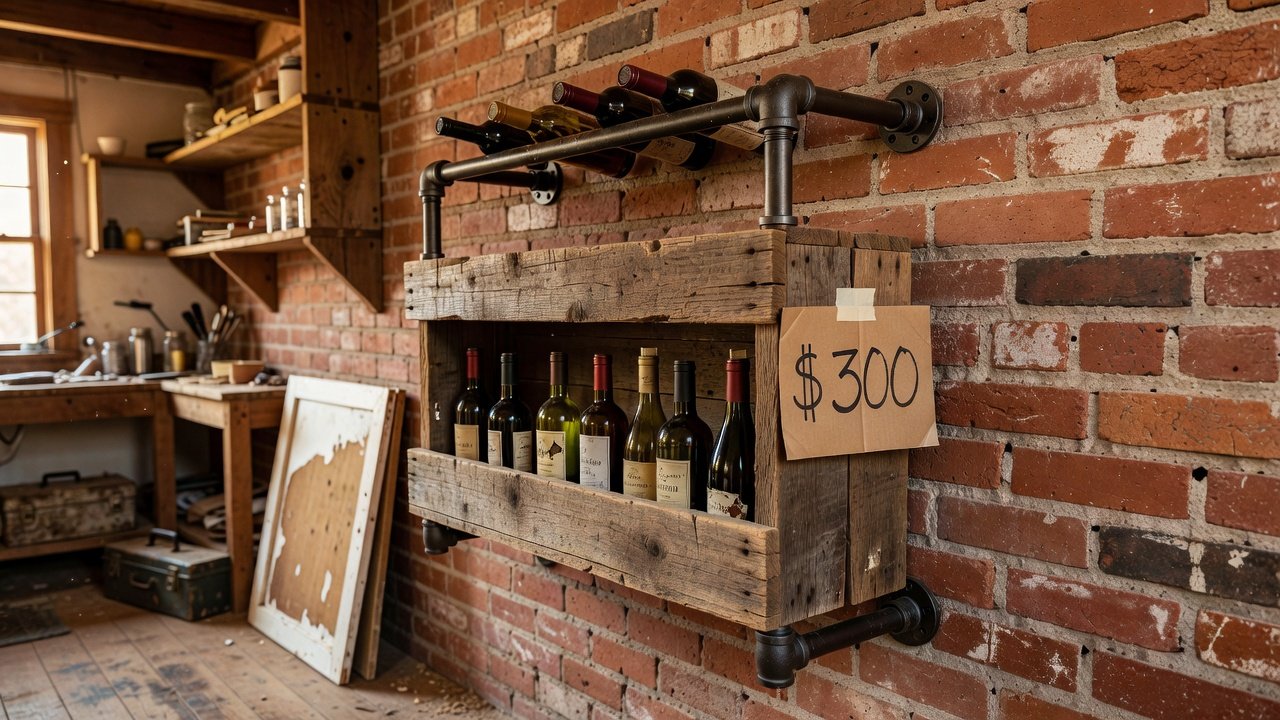
Introduction to Budget DIY Wine Racks in Fixer Uppers
Homeowners tackling fixer-upper properties often need affordable storage solutions that blend functionality with style. This guide explores 2026 DIY wine rack builds designed specifically for budget renovations, focusing on projects that stay well under a few hundred dollars using easy-to-source materials like reclaimed wood and industrial pipes. These builds help maximize space while adding character to older homes that may have uneven floors, plaster walls, or limited square footage. Whether your goal is to organize a growing wine collection or simply create a focal point in a renovated kitchen or basement, these projects deliver practical results without requiring professional carpentry skills.
Throughout this article we will examine design choices, material sourcing, detailed assembly instructions, real-world examples from fixer-upper renovations, and strategies for overcoming typical obstacles in older construction. By the end you will have the knowledge to plan and execute a custom wine rack that fits your space and skill level.
Why DIY Wine Racks Suit Fixer-Upper Lifestyles
Fixer-upper homes frequently present unique storage challenges such as awkward corners, narrow hallways, or basements with exposed brick. A custom-built wine rack addresses these issues while keeping costs low by repurposing materials already available at salvage yards or leftover from other renovation work. The approach aligns with sustainable practices and gives each build a distinctive look that mass-produced racks cannot match. Homeowners report that completing even a modest rack boosts confidence for larger projects and creates immediate usable storage.
Design Options: Wall-Mounted Versus Freestanding Racks
Wall-mounted racks conserve floor space and suit kitchens or dining areas where traffic flow matters. They attach directly to studs or reinforced plaster, making them ideal for homes with limited square footage. Freestanding designs, by contrast, offer mobility during ongoing renovations and can be repositioned as room layouts evolve. Both styles can incorporate reclaimed wood shelves paired with black iron pipes for an industrial aesthetic that complements exposed brick or aged hardwood floors common in fixer-uppers. Beginners may start with a single-tier wall unit holding six to twelve bottles, while intermediate builders can add angled shelves or multiple tiers for larger collections.
Materials and Tool Lists for Budget Builds
Core materials include reclaimed wood planks of varying lengths, galvanized or black iron pipes, flanges, wood screws, masonry anchors, sandpaper, and a protective sealant. Source wood from local demolition sites or construction surplus to keep expenses minimal. Pipe fittings should be 1/2-inch diameter for stability. Additional supplies such as wood glue and felt pads prevent bottle movement.
- Reclaimed wood planks (pre-sanded where possible)
- 1/2-inch black iron pipes and matching flanges
- Heavy-duty wood screws and masonry anchors
- Stain or paint plus polyurethane topcoat
- Felt pads and bottle cradles if desired
Essential tools comprise a cordless drill, level, tape measure, circular saw or handsaw, pipe wrench, and stud finder. Intermediate builders may also use a pipe cutter and orbital sander for cleaner finishes.
Step-by-Step Assembly for Beginner Wall-Mounted Builds
Begin by locating wall studs with a reliable stud finder and marking positions at the desired height. Cut reclaimed wood to length, sand all edges smooth, and apply your chosen finish, allowing full drying time. Attach pipe flanges to the wood with screws, then thread short pipe sections into the flanges to create supports. Position the assembly against the wall, drill pilot holes, and secure with masonry anchors rated for the expected load. Double-check levelness before tightening. Load bottles gradually and test stability by applying gentle pressure.
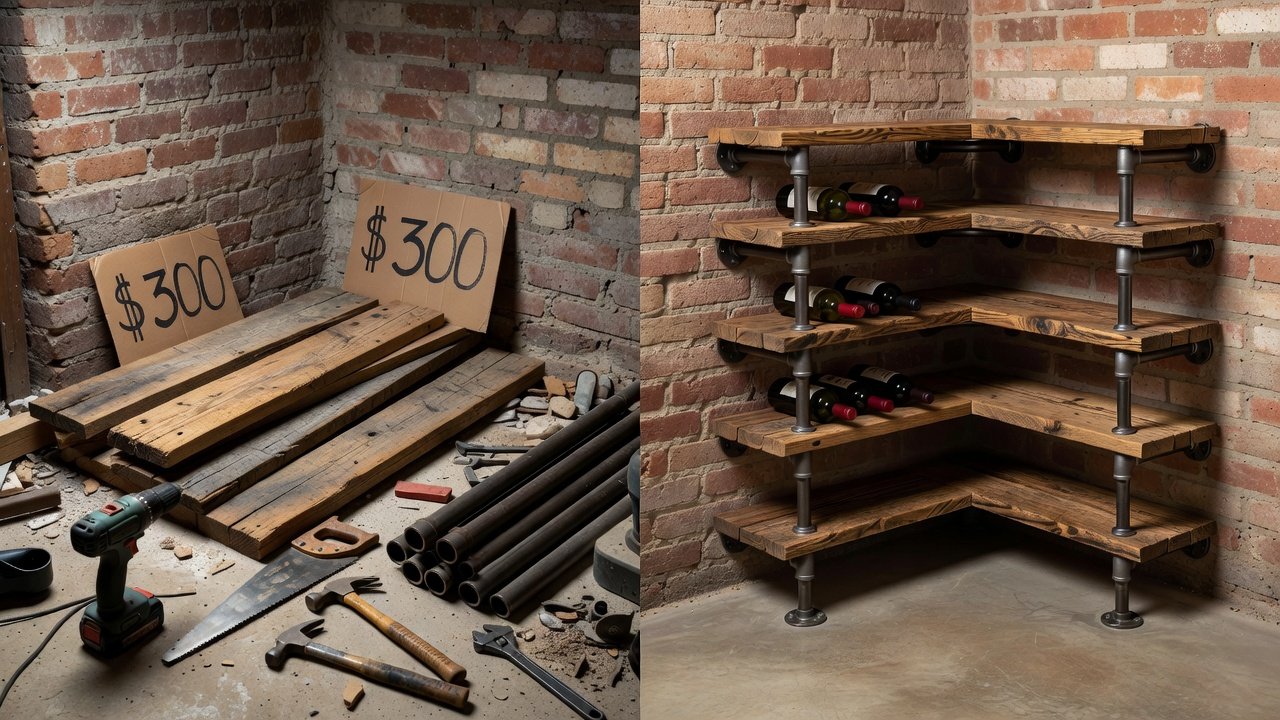
Intermediate Freestanding Builds and Scaling Techniques
Intermediate projects add complexity such as corner units or multi-level towers braced with extra pipe cross-members. For small spaces, construct vertical towers that fit against a single wall or inside a closet. Modular sections built separately can be joined later, allowing the rack to grow with your collection. Compare a basic flat wall rack (beginner) against a braced corner unit with integrated lighting channels (intermediate) to decide which matches your tools and time available.
Cost Considerations and Real Fixer-Upper Examples
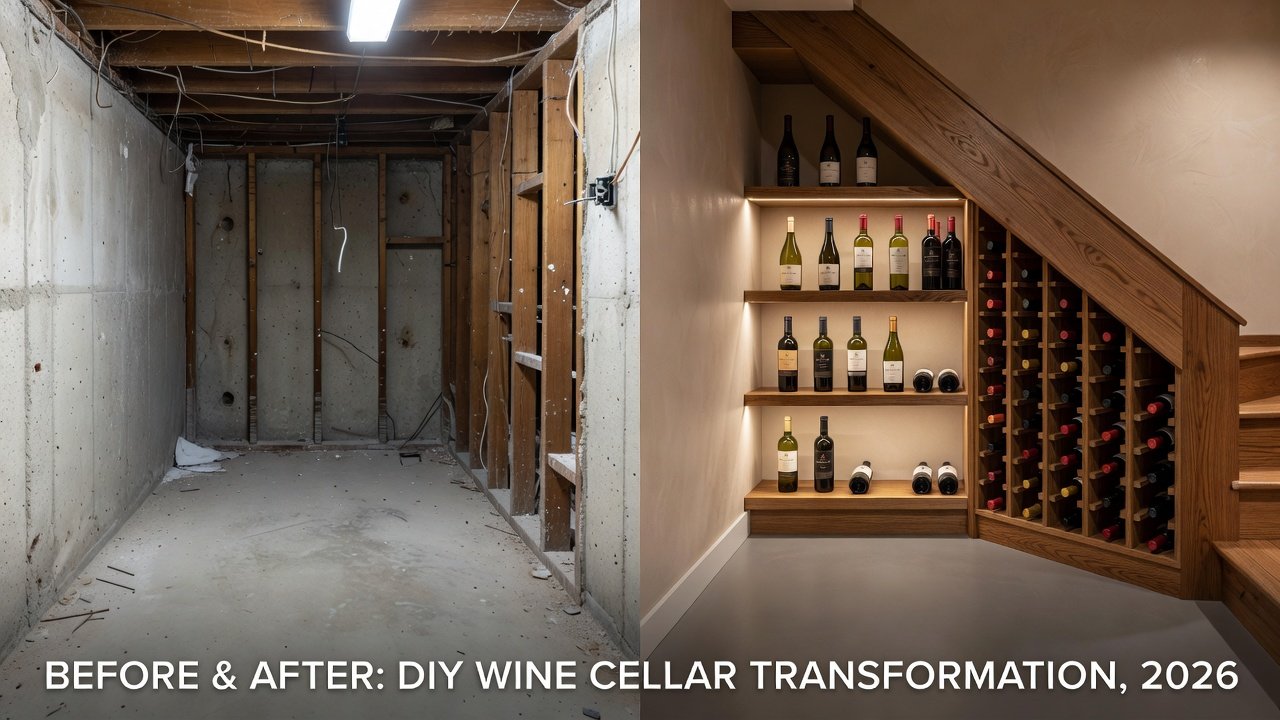
These builds remain budget-friendly by emphasizing reclaimed and leftover materials rather than new purchases. Homeowners in recent renovation projects have documented transformations where an unfinished basement corner became a functional wine display area using only salvaged lumber and pipe remnants. Before-and-after photographs typically show how a few hours of work create both storage and visual interest that elevates the entire space.
Addressing Common Challenges in Older Homes
Older homes often feature plaster-over-lath walls or questionable stud placement. Always verify load-bearing capacity and consider adding plywood backing behind the rack for extra support. Uneven floors require shims under freestanding units, while humidity fluctuations common in unconditioned basements call for sealed wood finishes. Consulting resources such as This Old House provides additional guidance on adapting projects to historic construction.
Mistakes to Avoid During Construction
Common errors include skipping the stud finder, using undersized anchors, or applying finish too close to installation time. Overloading a newly built rack before the sealant cures can cause warping. Measure twice and test-fit all components before final assembly to prevent wasted materials.
Wine Storage Best Practices
Store bottles horizontally to keep corks moist and away from direct sunlight or heat sources. Ideal temperatures range between 55 and 65 degrees Fahrenheit with moderate humidity. For more detailed climate advice tailored to renovated homes, refer to Bob Vila. Label sections of your rack by wine type or vintage for easy retrieval.
Scaling Projects for Small Spaces
In compact kitchens or apartments, build slim vertical racks that occupy only a few inches of depth. Use shorter pipe lengths and narrow wood strips to create a ladder-style unit that fits between cabinets and the wall. Modular pipe connectors allow future expansion without rebuilding the entire structure.
FAQ on Safety, Wine Storage, and Project Scaling
How do I ensure safety when mounting to old plaster? Locate studs whenever possible and supplement with heavy-duty toggle bolts rated for the total weight of wood, pipes, and filled bottles.
What temperature and humidity should I maintain? Aim for consistent 55-65°F conditions and 50-70% humidity; avoid placement near radiators or exterior doors.
Can I expand the rack later? Yes, design with modular pipe sections so additional tiers can be added without disassembling the original frame.
Are these builds suitable for renters? Freestanding versions require no wall penetration and can be disassembled when moving.
How do I clean and maintain the rack? Dust with a microfiber cloth and reapply sealant every two to three years depending on humidity exposure.
Additional practical tips appear on Family Handyman.
Conclusion
These 2026 DIY wine rack builds empower fixer-upper owners to create custom, budget-conscious storage that enhances both organization and aesthetics. Start with a simple design, prioritize proper wall support, and enjoy the satisfaction of a project tailored exactly to your home and collection.
No comments yet. Be the first!