 Fixated on Home
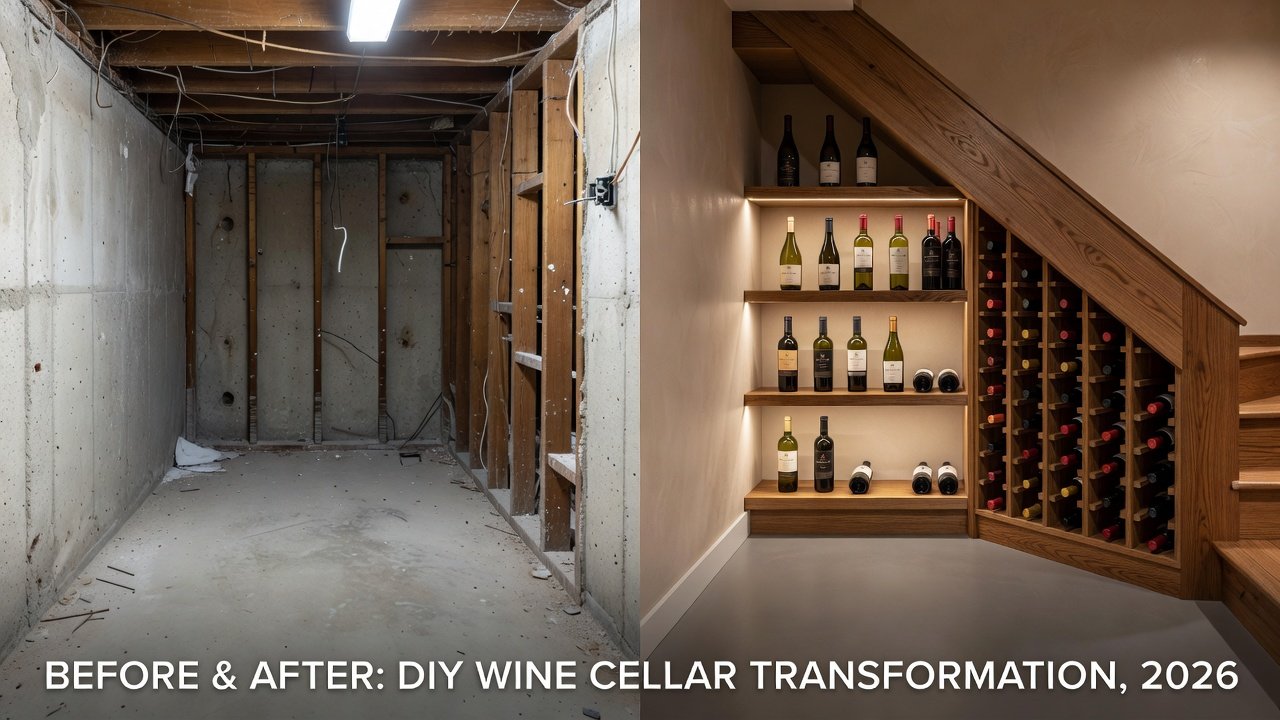
Introduction to Budget DIY Wine Cellars in Fixer-Uppers
Creating a dedicated wine storage space doesn't require a professional renovation budget. In 2026, homeowners tackling fixer-upper properties are turning to compact DIY wine cellars as a practical way to add value and functionality. This guide focuses on practical methods for basements or under-stair areas, emphasizing insulation hacks, cooling solutions, and humidity control that keep costs low while delivering reliable results. Whether you're new to home improvement or looking to integrate wine storage into ongoing reno projects, these approaches align with popular fixer upper ideas and diy projects that prioritize simplicity and accessibility. Many enthusiasts discover that a well-planned cellar not only preserves their collection but also becomes a conversation piece that enhances the home's appeal during resale.
Fixer-uppers often present unique challenges like uneven floors or limited square footage, yet these can be turned into advantages with creative planning. The key is starting small and scaling based on available space and needs. Beginners should focus on understanding basic principles of temperature stability and air circulation before diving into construction. This comprehensive approach ensures the final result meets both functional and aesthetic goals without unnecessary complications.
Selecting the Right Site in Your Home
Start by evaluating underutilized spaces. Basements offer natural temperature stability, while areas under stairs provide compact solutions for smaller homes. Measure the space carefully to ensure it can accommodate at least 50-100 bottles initially. Avoid locations near heat sources or exterior walls prone to temperature swings. Consider factors such as accessibility for loading bottles and potential noise from cooling equipment. In older fixer-uppers, inspect for pests or structural weaknesses that could compromise the build over time.
Key Considerations for Site Selection
- Check for existing moisture issues and plan for vapor barriers early in the process.
- Ensure electrical access for cooling units if needed, including outlet placement and circuit capacity.
- Verify structural integrity, especially for under-stair builds where load-bearing elements may be involved.
- Evaluate natural ventilation options to reduce reliance on mechanical systems.
- Assess lighting needs for both functionality and ambiance during use.
Real-world examples show that corner basement spots often work best due to consistent cool air flow from surrounding earth. Under-stair alcoves benefit from being enclosed quickly with simple framing.
Insulation and Cooling System Hacks
Proper insulation is the foundation of any successful wine cellar. Use rigid foam boards or spray foam for walls and ceilings to maintain consistent temperatures between 55-65°F. For cooling, repurpose a small window air conditioner or invest in a basic thermoelectric unit modified for wine storage. These hacks leverage readily available components to avoid expensive dedicated systems. Focus on sealing all gaps to prevent energy loss and temperature fluctuations that could damage corks or wine quality.
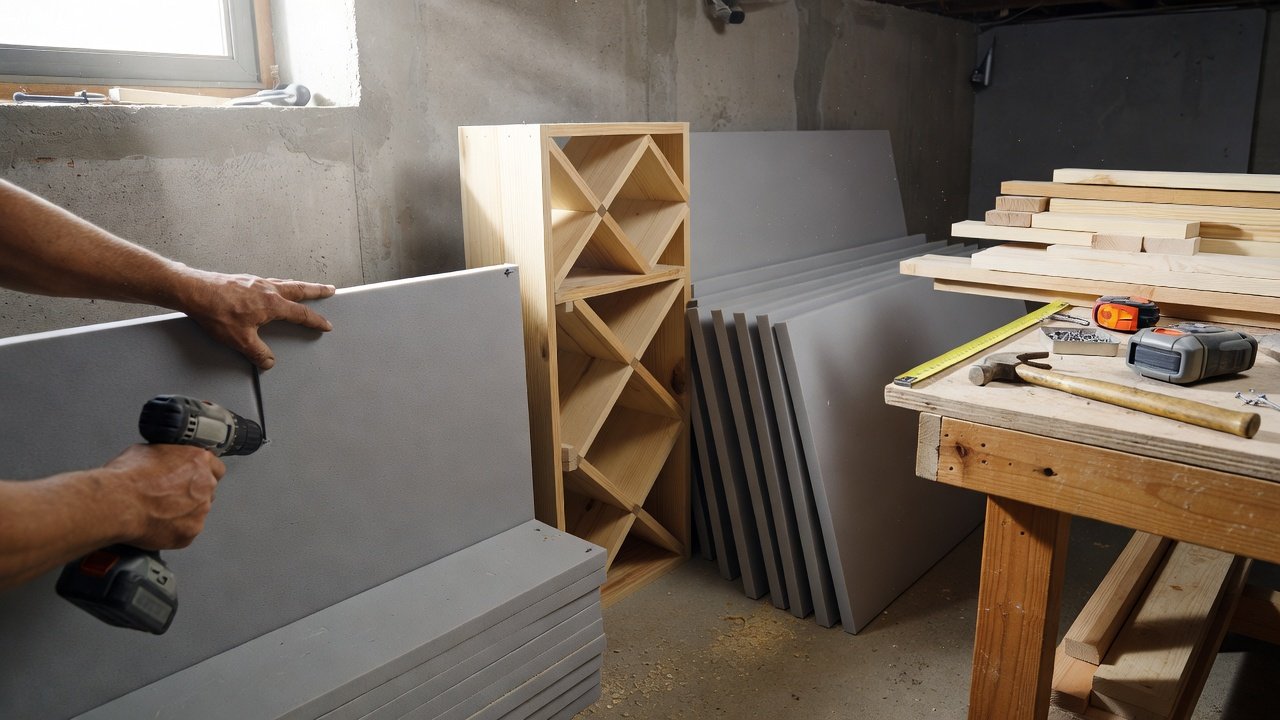
Step-by-Step Insulation Installation
- Clean and dry all surfaces thoroughly to create an optimal base layer.
- Apply vapor barrier to prevent condensation buildup that leads to mold.
- Install insulation panels snugly, sealing seams with high-quality tape for airtight results.
- Add a second vapor barrier layer on the interior side for double protection.
- Test the space with a thermometer over several days to confirm stability before adding racks.
Additional hacks include using reflective bubble insulation on ceilings for extra heat reflection and incorporating phase-change materials in high-traffic fixer-uppers for passive temperature buffering.
Building Affordable Shelving
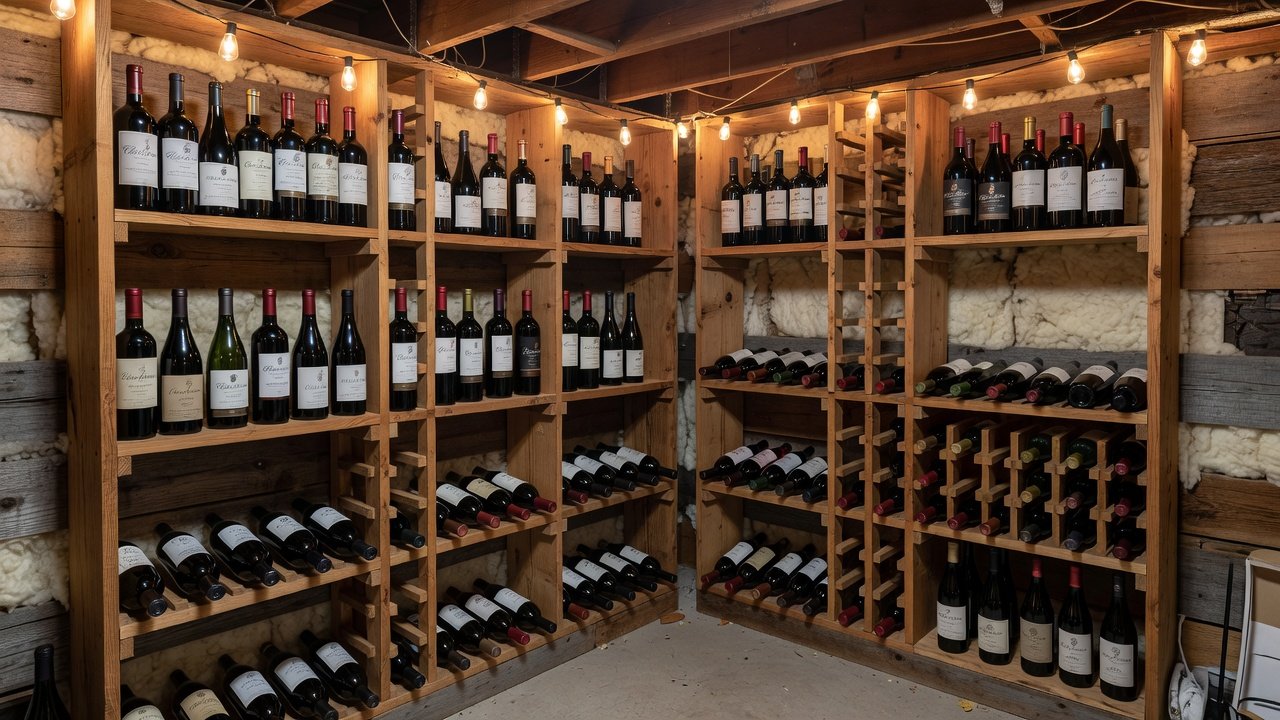
Construct custom racks using pine or cedar lumber. These woods resist warping and impart subtle aromas. Design modular shelves that can expand as your collection grows. Begin with a basic frame anchored to walls, then add adjustable slats for flexibility. Sand all surfaces smooth to avoid splinters when handling bottles. Examples from successful builds demonstrate that starting with vertical racking maximizes space in tight fixer-upper areas while horizontal bins work well for bulk storage.
Humidity Control Methods
Maintain 50-70% relative humidity with simple solutions like a small humidifier paired with a hygrometer. DIY options include placing water trays with sponges in the space for passive control. Monitor levels daily at first, adjusting based on seasonal changes common in older homes. Advanced tips involve combining a dehumidifier with the cooling unit during humid summers to prevent excess moisture that affects labels and corks.
Material Lists for Under-Budget Builds
Focus on widely available supplies from home improvement stores. Typical builds use basic lumber, insulation panels, and basic hardware. These selections support fixer upper ideas without exceeding typical budget thresholds for diy projects. Create a detailed shopping list including framing lumber for structure, foam boards for insulation, vapor barrier sheeting, screws and brackets for assembly, and basic tools like a drill and level. Consider sourcing reclaimed materials from local salvage yards to further reduce expenses and add character to the finished space.
Before-and-After Case Studies
One homeowner transformed a neglected basement corner into a 200-bottle cellar over a weekend by using modular racks and simple insulation. Another integrated under-stair storage into a larger kitchen renovation, creating seamless flow between entertaining areas. A third example involved pairing the cellar project with existing basement waterproofing, resulting in a multi-purpose utility space that addressed multiple home issues simultaneously. These cases highlight how small investments in planning yield impressive transformations that boost both utility and home value.
Cost Comparisons vs Professional Installs
DIY approaches deliver substantial savings compared to hiring specialists. Professional wine cellars often involve extensive labor and custom components, while self-built versions leverage existing home structures for efficiency. This makes them ideal for budget-conscious renovators seeking fixer upper ideas that deliver high impact without high costs.
Safety Tips for DIY Wine Cellars
Always prioritize electrical safety when adding cooling systems by using GFCI outlets where moisture is present. Ensure proper ventilation to avoid mold growth that could spread to other home areas. Secure shelving to walls to prevent tipping, especially in households with children or pets. Wear protective gear during insulation installation to avoid skin irritation from fibers. Finally, label all electrical components clearly for future maintenance.
FAQs on Permits, Maintenance, and Integration
Do I need permits for a small wine cellar?
Most compact builds under 100 square feet do not require permits, but check local codes for electrical work or structural changes. Consulting a local inspector early prevents potential issues down the line.
How often should I maintain the cellar?
Monitor temperature and humidity weekly, cleaning filters monthly. Seasonal deep cleans help maintain optimal conditions year-round.
Can this pair with other home projects?
Yes, integrate during basement waterproofing or stair remodels for added efficiency. For more on home energy efficiency, visit energy.gov. Learn about wood selection at fs.usda.gov. Additional indoor air quality guidance is available at epa.gov.
Common Mistakes to Avoid
Beginners often overlook vapor barriers, leading to condensation problems. Another frequent error is poor site ventilation, which can cause musty odors. Always double-check measurements before cutting materials to minimize waste.
Conclusion
With thoughtful planning, a functional wine cellar enhances any fixer-upper. These methods provide actionable steps for beginners while delivering professional-level results on a budget, turning underused spaces into valuable assets for years to come.
No comments yet. Be the first!