 Fixated on Home
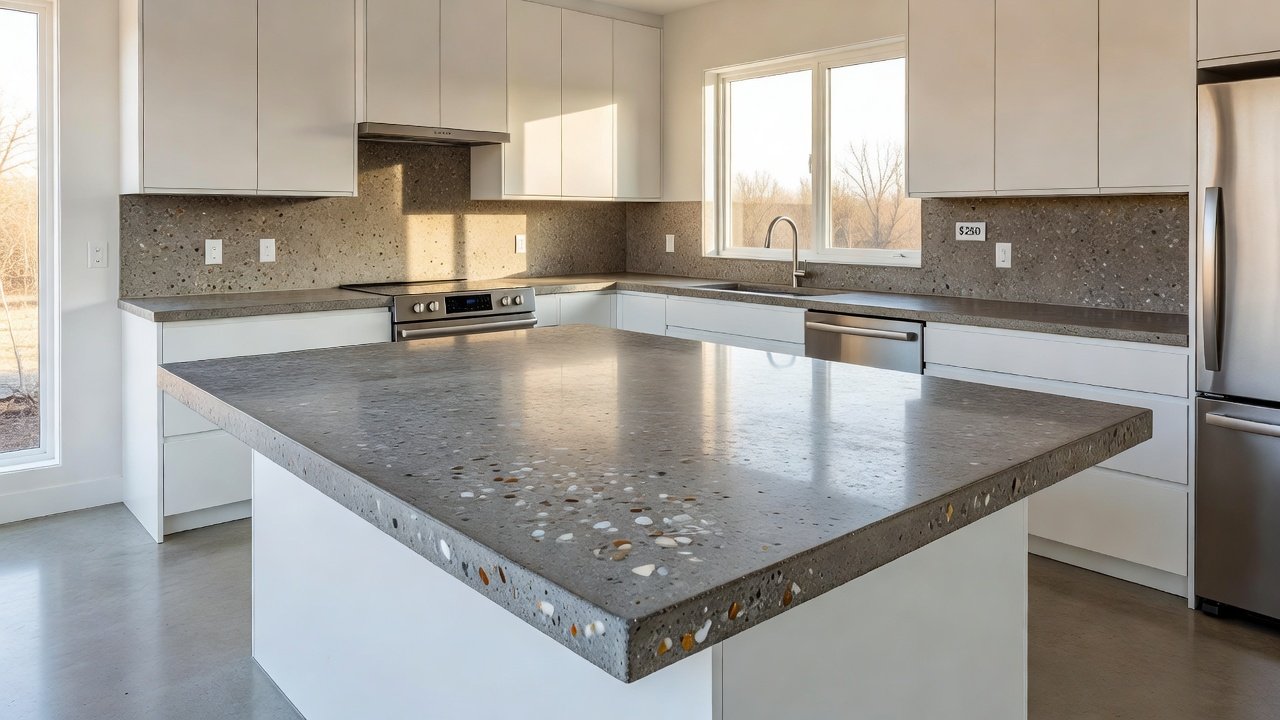
Introduction to DIY Concrete Countertops in 2026
Fixer-upper homes often need affordable upgrades that add real property value without hiring expensive contractors. Concrete countertops deliver a modern, industrial look while keeping costs low. This guide walks beginners through every stage of building durable, custom concrete countertops suitable for kitchens and bathrooms. Homeowners searching for budget renovations frequently discover that concrete offers unmatched versatility compared to other surfaces. By sourcing materials under $250 as of 2026-10-11 and following proven mixing and sealing techniques, homeowners can achieve professional results. The project boosts resale appeal and avoids the high prices of quartz or granite alternatives. Many first-time renovators complete the work over a single weekend once they understand the full process from form building to final sealing.
Why Choose Concrete Over Quartz or Granite?
Quartz typically costs far more per square foot and requires professional installation. Concrete offers design flexibility, including embedded aggregates and custom colors, at a fraction of the price. Real budget renovations show concrete countertops lasting years when properly sealed. Compared to quartz, concrete allows for unique textures and can be poured directly on-site. This makes it ideal for irregular spaces common in older homes. Granite demands heavy slabs and specialized cutting tools that most DIYers lack, while concrete forms can be built with basic lumber. Property value increases because buyers appreciate the custom, handcrafted appearance that stands out in competitive real estate markets. Concrete also performs well in both humid bathrooms and high-traffic kitchens when the right sealer is applied.
Materials Sourcing Under $250 (as of 2026-10-11)
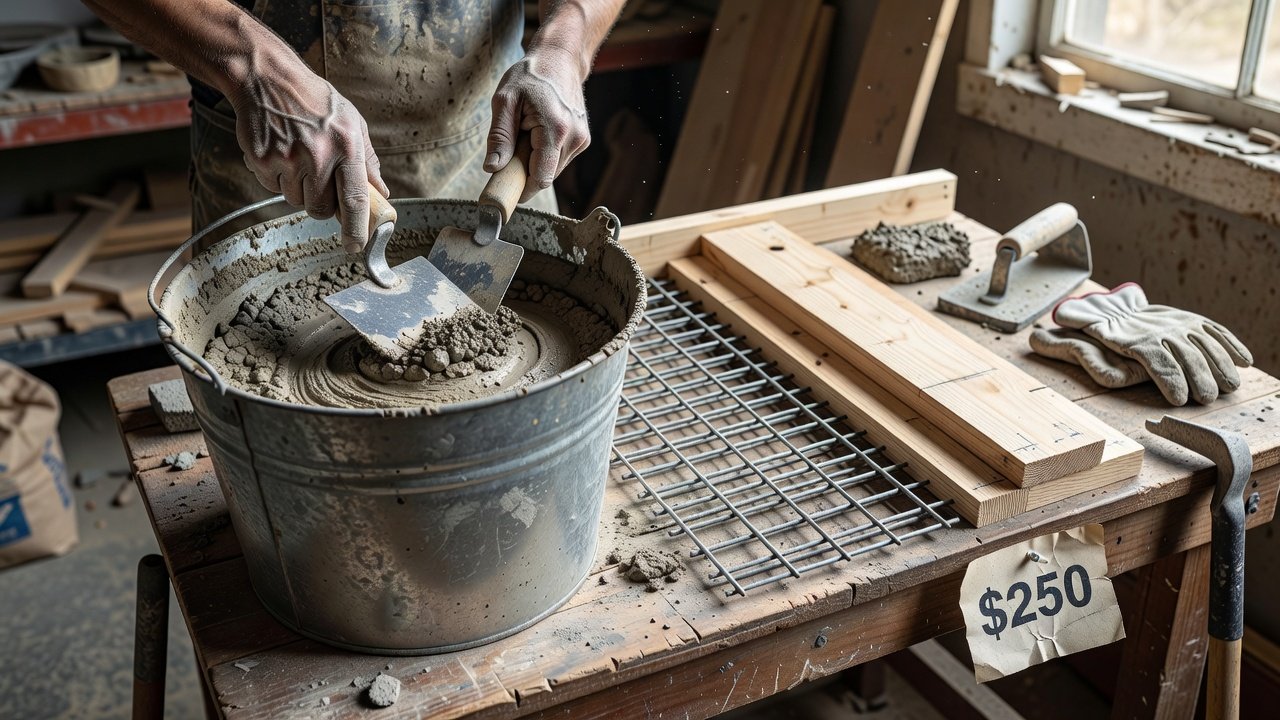
Focus on quality yet economical supplies from local home improvement stores. Essential items include high-strength concrete mix, reinforcing mesh or rebar, form boards and melamine sheets, sealer and pigments, and release agent. Shop sales and buy in bulk where possible. Many successful projects stay well under the $250 threshold by reusing tools from previous DIY tasks. Visit stores early in the week when new stock arrives to secure the best prices on bagged concrete. Choose a 5000 PSI mix for countertops to ensure strength and crack resistance. Melamine sheets create smooth finished edges without extra sanding. Pigments come in small containers that last multiple projects, allowing color experimentation without waste. Always calculate your square footage twice before purchasing to avoid overbuying.
Essential Tools for the Project
Basic tools suffice for most installations. Gather a circular saw, drill, level, trowels, sandpaper, and mixing buckets. A concrete vibrator helps remove air pockets during pouring. Safety gear such as gloves, goggles, and a dust mask is mandatory. Additional helpful items include a rubber mallet for tapping forms, a straight edge for leveling the pour, and plastic sheeting to protect surrounding floors. Organize your workspace before starting so every tool is within reach. Renting a small concrete mixer can save time on larger pours exceeding ten square feet.
Preparing Your Workspace and Building Forms
Clear the area and lay down drop cloths. Measure twice and cut melamine forms to exact dimensions, securing corners with screws rather than nails for stability. Apply silicone caulk along inside seams to prevent leaks. Place forms on a perfectly level table or sawhorses. Install reinforcing mesh cut slightly smaller than the form so it sits in the middle of the concrete thickness. This preparation stage prevents most later problems such as uneven surfaces or weak edges.
Mixing Techniques and Pouring Process
Mix concrete to a thick consistency and pour in layers. Embed aggregates or decorative elements at this stage for visual interest. Allow the concrete to cure for at least 48 hours before demolding. Use a drill with a paddle attachment for consistent mixing and add water gradually to avoid a soupy batch. Vibrate the forms gently after pouring to release trapped air. Work in sections if the countertop is large, keeping the mix workable. Overworking the surface during pouring can cause aggregate to sink, so stop once the top is level.
Step-by-Step Installation Process
Begin by measuring your existing countertop space precisely. Build sturdy forms using melamine for smooth edges. Install reinforcing mesh inside the forms before mixing. Mix concrete to a thick consistency and pour in layers. Embed aggregates or decorative elements at this stage for visual interest. Allow the concrete to cure for at least 48 hours before demolding. Sand the surface progressively from coarse to fine grit. Apply multiple coats of sealer for stain resistance and longevity. Test the seal on a small area first. After demolding, flip the countertop carefully with help and inspect edges for voids that can be filled with leftover mix.
Design Variations and Embedded Aggregates
Customize your countertops with river rock, glass shards, or metallic flakes. These elements create one-of-a-kind patterns that mimic high-end stone. Color the mix with integral pigments for a uniform tone or apply topical stains after curing. Consider edge profiles such as bullnose or square for different aesthetic effects. Bathroom vanities benefit from smaller pours that fit tight spaces. Experiment with inlays like recycled glass or seashells for a personalized touch that reflects your style. Multiple thin pours with different colors layered together produce striking visual depth once sanded.
Before-and-After Examples from Real Budget Renovations
Homeowners have transformed dated laminate kitchens into modern spaces using concrete countertops. One project replaced cracked Formica with a 36-square-foot concrete surface, increasing home value noticeably. Another updated a 1970s bathroom with a floating concrete vanity that became the focal point. These examples highlight how the material withstands daily use when sealed correctly. A third renovation featured a kitchen island with embedded copper flakes that developed a beautiful patina over two years of use. Such transformations often pay for themselves through increased buyer interest during open houses.
Common Mistakes to Avoid
Skipping reinforcement leads to cracks within months. Using the wrong sealer causes staining from water rings or oil. Rushing the curing process by removing forms too early results in broken edges. Always allow full cure time even if the surface feels hard. Another frequent error is inadequate sanding between sealer coats, leaving a hazy finish that never fully clears.
Troubleshooting FAQ
- Cracks appear after curing. Ensure proper reinforcement and avoid rapid drying. Fill small cracks with matching epoxy.
- Surface feels rough. Continue sanding and apply an additional sealer coat.
- Sealer fails to protect against stains. Use a high-quality penetrating sealer and reapply every 12-18 months.
- Edges chip during demolding. Use release agent generously and handle forms carefully.
- Color appears uneven. Mix pigments thoroughly and test a small batch first.
Maintenance and Long-Term Care
Wipe spills immediately and avoid harsh abrasives. Re-seal annually in high-traffic kitchens. Concrete ages gracefully, developing a patina that many owners prefer over time. Use coasters under acidic items like citrus or vinegar bottles. For deeper cleaning, a mild pH-neutral soap works best. Avoid placing hot pans directly on the surface without trivets.
Conclusion
DIY concrete countertops provide an accessible path to upgraded kitchens and baths in fixer-uppers. With careful planning, quality sealing, and creative design choices, the project delivers lasting value. Start small with a bathroom vanity to build confidence before tackling larger kitchen surfaces. For more DIY inspiration, visit This Old House, Family Handyman, and Bob Vila.
No comments yet. Be the first!