 Fixated on Home
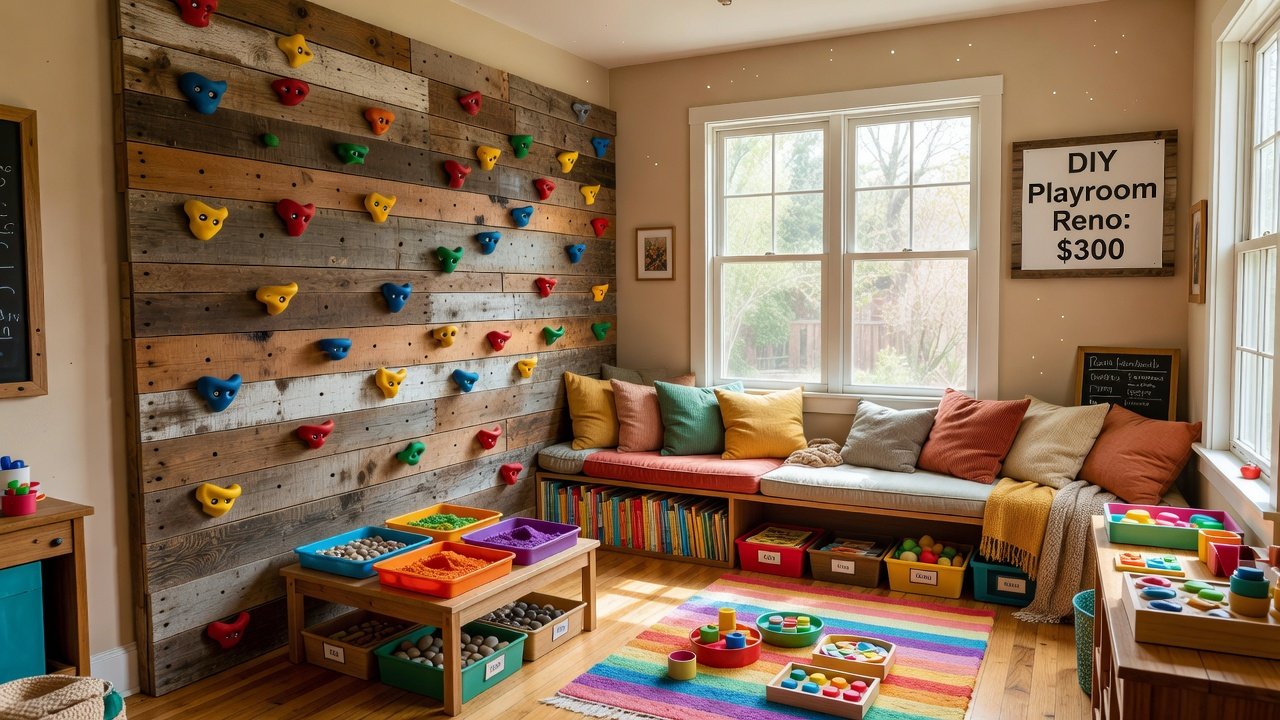
Introduction: Creating Affordable Play Spaces in Fixer-Uppers
Turning an unused room or corner into a vibrant play area does not require a large budget or professional contractors. Homeowners tackling fixer-uppers can achieve functional, engaging playrooms through simple builds that rely on reclaimed materials and basic tools. This guide focuses on projects that stay budget-conscious while prioritizing safety and creativity for children. Many families discover that thoughtful reuse of existing elements like old doors or lumber scraps leads to unique designs that feel personal and durable over time.
Begin by assessing your available space. Measure the room dimensions and note any existing issues such as uneven floors or exposed beams. These factors influence material choices and layout decisions. Focus on versatile elements that can grow with your child and adapt to changing needs. Consider traffic flow, natural lighting, and how the playroom connects to adjacent living areas for seamless daily use.
Planning and Sourcing Materials on a Budget
Start with a simple floor plan sketched on paper. Identify zones for active play, quiet reading, and storage. Reclaimed wood from local salvage yards or leftover construction scraps works well for structural elements. Sand all surfaces smooth to prevent splinters. Basic tools needed include a cordless drill, measuring tape, level, and safety goggles. Shop secondhand stores or online marketplaces for hardware like screws and brackets to keep expenses low while maintaining quality.
When comparing wall finishes, paint offers quick application and easy touch-ups at lower material cost. Wallpaper provides durability and patterns that hide minor wall imperfections but requires more precise installation. For high-traffic play areas, low-VOC paint remains the safer, more flexible choice for most DIYers. Always test small samples on your walls first to see how colors interact with your room's lighting throughout the day.
8-10 Budget DIY Playroom Project Ideas
1. Modular Climbing Wall
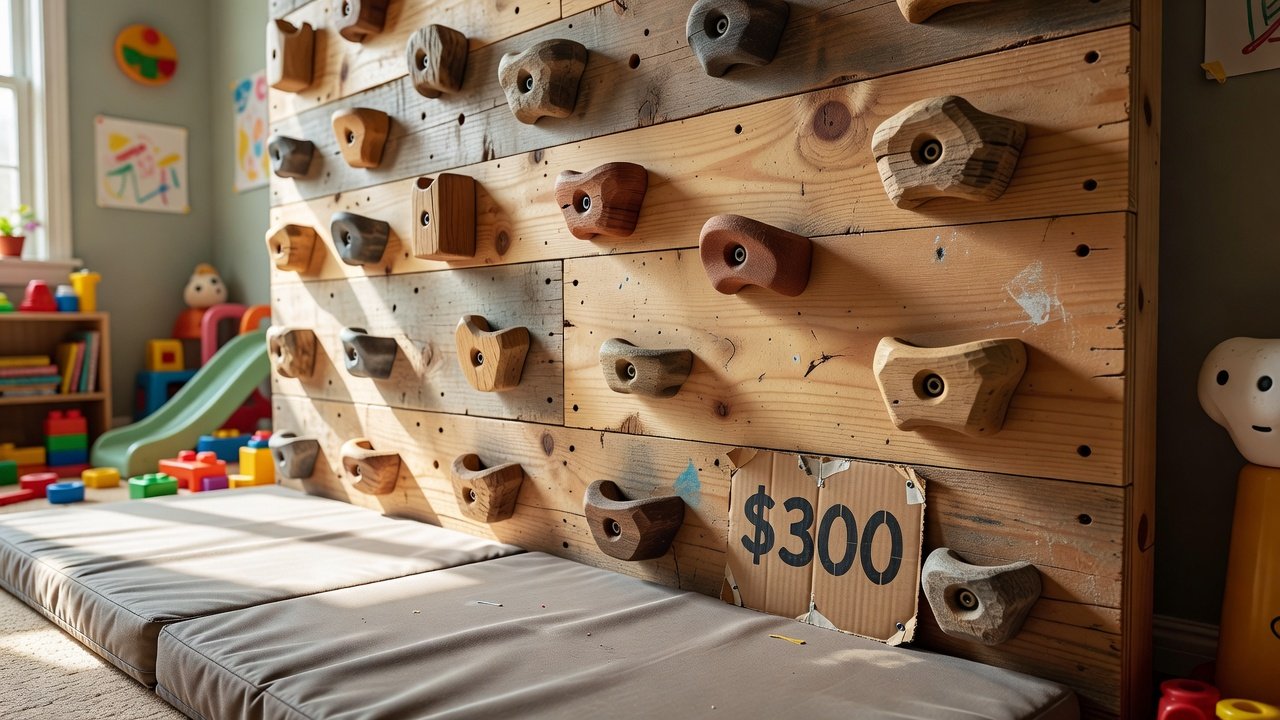
Build a wall-mounted climbing feature using plywood panels and wooden holds. Materials: two 4x8 plywood sheets, climbing holds, lag screws. Steps: Secure plywood to studs, attach holds in staggered patterns, add a crash mat below. This encourages physical activity safely indoors. Variations include adding a rope ladder section or painting the panels in bright sections to create visual targets for younger climbers.
2. Sensory Bins Station
Create portable bins filled with rice, beans, or kinetic sand. Use plastic storage tubs with lids. Add scoops and small toys. Place on a low table for easy access and quick cleanup. Rotate filler materials seasonally, such as using water beads in summer, to keep the experience fresh and educational about textures and volumes.
3. Themed Reading Corner
Construct a cozy nook with floor cushions and a small bookshelf made from crates. Hang a canopy from the ceiling using command hooks. Stock with age-appropriate books for quiet time. Extend the theme by incorporating story-time props like puppets or felt boards that fit inside the crates for organized storage.
4. DIY Playhouse Fort
Frame a simple structure with PVC pipes and fabric panels. Include windows cut from cardboard. This freestanding build can be disassembled when not in use. Customize further by adding LED string lights inside for a magical effect or attaching a small chalkboard door for drawing activities.
5. Wall-Mounted Art Station
Install a large whiteboard or chalkboard panel on one wall. Add magnetic strips for paper storage and a shelf for supplies. Use reclaimed lumber for the frame. Position it at child height and include a small bench underneath so kids can sit comfortably during extended creative sessions.
6. Soft Ball Pit Area
Repurpose a kiddie pool or build a low wooden frame lined with soft fabric. Fill with plastic balls. Keep the depth shallow for younger children. To enhance sensory play, mix in a few textured balls or add a nearby basket so children learn to sort and organize after use.
7. Puzzle Mat Flooring Section
Interlocking foam mats provide cushioning and can be arranged in custom shapes. Add a border of reclaimed wood to define the play zone. These mats also help absorb sound, making the space quieter for apartment-style living or homes with multiple levels.
8. Hanging Sensory Swing
Install a sturdy ceiling hook rated for the intended weight and hang a fabric swing or hammock chair. Add sensory toys for swinging and spinning play. Always supervise initial uses and check the hook monthly for any loosening caused by repeated motion.
9. Music and Instrument Wall
Mount pots, pans, and small percussion instruments on a pegboard. Include mallets on a nearby hook. This encourages sound exploration without taking floor space. Experiment with different hanging heights to accommodate various ages and encourage collaborative music-making between siblings.
10. Vertical Storage System
Build cubbies from old dresser drawers mounted on the wall. Label each for toys and rotate contents regularly to maintain interest. This system maximizes vertical space in small rooms and teaches children organizational skills through visible, accessible compartments.
Safety Checklists for Small Spaces
Before opening the playroom to daily use, complete a thorough safety review. Secure all furniture to the wall with anti-tip straps. Use outlet covers and cord organizers to prevent tripping hazards. Choose non-toxic finishes and test for lead if the home was built before 1978. Ensure at least 3 feet of clearance around active play zones. Install soft flooring or thick rugs in fall-prone areas. Keep small parts away from children under three years old. For additional guidance on household safety practices, consult resources from the Centers for Disease Control and Prevention.
Handling Common Challenges
Uneven floors can be leveled with shims under play structures or by choosing flexible mats that conform to the surface. For childproofing on a budget, focus on outlet covers, cabinet locks, and corner guards purchased in multipacks. Regular inspections of all builds help maintain safety over time. When working with reclaimed materials, always check for hidden nails or splinters and consider consulting local guidelines on safe reuse practices from the Environmental Protection Agency.
Frequently Asked Questions
How do I childproof a playroom with uneven floors?
Use interlocking foam tiles to create a level play surface and place heavier items against the most stable walls. Test stability before allowing unsupervised play. Adding rubberized feet to furniture legs further reduces wobbling on imperfect surfaces.
What is the safest paint option for a children's play area?
Select zero-VOC or low-VOC paints labeled for interior use. Allow full curing time before introducing toys or children to the space. This approach minimizes off-gassing and supports better indoor air quality for sensitive young lungs.
Can reclaimed materials be used safely?
Yes, provided you sand thoroughly, remove nails, and apply a child-safe sealant. Avoid pressure-treated wood for interior projects. Always verify the origin of materials to ensure they have not been exposed to harmful chemicals previously.
Conclusion
These DIY approaches demonstrate how thoughtful planning and reclaimed materials can transform fixer-upper spaces into engaging playrooms without exceeding modest budgets. Prioritize safety at every step and involve children in the design process where appropriate to foster ownership. With consistent maintenance, these builds will provide years of imaginative play and create lasting family memories.
No comments yet. Be the first!