 Fixated on Home
Introduction to DIY Epoxy Countertops for Fixer-Uppers
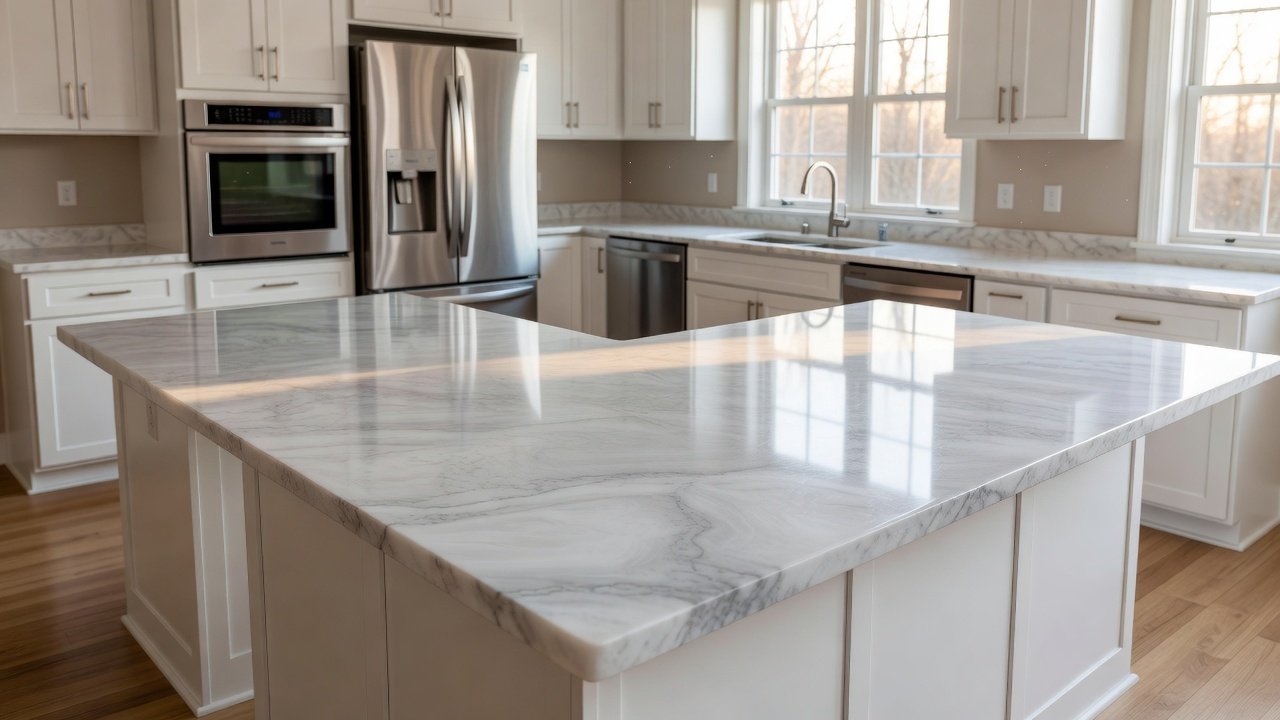
Transforming outdated kitchens on a budget is a common goal for homeowners tackling fixer-upper properties. Epoxy countertops offer a customizable, durable surface that mimics high-end materials while allowing creative expression through colors and textures. This approach combines practicality with style, making it ideal for those seeking long-lasting upgrades without professional installation costs. Many property owners find that refreshing tired laminate or plywood surfaces with epoxy resin delivers a fresh, modern look that elevates the entire space. The process empowers DIY enthusiasts to achieve professional-grade results through careful planning and execution, turning potential renovation headaches into rewarding projects that boost both functionality and home value.
Epoxy resin creates a seamless, non-porous finish resistant to stains, heat, and scratches when applied correctly. Unlike traditional options, it bonds well to existing surfaces, reducing waste and labor. Homeowners appreciate the versatility in achieving looks from sleek modern to rustic industrial. The material's self-leveling properties help create smooth, even surfaces that hide minor imperfections in older countertops common in fixer-uppers. Over time, properly installed epoxy has proven resilient in high-traffic kitchen environments, offering an accessible entry point into home improvement for first-time renovators.
Understanding the Benefits and Comparisons
Before starting, consider how epoxy stacks up against alternatives. Laminate provides an affordable base layer but lacks the depth and repairability of epoxy. Granite delivers natural beauty and heat resistance yet requires sealing and professional fitting, often exceeding budget constraints in older homes. Epoxy bridges the gap by offering a middle-ground solution that combines visual appeal with practical performance. It resists moisture penetration better than many porous stones and avoids the seam issues sometimes seen in prefabricated materials.
Epoxy stands out for its affordability in materials and the ability to refresh surfaces in place. It also allows for unique patterns not possible with pre-fabricated options. Many DIY enthusiasts report satisfaction with the final product's longevity when following proper curing protocols. Additional advantages include quick turnaround times compared to full countertop replacement and the opportunity to incorporate personal design elements like embedded objects or metallic accents. When evaluating options, homeowners often note that epoxy requires less ongoing maintenance than unsealed natural stone while providing more customization than rigid laminate sheets.
- Durability: Withstands daily kitchen use for years with proper care.
- Customization: Endless color and texture combinations to match any decor style.
- Ease of maintenance: Simple cleaning with mild soap and water.
- Environmental benefit: Reduces need for new material purchases by resurfacing existing counters.
For more inspiration on kitchen surfaces, explore resources from HGTV.
Tools and Materials Needed for Success
Gathering the right supplies upfront prevents mid-project delays. Essential items include countertop-grade epoxy resin kits formulated for horizontal surfaces, mixing paddles, plastic spreaders, foam rollers, 120- and 220-grit sandpaper, painter's tape, drop cloths, and disposable gloves. Pigments or tint packs allow color customization, while a heat gun or torch helps release air bubbles during application. Always select food-safe, low-VOC epoxy products to ensure safety in kitchen environments. Preparation also involves acquiring a respirator mask and ensuring adequate ventilation through open windows or fans.
Surface Prep Techniques for Optimal Adhesion
Surface preparation is critical: clean thoroughly, repair any damage, and sand to create a rough texture for adhesion. Begin by removing all existing hardware, sinks, and appliances from the countertop area. Scrub away grease, soap scum, and old finishes using a degreaser solution followed by thorough rinsing. Fill cracks or chips with wood filler or epoxy putty, then sand smooth once dry. The final sanding step creates tooth for the epoxy to grip; wipe away all dust with a tack cloth before proceeding. Neglecting this stage often leads to peeling or bubbling later, so take time to achieve a uniformly dull surface free of contaminants.
Step-by-Step Application Process
Begin with a clean, dry base. Apply a primer if needed, then mix the epoxy according to manufacturer ratios. Pour in sections, spreading evenly with a squeegee or roller. Add pigments or metallic powders for effects during this stage. Work in manageable sections to maintain control over flow and leveling, typically starting from the back of the counter and moving forward. Use a heat source immediately after pouring to pop surface bubbles, moving steadily to avoid scorching the resin. Multiple thin layers may be applied if additional depth or effects are desired, allowing proper tack time between coats.
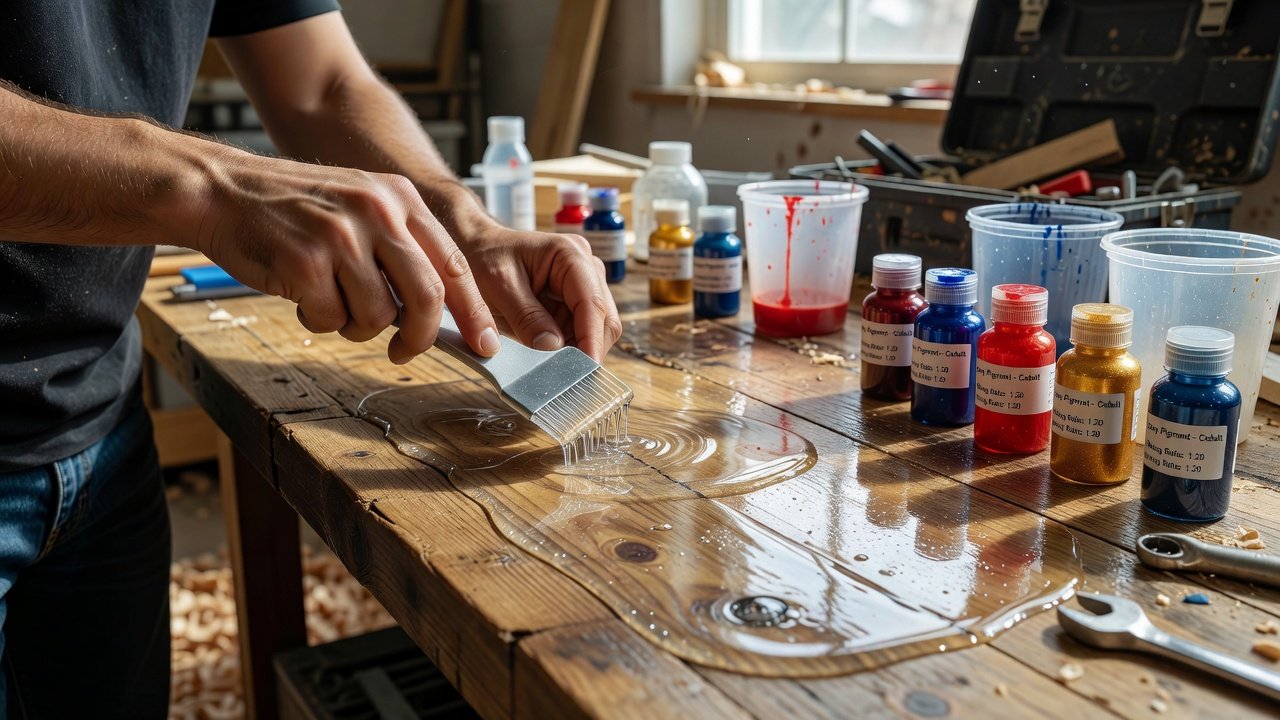
Allow initial curing before adding a topcoat for extra protection. Full hardening takes several days, so plan around kitchen downtime. Real-world examples show successful transformations in small spaces like apartments or rental properties, where the finish blends seamlessly with existing cabinetry. One homeowner transformed a dated 1980s kitchen by layering a soft gray base with subtle white veining to replicate marble at a fraction of the cost and effort of stone installation. Another project involved embedding recycled glass chips into a clear epoxy base for a sparkling, eco-friendly texture that complemented open shelving and industrial lighting.
Exploring Color and Texture Variations
Experiment with solid colors, swirls, or embedded elements like glitter or stone chips. Popular choices include marble mimics using white base with gray veins, or bold solids for modern kitchens. Textures range from glossy to matte depending on the final sand and polish. Consider the room's lighting and overall design when selecting options to ensure harmony with walls and flooring. For instance, darker epoxy shades can make compact kitchens feel cozier, while lighter tones brighten spaces with limited natural light. Advanced techniques involve layering multiple colors or using alcohol inks for fluid art effects that create one-of-a-kind patterns unique to each countertop.
Real-World Examples and Decision-Making Tips
Practical examples highlight the versatility of epoxy in diverse fixer-upper scenarios. A single-story ranch home updated its U-shaped kitchen counters with a warm beige epoxy featuring subtle copper flecks, resulting in a cohesive look that tied together new backsplash tile and open shelving. Another case involved a compact urban condo where epoxy revived plywood counters damaged by previous renters, adding both protection and visual interest without requiring cabinet modifications. When comparing approaches, note that epoxy allows incremental improvements, such as starting with a single island before tackling perimeter counters, giving homeowners time to refine techniques and color choices.
Common Mistakes to Avoid
Avoid rushing the mixing process, which can lead to bubbles or uneven curing. Over-application in humid conditions may cause clouding. Always measure resin and hardener precisely and mix for the full recommended time. Temperature control matters; ideal working conditions fall between 70 and 80 degrees Fahrenheit. Rushing the final sanding or topcoat stages can also compromise the finish, so allow adequate cure time even if the surface feels firm to the touch.
Maintenance, Curing, and Long-Term Care
After application, protect the surface during the full curing period by keeping it free of traffic, water, and heavy objects. Once cured, routine care involves wiping with a soft cloth and mild detergent. Avoid harsh abrasives or ammonia-based cleaners that can dull the sheen over time. For ongoing protection, consider periodic application of a countertop wax or polish designed for epoxy surfaces.
Frequently Asked Questions
How long does curing take?
Initial set occurs within hours, but full cure requires up to a week for maximum hardness and durability.
What about repairs?
Minor scratches can be buffed out; deeper damage may need spot reapplication of epoxy in the affected area.
Is it suitable for all kitchens?
Yes, provided the substrate is stable and proper ventilation is maintained during application.
Can epoxy handle hot pans?
While resistant to moderate heat, always use trivets or pads to protect against direct contact with extremely hot cookware.
How does it compare environmentally?
Epoxy resurfacing reduces landfill waste compared to full demolition and replacement projects.
Additional guidance on home improvement techniques is available at Bob Vila and This Old House.
Conclusion
DIY epoxy countertops represent a smart, budget-conscious path to kitchen renewal in fixer-upper homes. With careful planning and execution, the result is a personalized, resilient surface that enhances daily living. Start small, follow safety guidelines, and enjoy the creative process for a rewarding upgrade that stands the test of time.
No comments yet. Be the first!