 Fixated on Home
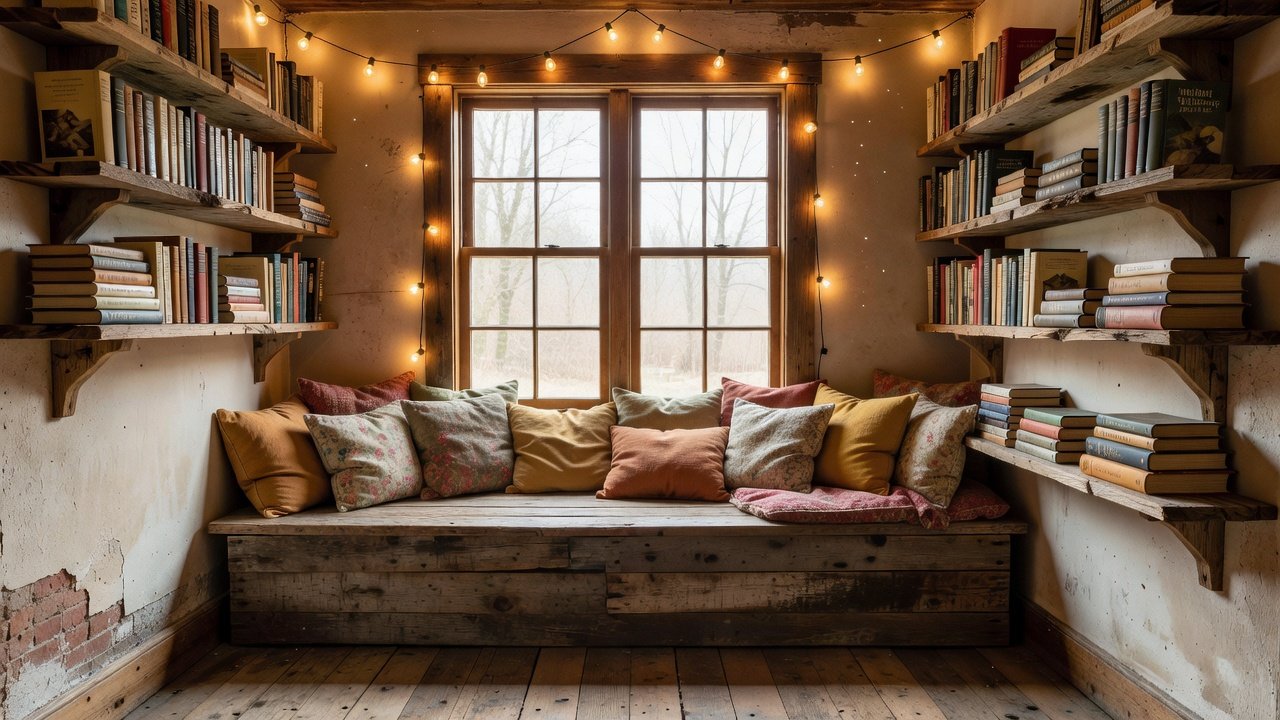
Creating Cozy Reading Nooks on a Budget in Fixer-Uppers
Fixer-upper homes often come with unique challenges like uneven walls, limited space, and the need for affordable upgrades. Building a DIY reading nook offers a perfect way to transform awkward corners into inviting retreats without breaking the bank. This comprehensive guide covers practical strategies for space assessment, sourcing materials, seating builds, lighting integrations, storage solutions, and common pitfalls. Focused on reclaimed and budget-friendly options, these projects blend creativity with hands-on carpentry to deliver personalized spaces that enhance daily life and home value.
Assessing Your Space for Maximum Impact
Begin by thoroughly evaluating potential locations such as under stairs, bay windows, alcoves, or even unused hallway ends. Measure the area precisely, documenting any irregularities in floors, walls, or ceilings that are typical in older properties. Note natural light sources, electrical outlets, and traffic patterns to ensure the nook feels private yet integrated. Sketch multiple layout options on graph paper or a digital app, considering how built-in elements might interact with existing architecture. For instance, a corner near a window can maximize daylight for reading while a stair nook provides vertical interest through tiered shelving.
Common Challenges and Solutions
- Uneven walls: Install shims or flexible trim to create level surfaces before attaching any seating or shelving.
- Limited square footage: Prioritize vertical storage, wall-mounted elements, and multifunctional furniture like benches with hidden compartments.
- Poor lighting: Plan integrations early, using battery-powered options to sidestep complex rewiring in older homes.
- Structural concerns: Inspect for load-bearing elements and consult basic building guidelines if modifying floors or walls.
Take before photos from multiple angles to track progress and inspire adjustments during construction.
Sourcing Reclaimed Materials Affordably
Reclaimed wood from pallets, barn boards, or local construction salvage provides authentic character at minimal expense. Visit salvage yards, check online community marketplaces, and join neighborhood groups for free or low-cost pickups. Always sand surfaces smooth and apply food-safe finishes or sealants to prevent splinters and ensure durability. Repurpose hardware like hinges and brackets from thrift stores or deconstructed furniture. This approach not only reduces waste but also adds unique texture that new materials cannot replicate. For guidance on eco-friendly practices, visit epa.gov. Home improvement retailers like homedepot.com offer affordable complementary tools and finishes when reclaimed stock runs short.
Built-In Seating Options
Construct simple bench seating with 2x4 lumber frames and plywood tops for sturdy, customizable foundations. Layer high-density foam cushions wrapped in washable, durable fabric for lasting comfort. Window seat variations involve framing around existing sills and adding under-seat drawers for extra utility. Compare options such as L-shaped benches for corners versus straight benches along walls to match your room's geometry.
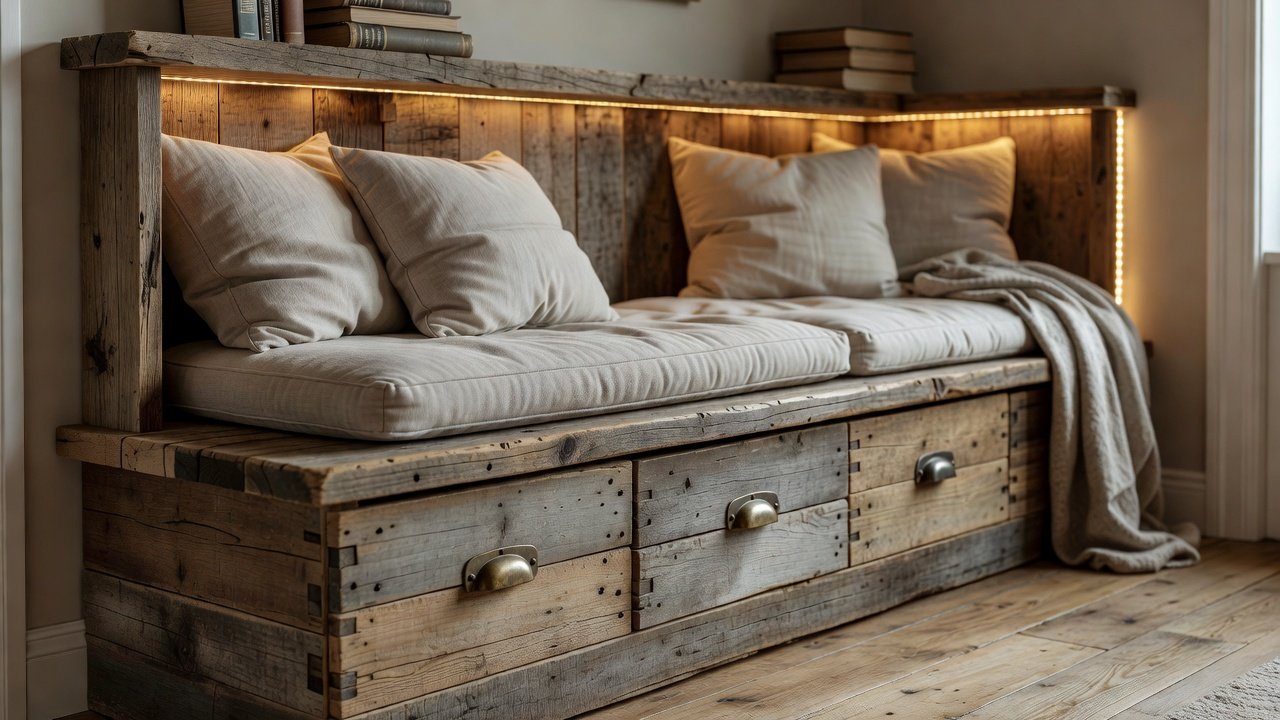
Step-by-Step Bench Build Example
- Measure twice and cut all frame pieces to precise dimensions, accounting for any wall angles.
- Assemble the base using wood screws and construction adhesive for rock-solid stability.
- Attach the seat platform, ensuring it overhangs slightly for a polished look.
- Sand every edge and surface thoroughly, then apply primer and paint or stain in colors that complement your existing decor.
- Install cushions and add optional backrests using hinged plywood panels for versatility.
These builds typically require basic tools like a saw, drill, and level, making them accessible even for beginners with patience.
Integrating Lighting and Ambiance
Layer multiple light sources including clip-on reading lamps, battery-operated string lights, and wall sconces to create adjustable moods. Select warm-toned LED bulbs for eye-friendly illumination during long reading sessions. Incorporate dimmer switches or smart plugs for effortless control without major electrical work. Position lights to avoid glare on book pages while highlighting architectural details like wood grain or artwork above the nook.
Storage Hacks for Small Spaces
Maximize every inch with floating shelves mounted above seating for book display and floating nightstands. Build hidden compartments into bench bases using simple hinge mechanisms. Organize with woven baskets, stackable crates, and over-the-door organizers for blankets, magazines, and accessories. These solutions keep the area tidy while adding layers of functionality that make the nook truly practical for everyday use.
Before-and-After Comparisons
One successful project converted a neglected under-stair void into a plush retreat featuring reclaimed pine benches and layered textiles, instantly elevating the home's charm and usability. Another transformed a narrow hallway alcove with pallet-derived woodwork into a rustic bench complete with overhead shelving, creating both seating and visual interest where none existed before. Such transformations demonstrate how targeted DIY efforts can yield dramatic improvements in both aesthetics and livability.
Mistakes to Avoid During Construction
Common errors include rushing measurements, which leads to ill-fitting components, or neglecting to seal reclaimed wood against moisture. Always test-fit pieces before final assembly and prioritize safety gear during cutting and sanding. Avoid overloading electrical circuits when adding lights by opting for low-voltage alternatives where possible.
FAQ: Addressing Common DIY Reading Nook Questions
How do I handle uneven floors in older homes?
Level the base frame with adjustable feet, shims, or self-leveling compounds before securing any finishes or cushions.
What if I have no prior carpentry experience?
Start with modular pre-cut kits available at major retailers and follow detailed video tutorials that break projects into manageable stages.
Can these projects realistically stay budget-friendly?
Absolutely, by emphasizing reclaimed sources, multifunctional designs, and phased implementation that spreads costs over time.
How long does a typical build take?
Most basic nooks can be completed over a weekend with focused effort, though more elaborate versions with custom storage may require several days.
Conclusion
Through careful planning, reclaimed materials, and straightforward carpentry techniques, homeowners can create personalized reading nooks that bring comfort and character to any fixer-upper. These methods combine practicality with creative expression for spaces that provide years of enjoyment.

No comments yet. Be the first!