 Fixated on Home
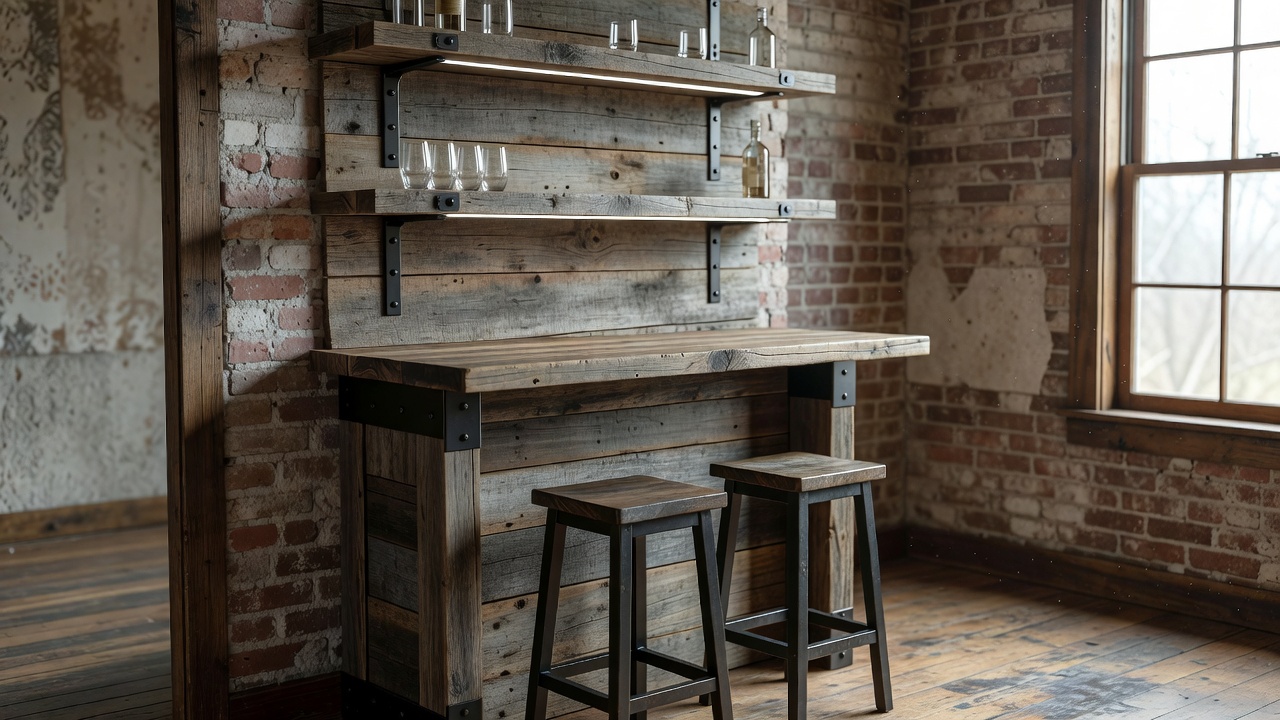
Introduction to Budget-Friendly Home Bars in 2026
Fixer-upper properties present unique opportunities for creative personalization, particularly when transforming overlooked corners into functional home bars. In 2026, the emphasis in DIY projects centers on cost-effective upgrades that deliver both entertainment value and increased property appeal without requiring professional contractors. These builds align with broader budget reno movements that prioritize reclaimed materials, modular designs, and beginner-accessible methods suitable for small or awkwardly shaped spaces common in older homes.
Home bars enhance social gatherings while providing dedicated storage for glassware, bottles, and accessories. Success depends on careful planning that respects the structural quirks of fixer-uppers, such as uneven flooring or limited wall access. This comprehensive guide covers every essential phase, offering concrete examples, decision frameworks, and practical techniques that keep projects manageable for first-time builders.
Space Planning for Small Areas in Fixer-Uppers
Effective space planning begins with precise measurements of the target area. Record length, width, and height while noting obstacles like windows, electrical outlets, or radiators. In fixer-uppers, allocate extra time to assess floor levelness using a long spirit level, as settling foundations often create slopes that affect stability.
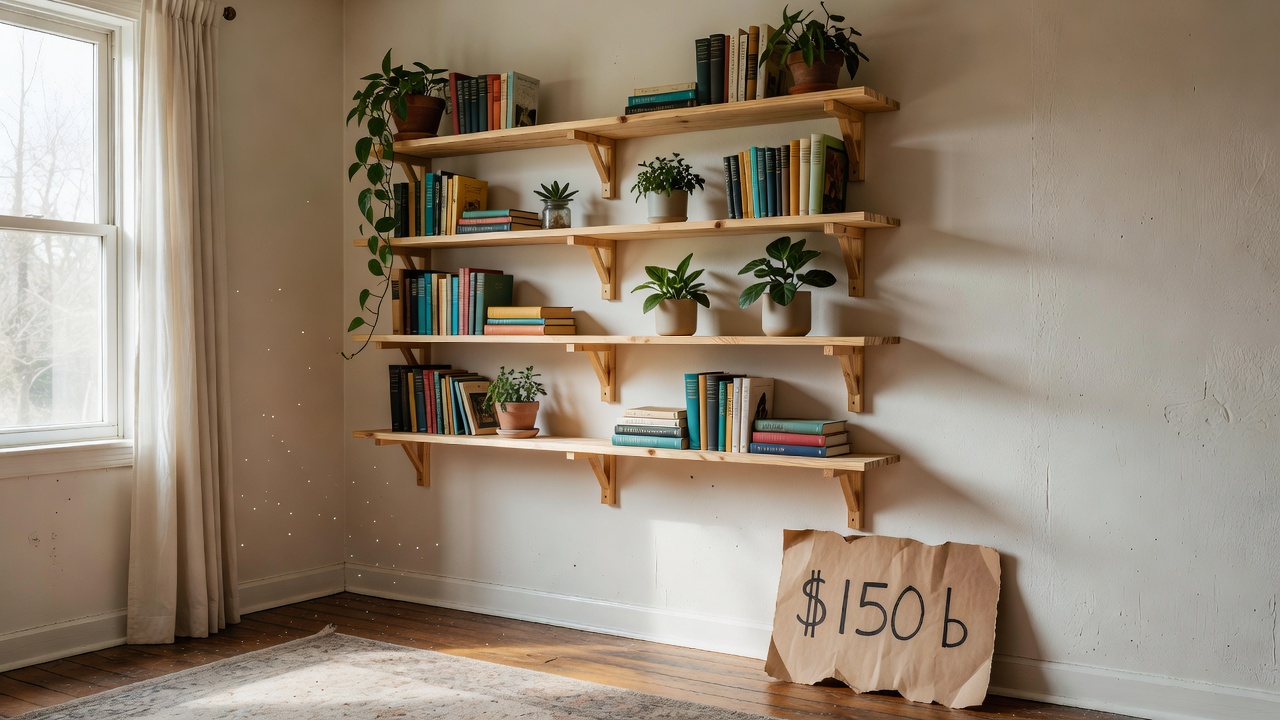
Vertical storage solutions maximize limited footprints. Tall shelving units mounted above the counter free up surface space, while narrow rolling carts allow repositioning for different events. Consider traffic patterns by leaving at least three feet of clearance for comfortable movement. For 2026 trends, integrate slim LED strips along shelves to create ambiance without bulky fixtures. Sketch multiple layout options on paper before committing, testing each for functionality with temporary tape outlines on the floor.
Material Sourcing on a Budget
Sourcing materials involves balancing affordability with durability. Reclaimed lumber from local salvage yards provides character at lower cost than new stock, while standard plywood sheets form reliable bases for frames and counters. Inspect every piece for warping, cracks, or rot, especially when working in older properties where previous moisture issues may exist.
Hardware selections include heavy-duty brackets rated for bar loads and moisture-resistant finishes such as polyurethane or epoxy coatings. Pair these with basic fasteners and corner brackets designed for repeated assembly and disassembly. Explore community marketplaces or construction surplus outlets for unique elements like vintage brackets or pipe fittings that enhance rustic aesthetics. Always verify compatibility with existing home finishes to avoid mismatched appearances.
Essential Tools and Preparation
Before starting construction, assemble a core toolkit that supports accurate cuts and secure assembly. Required items typically include a circular saw or miter saw for straight cuts, a cordless drill with multiple bit sizes, a level, measuring tape, square, sander, and clamps. Safety equipment such as goggles, dust masks, and hearing protection is non-negotiable.
Prepare the workspace by clearing the area and protecting surrounding surfaces with drop cloths. In fixer-uppers, scan walls with a stud finder to locate framing members and avoid hidden utilities. Organize materials by project stage to maintain workflow efficiency.
Step-by-Step Construction Guide
Begin by cutting all frame components to size according to your measured layout. Assemble the base frame on a flat surface, checking each corner for perfect ninety-degree angles with a square. Secure joints with screws rather than nails for greater strength under load.
Attach the countertop surface next, ensuring it overhangs the frame evenly on all sides. Install vertical supports and shelving brackets at consistent heights. Add decorative trim or edging to conceal raw edges and improve appearance. 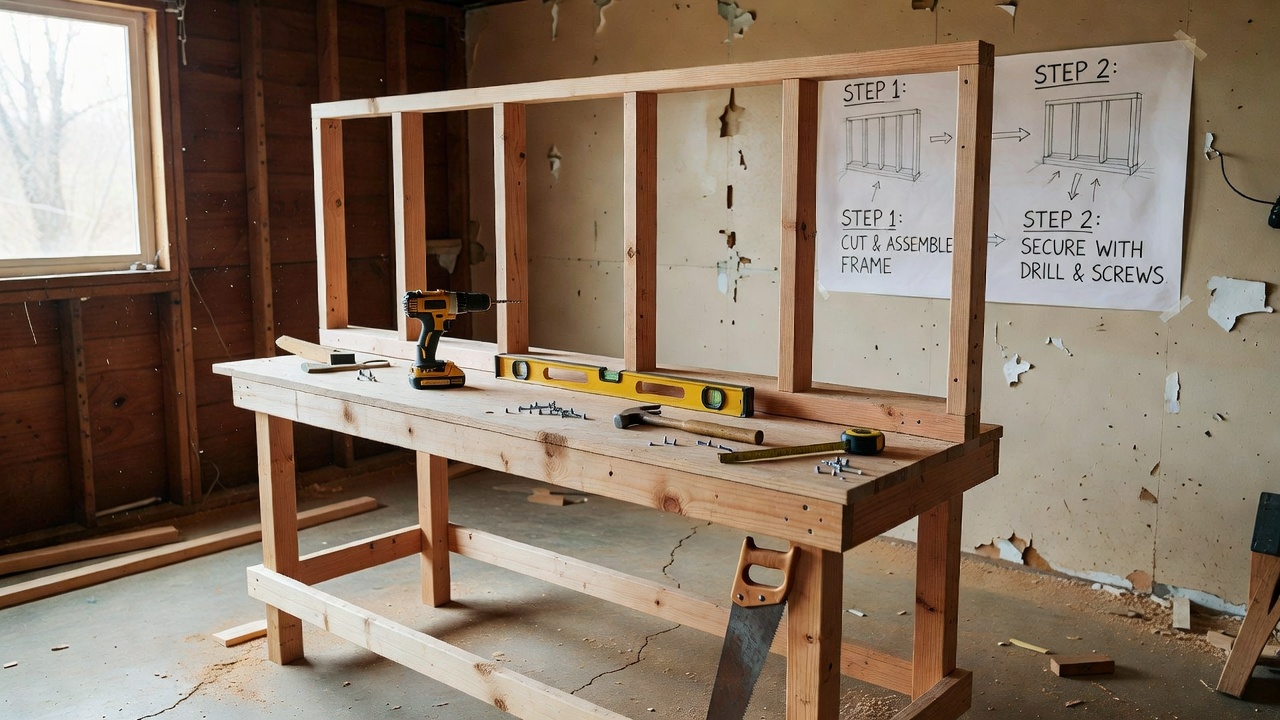
Apply finishes in thin, even coats, allowing full drying time between applications. Install any lighting or glass racks last, testing stability at each stage. Final inspection includes checking for sharp edges, loose hardware, and proper weight distribution.
Style Examples: Rustic, Modern, and Industrial Designs
Rustic styles incorporate distressed wood planks, exposed pipe shelving, and warm-toned stains that evoke traditional taverns. These work especially well in fixer-uppers by complementing original brick or timber elements.
Modern designs favor clean lines, matte black or brushed nickel hardware, and integrated under-shelf lighting for a streamlined look. Industrial variations blend both approaches using metal accents and concrete-style countertops. Each style can incorporate modular add-ons such as hanging stemware racks or hidden bottle storage that adapt to changing needs over time.
Safety Tips and Permit Considerations
Adhere to established safety protocols throughout the build. Follow guidelines from OSHA regarding tool handling and personal protective equipment. In older homes, test surfaces for lead paint before sanding and use appropriate containment methods if present. Consult EPA resources for lead-safe practices common in fixer-uppers.
Check local building codes for any permit requirements related to structural changes or electrical additions. Even minor modifications may need approval in certain municipalities. Durability improves with proper sealing of all wood surfaces and use of corrosion-resistant hardware in humid environments.
Before-and-After Comparisons and Real-World Examples
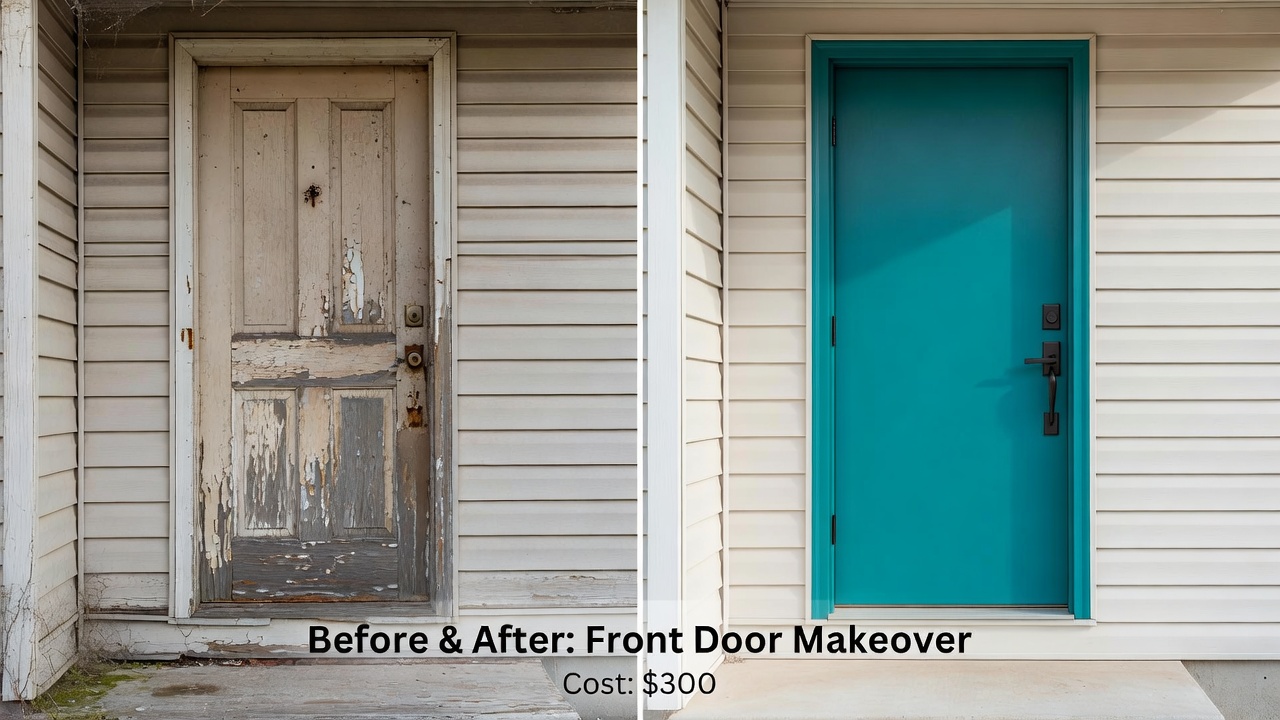
Transformations often turn neglected alcoves into inviting focal points. One common example involves converting a narrow basement landing into a compact bar with floating shelves and a fold-down counter that disappears when not in use. Another approach repurposes an unused dining room corner with a wheeled island that doubles as prep space for parties.
These upgrades consistently increase perceived home value by adding specialized entertaining areas. Document your own before-and-after photos to track progress and inspire future modifications.
Maintenance, Durability, and Long-Term Care
Regular maintenance extends the lifespan of any DIY bar. Wipe surfaces daily with appropriate cleaners and reapply protective coatings annually. Inspect joints and fasteners every six months, tightening as needed. For high-traffic use, choose finishes rated for frequent cleaning and moisture exposure.
FAQs on Durability, Permits, and Beginner Challenges
- How long do these bars typically last with regular use? Well-constructed builds using quality materials often remain functional for many years when properly maintained.
- Are permits usually required for simple bar projects? Requirements vary widely by location; always verify with local authorities before beginning work that involves structural changes.
- What common mistakes should beginners avoid? Rushing measurements, skipping level checks, and underestimating material weight are frequent issues that compromise stability.
- Can these designs accommodate future plumbing additions? Modular construction allows easy integration of sinks or refrigeration later without full disassembly.
- How do 2026 trends influence material choices? Emphasis on sustainable and reclaimed options continues to grow, favoring pieces that reduce environmental impact while lowering costs.
Conclusion
Creating a DIY home bar in a fixer-upper combines practical skills with creative expression. By following detailed planning, sourcing thoughtfully, and executing each construction phase methodically, you achieve a personalized space that supports 2026 home improvement goals. The result delivers ongoing entertainment value and strengthens the overall appeal of your property through thoughtful, budget-conscious upgrades.
No comments yet. Be the first!