 Fixated on Home
Introduction
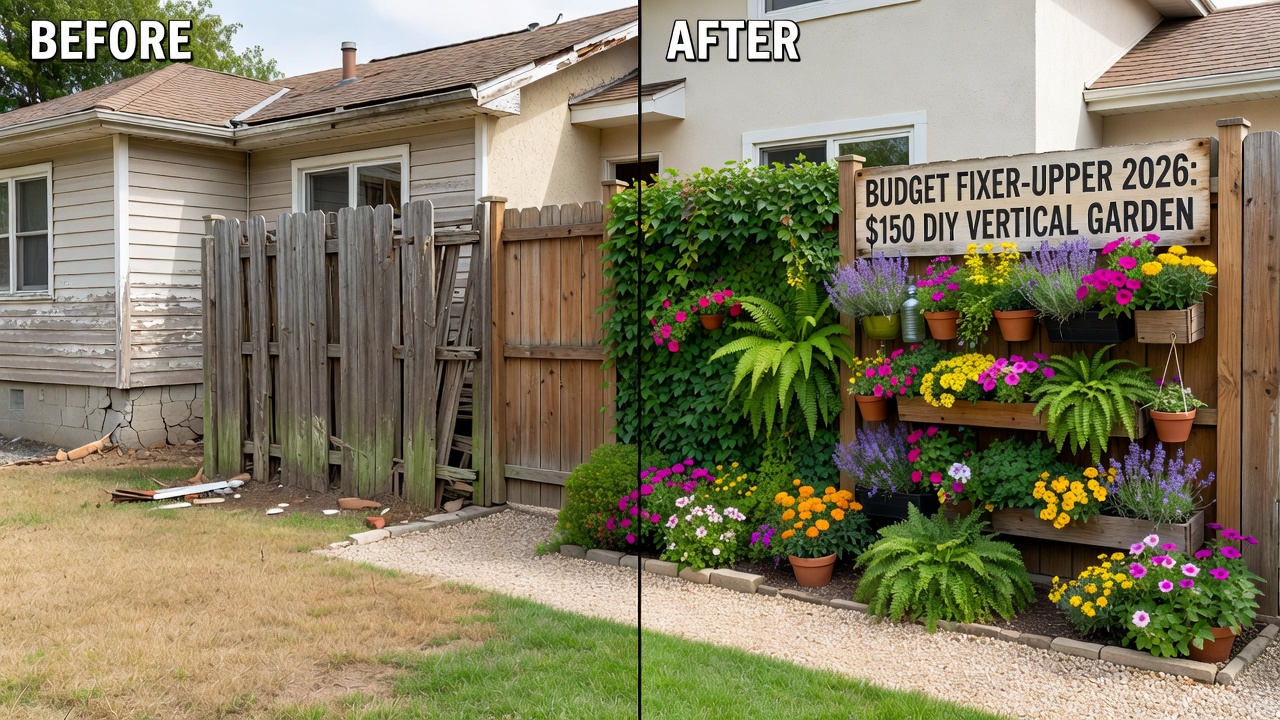
Transforming unused corners in fixer upper homes into personal gyms doesn't require a large budget or professional contractors. In 2026, homeowners are increasingly turning to DIY solutions that blend seamlessly with renovation styles while prioritizing safety and functionality. This guide covers practical projects designed for beginners, focusing on total costs kept under a few hundred dollars. Whether you have a small basement alcove or an awkward garage bay, these ideas help create effective training environments without sacrificing structural integrity or home aesthetics.
Assessing Your Available Space
Begin every project by carefully measuring the intended area. Common fixer upper spots include underutilized basements, laundry rooms, or even wide hallways. Check ceiling height for overhead movements and evaluate floor load capacity by inspecting joists if possible. Good ventilation prevents moisture buildup that could damage equipment over time. Sketch a simple floor plan noting windows, doors, and electrical outlets to avoid future obstructions during workouts.
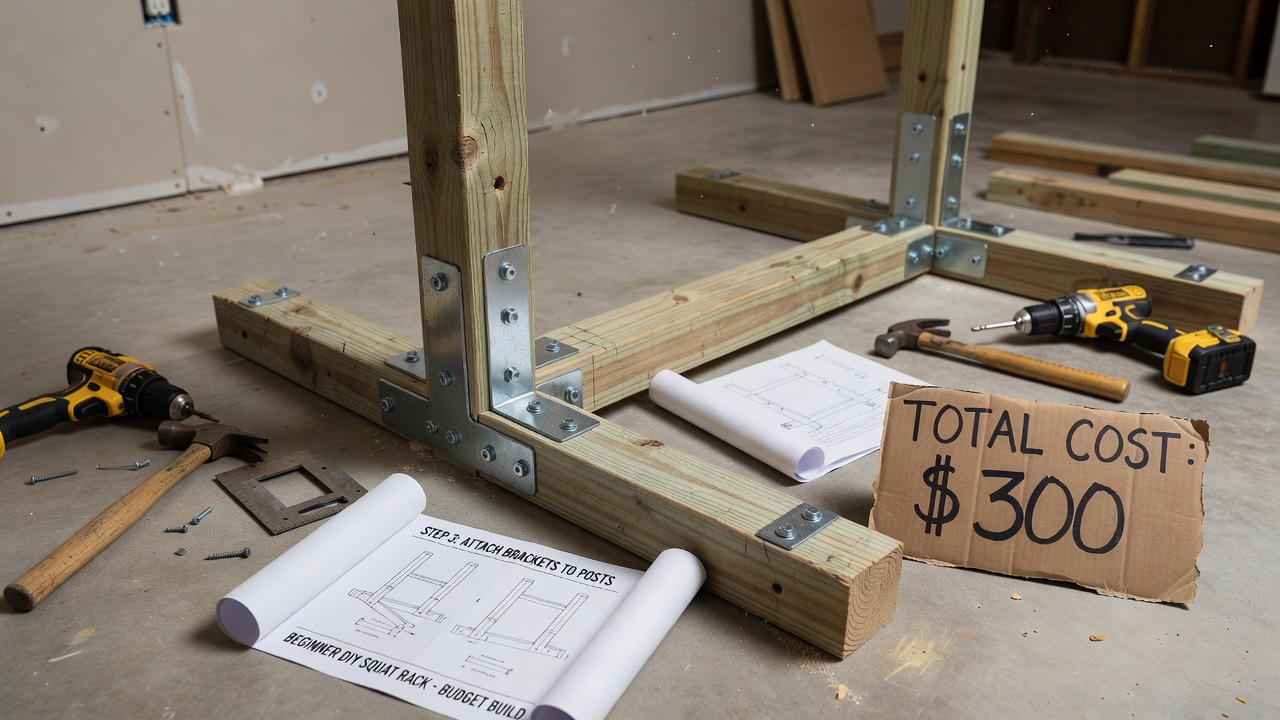
Selecting Durable and Affordable Materials
Focus on pressure-treated lumber for vertical posts, heavy-duty metal brackets, and recycled rubber flooring tiles. These materials resist wear from repeated use and humidity common in older homes. Always verify load ratings on hardware before purchase. A basic material list includes 4x4 posts, 2x6 cross members, carriage bolts, and interlocking mats. Source items from local hardware stores to keep transportation costs low and support community businesses.
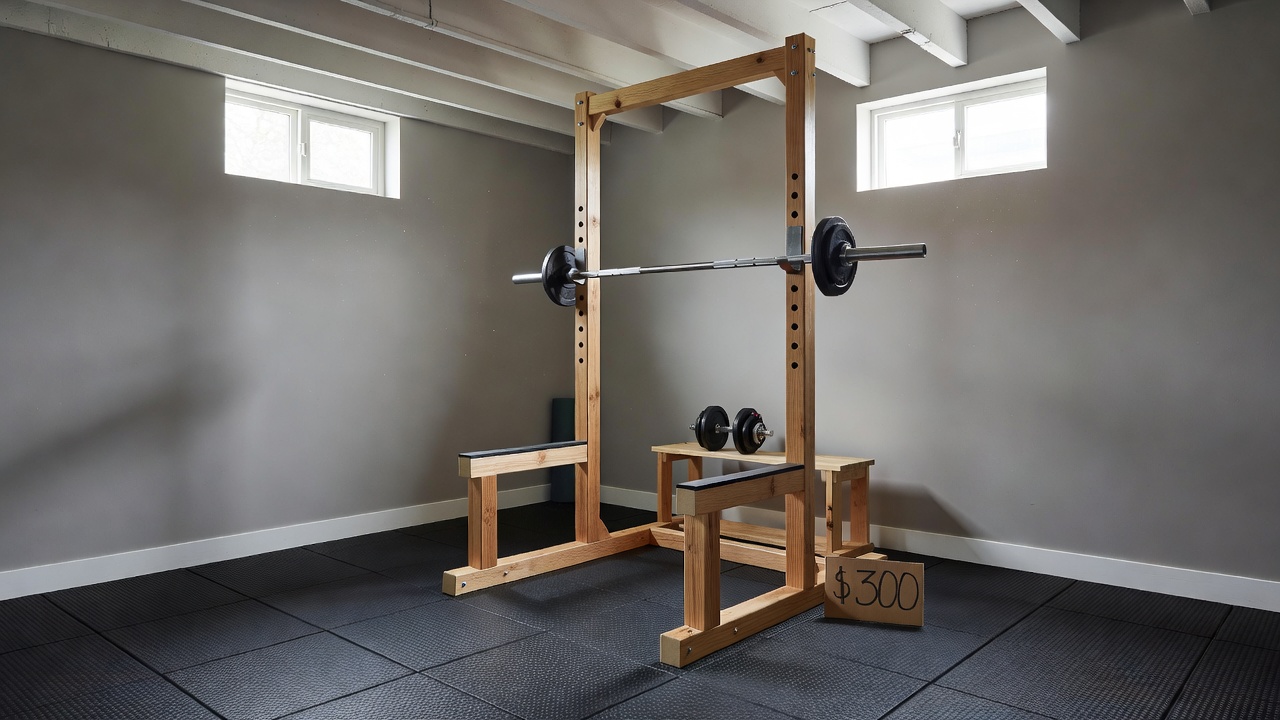
Step-by-Step Guide to Building a Basic Squat Rack
Start by cutting four 4x4 posts to approximately seven feet using a circular saw. Attach metal base plates to the bottom of each post with lag screws. Position the posts eight feet apart and secure them to the floor using concrete anchors for stability on slab foundations. Install horizontal crossbars at multiple heights using carriage bolts and washers. Add diagonal bracing on the rear for extra rigidity against lateral forces. Always double-check plumb with a level after each assembly stage and wear appropriate safety gear including gloves and eye protection.
DIY Flooring Solutions for Safety and Durability
Proper flooring protects both your subfloor and joints during dynamic movements. Interlocking rubber tiles offer excellent shock absorption and can be installed directly over clean concrete. For wooden subfloors in older homes, first lay a thin plywood underlayment to distribute weight evenly. Seal all seams with heavy-duty tape to prevent shifting. This setup reduces noise transmission to other living areas and provides a consistent surface for free weights or bodyweight circuits.
Adding Functional Storage and Accessories
Maximize limited space by incorporating wall-mounted hooks for resistance bands and medicine balls. Build simple shelving units from leftover lumber to hold smaller items like jump ropes and yoga mats. Fold-down benches attached with heavy hinges allow quick conversion between storage and active use. These additions keep the area organized and encourage consistent training habits.
Safety Considerations for Beginner Builders
Safety must remain the top priority throughout construction and use. Inspect all connections monthly for loosening bolts. Never exceed the weight capacity of your custom rack and start with lighter loads to test stability. Keep a first aid kit nearby and ensure clear pathways around equipment. Following guidelines from OSHA on proper tool handling helps minimize common workshop injuries during the build phase.
Comparing DIY Builds to Commercial Equipment
Commercial racks often cost several times more and may not fit irregular fixer upper layouts. DIY versions allow full customization such as adding pull-up bars or storage hooks tailored to your exact dimensions. While commercial units feature polished finishes, well-built DIY alternatives deliver comparable strength when assembled with quality fasteners. The flexibility to modify or expand later gives DIY projects a long-term advantage for evolving fitness needs.
Integrating Your Gym with Existing Renovation Styles
Match wood tones to restored trim using matching stains or paints. Matte black finishes on metal brackets complement industrial elements frequently found in fixer uppers. Conceal equipment behind folding room dividers when not in use to preserve the home's overall aesthetic during showings or family gatherings. This thoughtful integration maintains property value while delivering personal wellness benefits.
Real-World 2026 Project Examples
One couple in a 1950s bungalow converted a 10x12 laundry room using reclaimed barn wood for rack uprights and horse stall mats for flooring, completing the project over a single weekend. Another homeowner transformed a narrow utility alcove adjacent to the crawlspace into a compact training zone featuring wall-mounted resistance systems and a fold-down bench. Both examples stayed well within modest budgets and integrated smoothly with ongoing whole-house renovations.
Common Mistakes to Avoid
- Skipping proper anchoring of vertical posts leading to wobbly structures during use.
- Choosing low-grade lumber that warps quickly in damp environments.
- Ignoring ventilation needs which can cause mold growth around mats.
- Overloading racks beyond tested capacities without additional bracing.
- Failing to measure twice before cutting resulting in wasted materials.
Frequently Asked Questions
How do I handle limited space constraints?
Focus on vertical storage solutions like wall-mounted racks and foldable benches. Measure twice and opt for multi-functional equipment such as adjustable dumbbells that store compactly. Prioritize exercises that require minimal footprint including bodyweight circuits and resistance band routines.
What basic tools are required for these projects?
A circular saw, cordless drill with various bits, carpenter's level, socket set, and measuring tape cover most builds. Rent specialized tools like rotary hammers for concrete anchoring if your project involves slab floors. Keep a dust mask and safety glasses on hand at all times.
Are these setups safe for beginners?
Yes, when load ratings are respected and assemblies are checked regularly. Start with bodyweight movements before adding resistance and consult CDC physical activity resources for proper form guidance. Gradual progression prevents injury and builds confidence.
Conclusion
These budget-conscious DIY approaches empower fixer upper owners to create effective home gyms without compromising on safety or style. With careful planning, quality materials, and attention to detail, your personalized workout space can be ready in days rather than weeks, supporting long-term health goals while enhancing your home's functionality.
No comments yet. Be the first!