 Fixated on Home
Introduction: Creating a Personal Library on a Budget in 2026
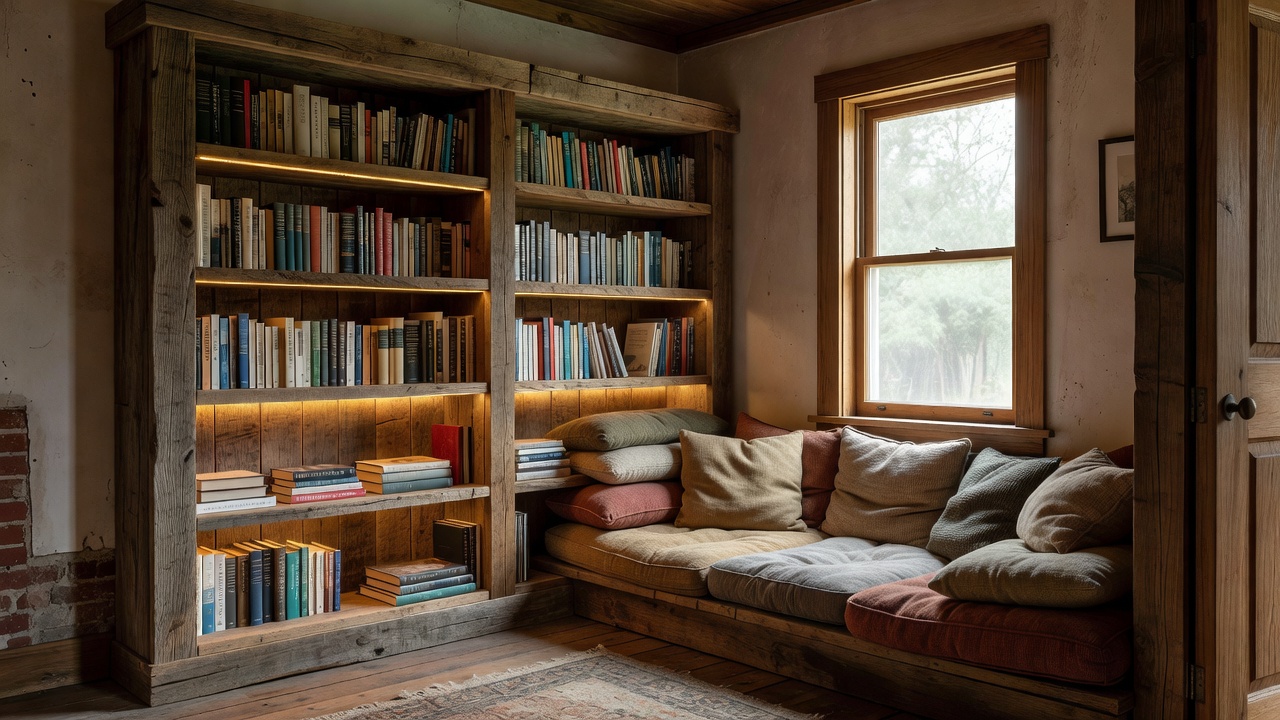
Homeowners in 2026 are increasingly turning unused corners and small rooms into cozy home libraries. These DIY projects blend storage, seating, and lighting upgrades using fixer-upper techniques and materials that keep total costs modest. Whether you have a tight alcove or a spare nook, this guide covers practical methods for beginners while offering advanced customization options. With rising interest in sustainable living, reclaimed wood and smart storage hacks make these builds both affordable and eco-friendly. Real examples from recent renovations show how simple steps deliver impressive before-and-after results, helping you create a dedicated reading space that enhances your home without major renovations.
Building your own library encourages a love of reading while adding value to your property. It allows full customization to match your style and available space. This comprehensive approach covers everything from initial planning to final touches, ensuring a durable and inviting result.
Assessing Your Space for a Successful Build
Start by measuring the available area carefully. Note wall dimensions, ceiling height, and any obstacles like windows, outlets, or doors. Use a tape measure and graph paper to sketch the layout, marking electrical points and potential furniture placements. Identify load-bearing walls by checking for vertical studs with a stud finder or consulting building plans from your local permit office. For moisture control, test humidity levels with an inexpensive meter to prevent mold on books and wood. Choose locations with good natural light but away from direct sun to protect book spines from fading. Small rooms under 100 square feet work best for compact designs that maximize vertical space. Consider traffic flow so the library does not obstruct daily movement. Evaluate floor strength for added weight from books and seating. If the area has uneven floors, plan for leveling adjustments during construction. This thorough assessment prevents costly mistakes later and ensures the library integrates seamlessly into your home.
Sourcing Reclaimed Wood Affordably
Reclaimed wood adds character without high costs. Check local salvage yards, construction sites, or online marketplaces for free or low-cost pallets and barn boards. Sand and treat the wood to remove splinters and apply a sealant for durability. Always verify wood is dry and free of pests before bringing it home. This approach supports sustainable practices while keeping your project within budget limits. Look for hardwoods like oak or pine that offer strength for shelving. Prepare the wood by cleaning with mild soap and allowing it to acclimate to your home's humidity for several days. Community forums and local reuse centers often provide tips on safe sourcing. By reusing materials, you contribute to reducing waste and create a unique aesthetic that new lumber cannot match.
Step-by-Step Simple Shelving Construction
Follow these beginner-friendly steps for sturdy shelves that can hold substantial weight. Gather materials including reclaimed boards, brackets, screws, a level, drill, and safety gear. Mark shelf positions on the wall using a pencil and ensure even spacing of about 12 to 15 inches apart for standard books. Secure brackets into studs for reliable support, using a stud finder to locate them accurately. Attach boards and check for level alignment after each installation. Finish with paint or stain for a polished look that matches your decor. Advanced options include adding adjustable brackets for future rearrangements or incorporating decorative trim for a custom appearance. Take time to sand edges smooth and pre-drill holes to avoid splitting the wood. Test each shelf with sample books before finalizing.
Integrating Smart Storage Hacks and Lighting
Combine seating with storage using ottomans that double as book bins or window seats with lift-up lids. Install under-shelf LED strips for energy-efficient lighting that highlights your collection and creates a warm ambiance. These upgrades enhance functionality without exceeding budget constraints. Compare options like wall-mounted versus freestanding units based on your room layout and permanence needs. Add vertical dividers for organizing different book sizes and incorporate charging stations for e-readers. Practical examples show how magnetic strips can hold small tools or bookmarks neatly. Lighting choices should include dimmable options to suit reading at different times of day. This integration turns a basic shelf setup into a multifunctional space that encourages daily use.
Real 2026 Examples, Cost Breakdowns, and Comparisons
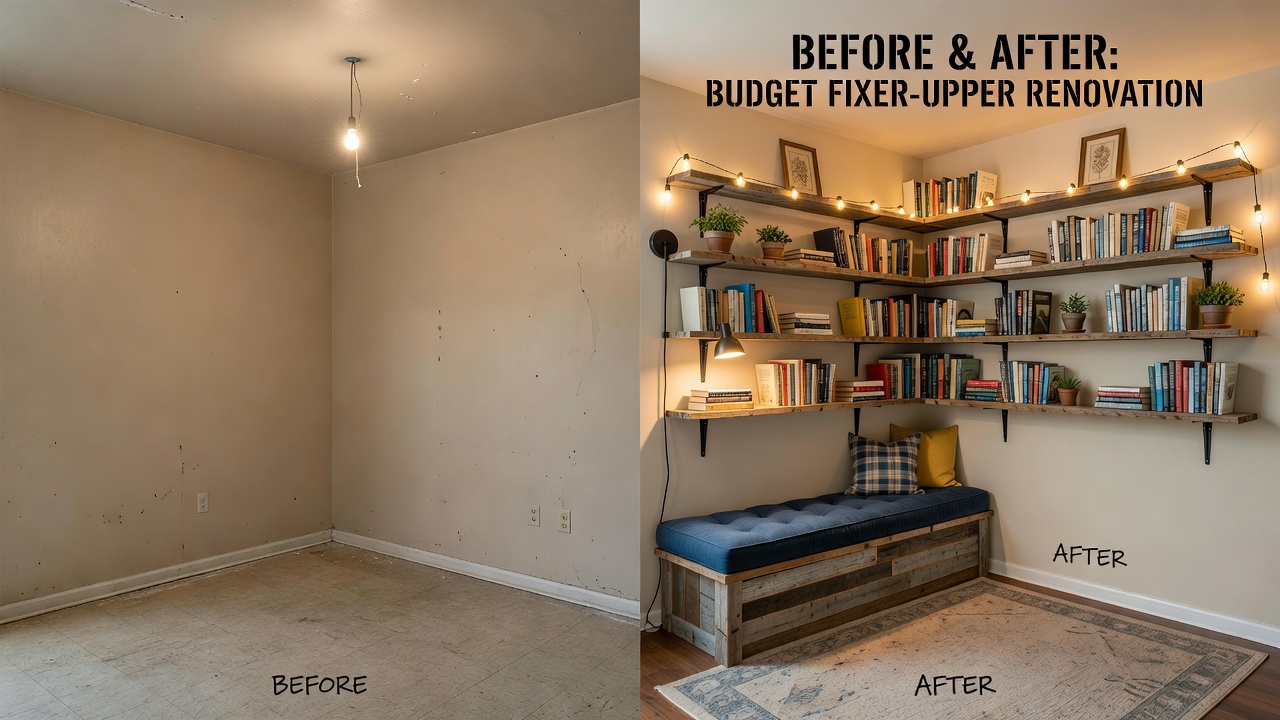
One 2026 renovation in a suburban fixer-upper turned a 6x8 foot corner into a library using reclaimed pine. Before photos showed bare walls; after revealed organized shelves holding hundreds of books plus a reading chair with integrated storage. Another project in an urban apartment incorporated moisture barriers for basement spaces, resulting in a dry, inviting area. A third example from a rural home used pallet wood for rustic shelves that complemented existing beams. Qualitative breakdowns emphasize prioritizing essentials like brackets and sealant first. Before-and-after comparisons highlight how vertical builds maximize small areas effectively compared to buying pre-made furniture. These cases demonstrate adaptability across different home styles and sizes.
Handling Common Challenges: Load-Bearing Walls and Moisture
For load-bearing concerns, avoid cutting into critical studs and use floating shelf designs instead. Address moisture with vapor barriers and dehumidifiers. Follow guidance from EPA resources on indoor moisture control to maintain healthy conditions. Test regularly and ensure good ventilation. Additional tips include using treated wood in damp areas and sealing all joints thoroughly. These steps ensure long-term stability and protect your investment in books and furniture.
Mistakes to Avoid in DIY Library Builds
Common errors include underestimating weight capacity, leading to sagging shelves. Always reinforce with extra brackets. Ignoring humidity can cause wood warping, so acclimate materials properly. Poor planning of lighting leaves dark spots that reduce usability. Skipping safety gear during cutting or drilling risks injury. Overlooking electrical outlets may limit future lighting additions. Comparing your project to professional installs helps set realistic expectations for finish quality.
FAQ
What if my wall is load-bearing? Consult a professional or opt for freestanding units to avoid risks.
How do I control moisture? Use sealants and monitor humidity regularly with affordable tools, referencing This Old House moisture guides.
Can beginners complete this in a weekend? Yes, with basic tools and pre-cut materials, though complex designs may take longer.
Are there advanced customization ideas? Add hidden compartments or integrated charging stations for tech-savvy readers, drawing inspiration from Bob Vila DIY techniques.
What tools are essential? A drill, level, stud finder, and sander form the core set for safe and accurate work.
Conclusion
These 2026 DIY home library builds prove that creative planning turns budget constraints into opportunities. By focusing on space assessment, reclaimed materials, and practical steps, you can create a functional, inviting space that grows with your needs. Start small, stay safe, and enjoy the transformation into a personal sanctuary for reading and relaxation.

No comments yet. Be the first!