 Fixated on Home
Introduction to Budget-Friendly Rainwater Harvesting
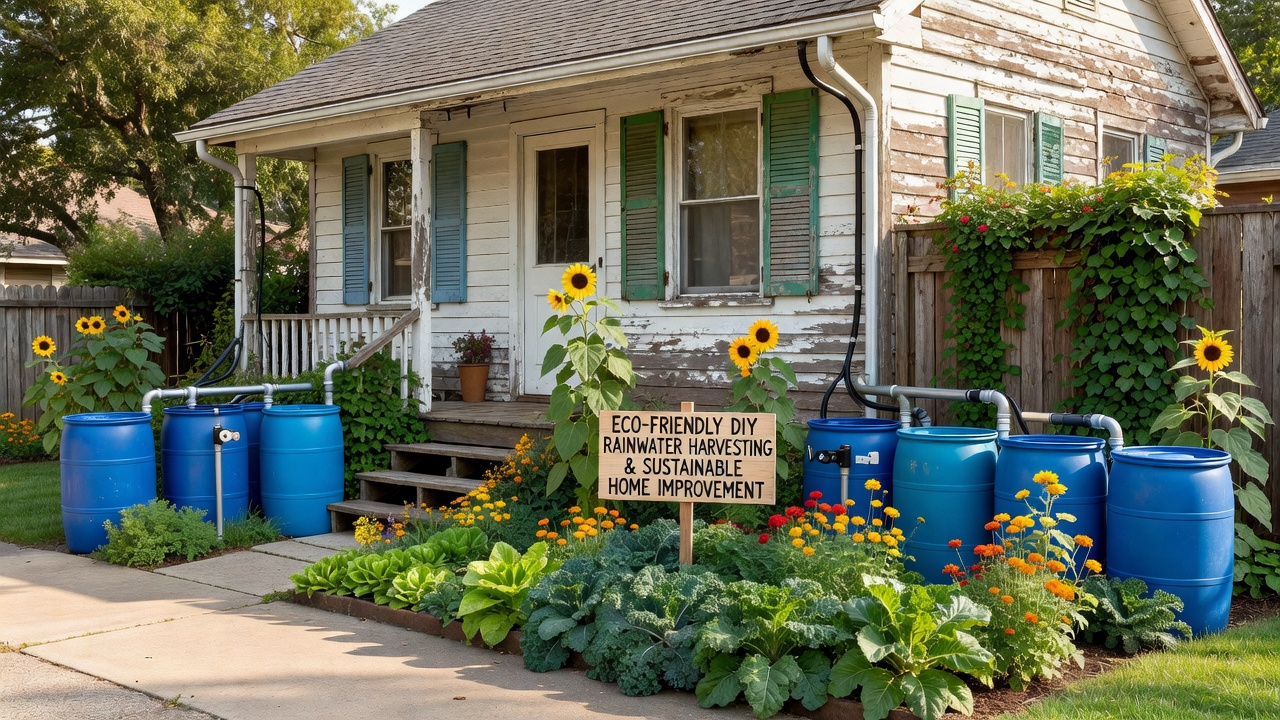
Fixer-upper homes present unique opportunities for sustainable upgrades that improve both daily living and long-term property value. Rainwater harvesting involves collecting precipitation from rooftops and storing it for non-potable uses such as garden irrigation and laundry. This approach appeals to eco-conscious homeowners who want to reduce water bills while adding visible green features that enhance curb appeal. The methods described here focus on beginner-friendly techniques suitable for tight budgets, using readily available materials and basic tools. By implementing these systems, property owners can achieve meaningful environmental benefits without requiring professional installation or advanced plumbing expertise.
Many older homes already have the basic infrastructure like gutters and downspouts that can be adapted with minimal modifications. This guide provides in-depth coverage of each component, from initial planning to ongoing maintenance, ensuring readers gain the confidence to complete the project successfully. Real-world examples illustrate how similar homes have transformed neglected outdoor spaces into functional, attractive assets.
Assessing Your Home's Suitability for Rainwater Collection
Before purchasing any supplies, evaluate your roof, gutters, and available space. Measure the roof surface area to estimate potential collection volume during average rainfall. Homes with steep slopes or large overhangs often yield higher yields, while flat roofs may need additional channeling. Inspect existing gutters for damage and ensure downspouts can be redirected toward storage locations without crossing walkways. Consider soil drainage around the house to avoid pooling water near foundations. These preliminary steps prevent costly adjustments later and help tailor the system to your specific property layout.
Selecting Affordable Barrels and Tanks
Food-grade plastic barrels or repurposed IBC totes from local suppliers offer reliable, low-cost storage solutions. Choose models with tight-fitting lids and UV protection to inhibit algae growth. Linking multiple smaller units allows customization based on household needs and available space. Position barrels on stable platforms slightly elevated above ground level to facilitate gravity flow. Always verify that containers have never held hazardous substances by checking for original labeling or certificates from the source.
Roof Collection Setup for Various Home Styles
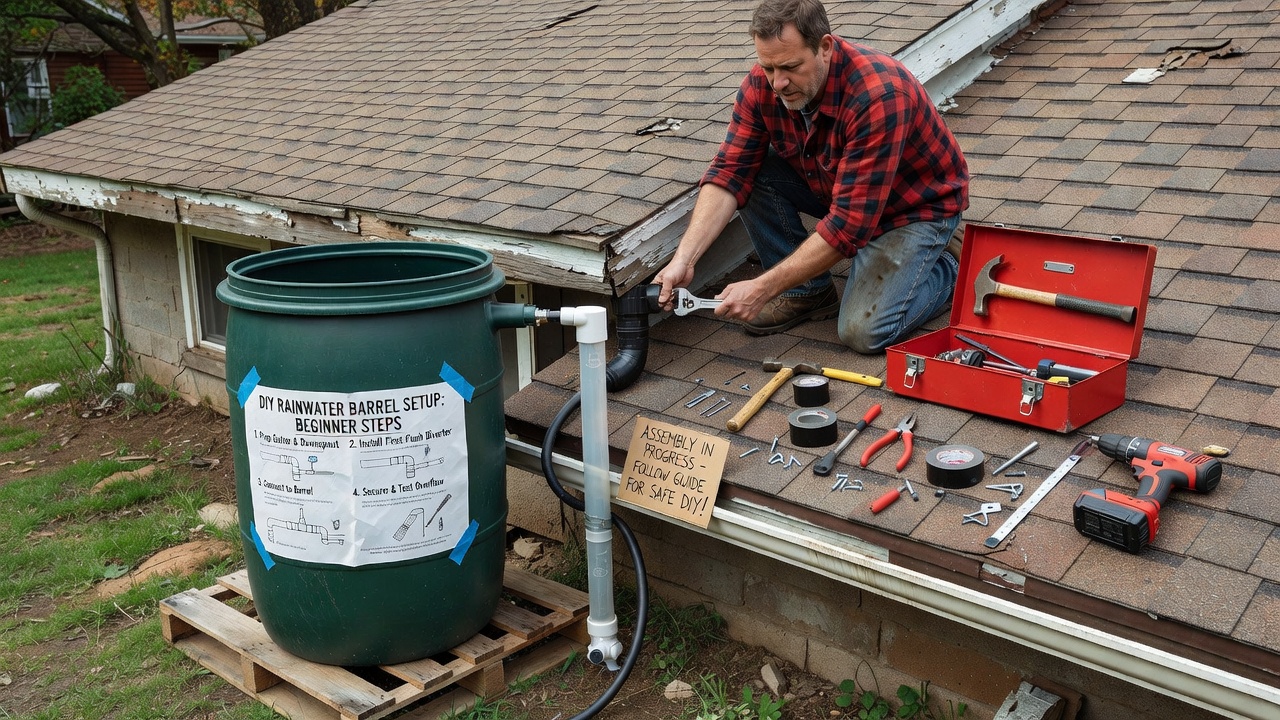
Adapt collection methods to your roof type. Shingle roofs benefit from standard gutter extensions, while metal roofs allow seamless integration with existing flashing. Tile roofs require careful sealing around attachment points to prevent leaks. Install a first-flush diverter on each downspout to discard the initial dirty runoff containing dust and debris. Secure all connections with stainless steel clamps and silicone sealant rated for outdoor use. For homes with multiple roof sections, create a manifold system that channels water from several downspouts into a central collection point. Practical examples include Victorian-era fixer-uppers where decorative downspouts were preserved while adding hidden collection lines that maintain architectural charm.
Basic Filtration and Pump Options
Coarse mesh screens at inlet points remove leaves and twigs, while secondary sediment filters improve clarity for garden applications. For laundry connections, incorporate a finer cartridge filter that can be easily replaced. Gravity-fed setups work well when barrels sit higher than the point of use, but small submersible pumps extend reach for indoor applications. Select pumps with automatic shut-off features to prevent dry running. Install backflow preventers on all outlet lines to maintain system integrity and comply with basic safety standards. Walk through a sample setup where a pump moves water from an outdoor barrel to a laundry room spigot during dry periods.
Safe Connections to Garden and Laundry Use
Route outlet hoses to drip irrigation lines or soaker hoses in raised beds for efficient garden watering. For laundry use, connect through a dedicated exterior spigot equipped with a vacuum breaker. Clearly label all non-potable lines with permanent markers or tags. Avoid any cross-connection with household drinking water systems. Test the complete assembly during a rainfall event to confirm adequate flow and identify any weak points that need reinforcement.
Material Lists and Cost-Saving Comparisons
Core components include storage containers, downspout adapters, screens, flexible hoses, sealants, and basic hand tools such as drills and wrenches. Source barrels from recycling centers or restaurant suppliers to minimize expense. Compare this DIY route to commercial kits by noting greater flexibility in sizing and placement. Salvage yards often provide suitable hardware at reduced rates compared to new retail purchases. Over time, the system delivers ongoing savings through decreased municipal water consumption, particularly in regions with seasonal watering restrictions.
Before-and-After Case Studies
A 1950s suburban fixer-upper added linked barrels along the rear property line, transforming a patchy lawn into a productive vegetable garden that produced surplus produce for neighbors. Curb appeal improved dramatically with the addition of trellises screening the barrels. In an urban row home, a metal roof collection system was connected to an indoor laundry setup, reducing water usage noticeably during peak summer months. These cases demonstrate adaptability across architectural styles while highlighting increased property desirability for future buyers seeking sustainable features.
Common Mistakes to Avoid
Beginners often overlook the importance of stable barrel foundations, leading to tipping risks during heavy rain. Another frequent error involves inadequate screening that allows mosquitoes to breed in standing water. Always plan overflow routes that direct excess water away from the house foundation. Skipping the first-flush diverter results in dirtier stored water that clogs filters faster. Reviewing these pitfalls helps ensure a smooth installation process.
Maintenance, Permits, and Winter Prep: FAQ
- How often should the system be cleaned? Inspect and clean inlet screens monthly during rainy seasons, and empty accumulated sediment from barrels every three months.
- Are permits required? Local building departments typically encourage rainwater systems, but always verify zoning rules before starting construction.
- What about winter preparation? Completely drain barrels and disconnect hoses before the first freeze, then insulate any remaining pipes with foam sleeves.
- How can mosquito breeding be prevented? Use tight lids and add a drop of vegetable oil to the water surface if needed.
Additional considerations include monitoring water levels during extended dry spells and rotating storage use to keep the system active.
Long-Term Savings and Property Value Benefits
Over multiple seasons, harvested rainwater significantly lowers outdoor water consumption. The visible green infrastructure also appeals to buyers prioritizing sustainability, potentially shortening time on market when selling. Documenting the installation with before-and-after photos provides strong marketing material for future real estate transactions.
Conclusion
A well-planned rainwater harvesting system turns fixer-uppers into more resilient and attractive properties. With attention to detail and basic maintenance, these upgrades provide lasting environmental and financial rewards. For further guidance, consult resources from the EPA, CDC healthy water guidelines, and USGS water science.


No comments yet. Be the first!