 Fixated on Home
Introduction: Brighten Your Fixer-Upper on a Budget
Adding natural light transforms dim spaces in older homes, making rooms feel larger and more inviting. For budget-conscious homeowners tackling fixer-uppers, a DIY skylight project offers an affordable way to improve living areas without major structural renovations. This comprehensive guide walks through every stage including detailed planning, material choices within a modest budget, installation across multiple roof types, safety protocols, and long-term considerations to ensure lasting success in 2026. Homeowners often report increased home value and reduced reliance on artificial lighting after completing such projects.
Planning Your Skylight Project in Detail
Begin by thoroughly assessing your home's roof structure, attic space, and interior layout. Measure the target room carefully to determine optimal skylight placement that maximizes sunlight throughout the day. Walk the roof to inspect for damage, sagging areas, or existing vents that could complicate the install. Consider the direction your roof faces, as south-facing orientations typically deliver the most consistent light in northern climates. Review local building codes and zoning rules early in the process, since permits may be required based on skylight size and your municipality. Create a simple timeline that accounts for weather, material delivery, and any overlapping renovations like insulation upgrades or ceiling repairs. Document the current condition with photos for reference and insurance purposes.
Comparing Tubular vs. Traditional Skylights
Tubular skylights work well in small bathrooms, hallways, or closets because of their compact design and relatively straightforward installation that requires minimal roof cutting. They channel light through reflective tubes and often cost less upfront. Traditional skylights, by contrast, deliver larger volumes of light suitable for living rooms or kitchens but involve bigger openings and more complex framing. For fixer-uppers on tight budgets, tubular models frequently integrate better with existing rooflines and require fewer specialized tools. Consider your room's ceiling height and desired light intensity when deciding. Many homeowners start with a tubular unit as a low-risk first project before attempting a full-size traditional model.
Material Selection and Budget Considerations
Focus on durable flashing kits, high-grade exterior sealant, and basic skylight units available at major home improvement retailers. Choose weather-resistant materials rated for your local climate conditions to avoid premature failure. Look for units with double-pane glazing to improve energy performance. When integrating with other budget renovations, coordinate skylight work with tasks such as attic insulation or interior painting so materials can be purchased together for potential savings. Always verify compatibility between the skylight frame and your roofing material before purchase.
Essential Tools and Rigorous Safety Considerations
Assemble a complete toolkit including a circular saw with fine-tooth blade, cordless drill, torpedo level, tape measure, utility knife, caulk gun, reciprocating saw, and pry bar. Safety equipment is non-negotiable: use a full-body harness anchored securely, non-slip roofing boots, safety goggles, and work gloves. Never work alone on the roof; always have a spotter on the ground. Check weather forecasts and avoid installation on windy or rainy days. Inspect ladders for stability and set them on firm ground. For attic work, wear a dust mask and use temporary lighting. These precautions reduce common injuries associated with roof projects.
Step-by-Step Installation for Various Roof Types
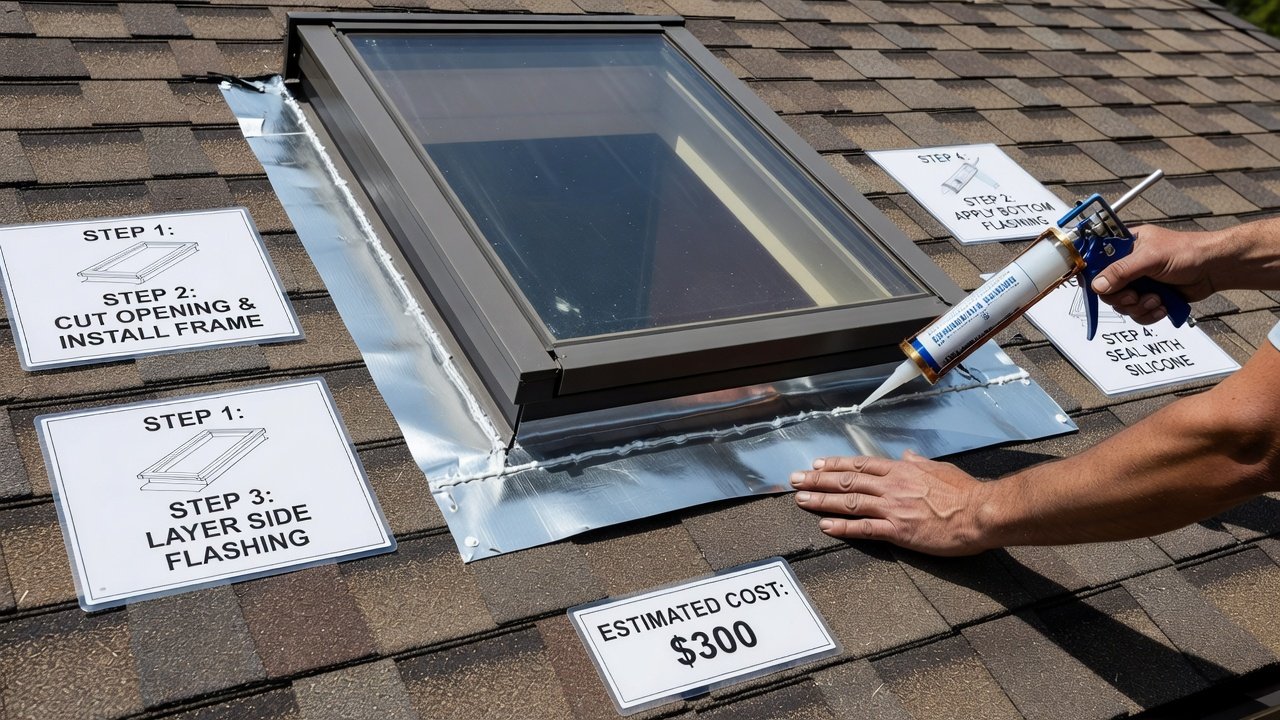
For asphalt shingle roofs, first mark the interior ceiling location using a stud finder and level, then transfer measurements to the roof surface. Cut the opening from above after removing shingles in the marked area. Frame the rough opening with lumber, set the skylight curb, and secure it with screws. Install step flashing along the sides and a cricket flashing at the top for water diversion. Replace shingles carefully around the unit. Metal roofs require pre-formed flashing designed specifically for the panel profile to maintain waterproofing. Tile roofs demand extra care: remove tiles without breaking them, cut the underlayment, then reinstall tiles around the new flashing. In all cases, follow the manufacturer's torque specifications and seal every penetration point. Allow extra time for older roofs that may have uneven surfaces or deteriorated sheathing.
Sealing and Flashing Methods Explained
Effective flashing diverts rainwater away from the skylight edges using layered metal pieces that tuck under shingles or panels. Apply a continuous bead of exterior-grade polyurethane sealant around the curb and under flashing edges. For added protection, install ice-and-water shield membrane around the entire opening before setting the unit. Test the installation by running water from a garden hose over the skylight and checking the attic for moisture after several hours. Reapply sealant annually as part of routine maintenance. Poor flashing is the leading cause of leaks, so take extra time during this phase.
Common Pitfalls and Practical Solutions
- Pitfall: Incorrect sizing leading to gaps or structural issues. Solution: Measure twice and create a template before any cutting.
- Pitfall: Ignoring roof pitch and drainage. Solution: Select models with built-in angles or add tapered curbs as needed.
- Pitfall: Overlooking electrical or HVAC lines in the attic. Solution: Use a borescope camera to inspect hidden areas first.
- Pitfall: Inadequate ventilation after install. Solution: Add ridge vents or gable vents if the skylight reduces natural airflow.
Integrating with Budget Reno Plans and Real Before-After Examples
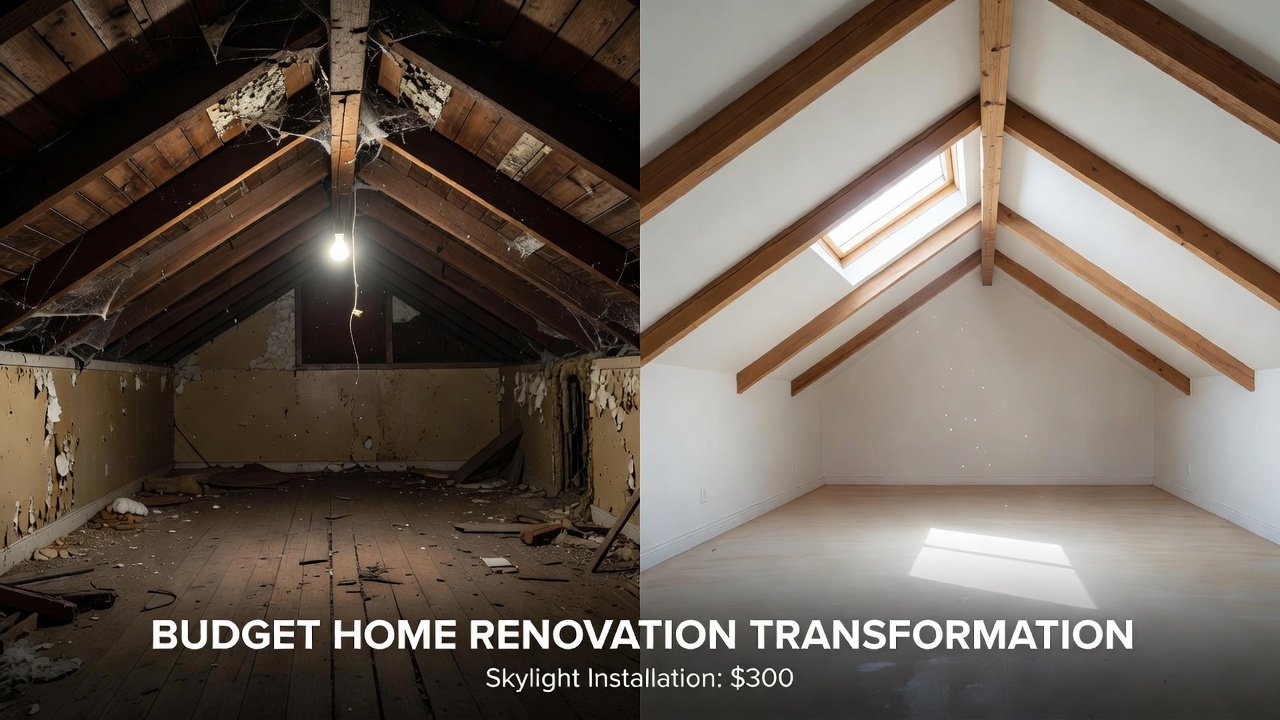
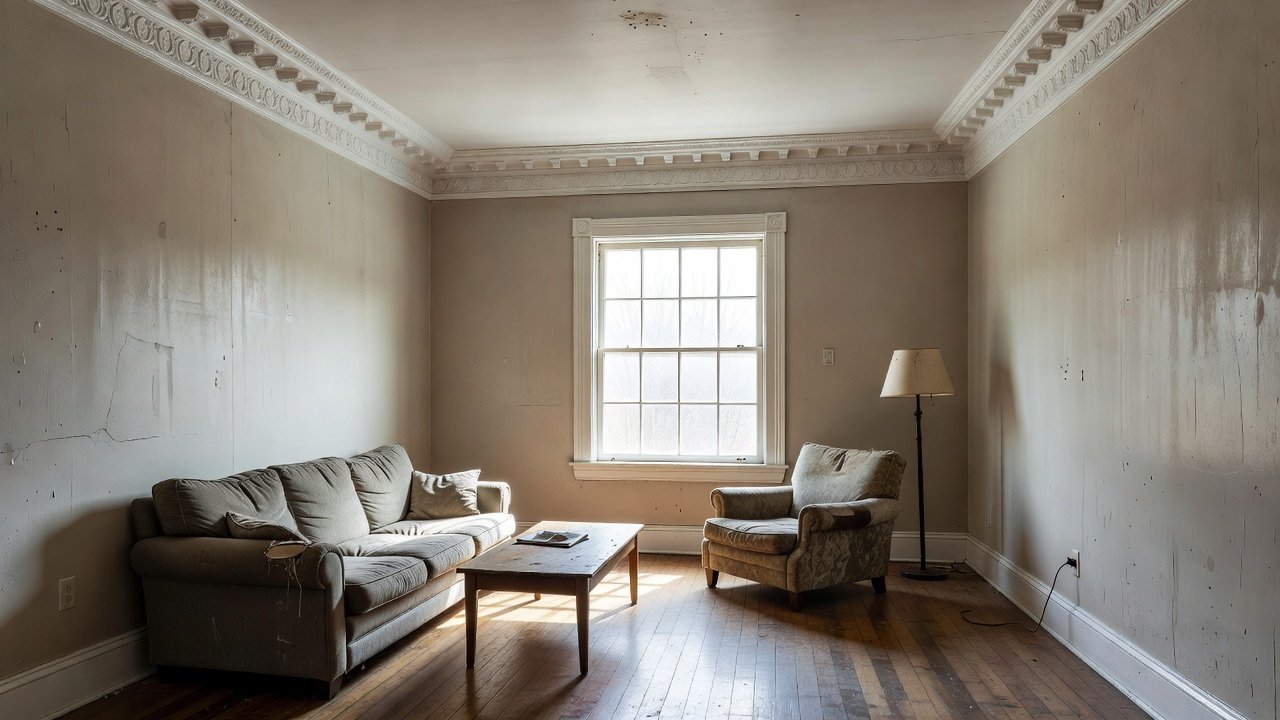
Coordinate skylight installation with other low-cost improvements such as adding insulation, updating light fixtures, or refreshing wall colors to maximize visual impact. A typical before example shows a dark living room requiring lamps even during daylight hours. After completion, the same space feels open and airy with sunlight highlighting architectural details. These changes often complement kitchen or bathroom updates by bringing consistent natural light into adjacent areas. Track progress with dated photos to document the transformation for future resale value.
Energy Efficiency and Long-Term Maintenance
Choose units with low-E coatings to reduce heat gain in summer and heat loss in winter. Pair the skylight with programmable shades or blinds for additional control. Regular maintenance includes cleaning the exterior glass twice yearly and inspecting seals each spring. At energy.gov you can find general guidance on residential daylighting strategies. Proper upkeep ensures the skylight continues delivering value for decades.
FAQ
Do I need permits for a DIY skylight? Requirements vary by location and project scope. Contact your local building department before starting any cutting.
How does a skylight affect energy efficiency? Well-insulated models can improve overall performance when combined with proper attic sealing. Consult resources at epa.gov for energy-saving home tips.
What maintenance is required long-term? Clean glass seasonally, check flashing for damage after storms, and replace sealant every few years.
Can this project work on older fixer-upper roofs? Yes, provided the structure is sound. Have a professional inspect if the roof is over twenty years old.
Are there safety guidelines I should follow? Yes, always use fall protection and follow ladder safety protocols outlined at osha.gov.
No comments yet. Be the first!