 Fixated on Home
Introduction to Budget DIY Treehouse Builds in 2026
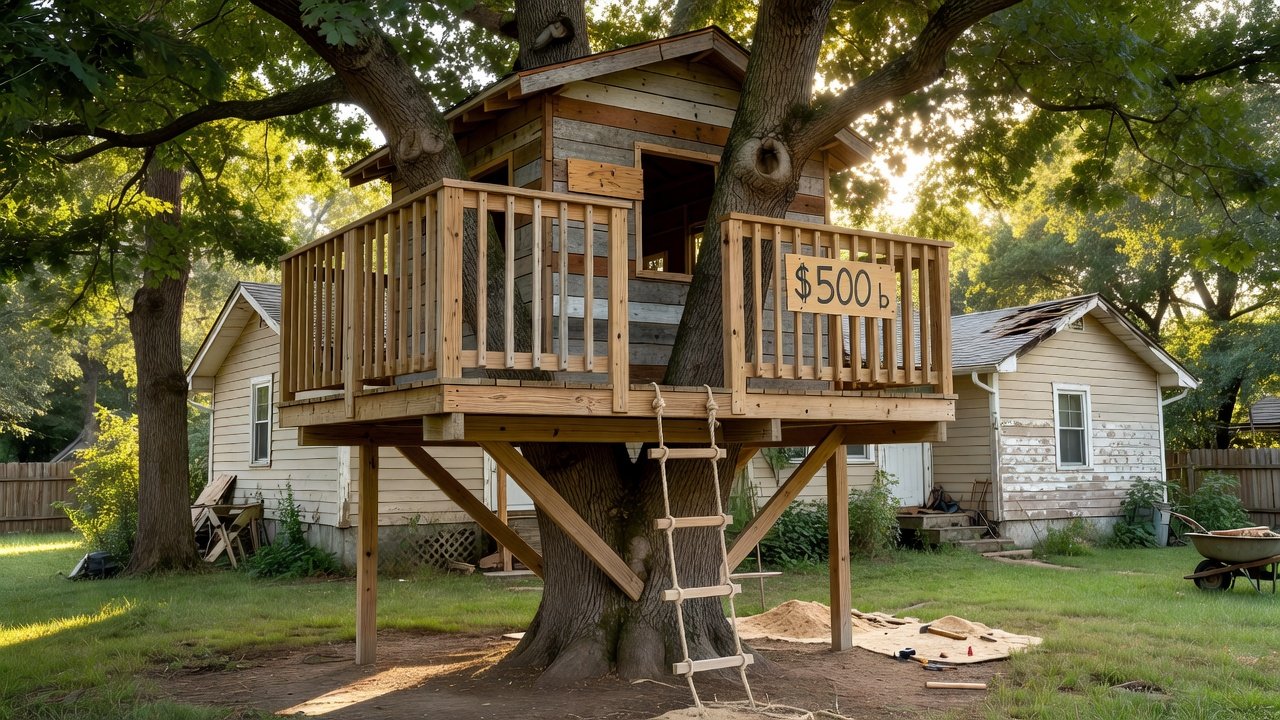
Building a treehouse can transform a fixer-upper backyard into a functional, kid-friendly retreat without breaking the bank. This guide focuses on safe, affordable approaches using readily available materials for creative home improvement projects. Whether your property needs a unique outdoor upgrade or simply a fun addition, these methods emphasize practicality and longevity. Treehouses offer more than play space—they enhance property appeal while teaching valuable construction skills. With careful planning, homeowners can complete projects that withstand weather and provide years of enjoyment. Many families in fixer-upper situations find that a modest backyard structure adds both personal value and resale appeal, turning underused space into a highlight of the home.
In 2026, interest in DIY outdoor projects continues to grow among budget-conscious homeowners looking for ways to personalize their properties. This comprehensive approach covers everything from initial planning to long-term care, ensuring the final result is both safe and durable.
Assessing Your Site for a Safe Treehouse
Start by evaluating the trees and surrounding area in detail. Choose mature, healthy trees with strong trunks and branches capable of supporting weight. Measure the diameter at breast height and consult local arborist guidelines for load-bearing capacity. Avoid trees showing signs of disease or damage, as these can compromise the entire structure over time. Walk the property multiple times at different hours to observe how sunlight, wind, and foot traffic patterns affect the chosen location.
Check soil stability, drainage patterns, and proximity to utilities before any cutting or drilling begins. A level platform area at least 8 feet off the ground works well for most designs. Factor in sun exposure and wind patterns to optimize comfort and safety. Real-world examples from suburban fixer-uppers show that skipping this step often leads to later issues like uneven settling or water pooling beneath the platform. Consider consulting a professional arborist for a quick assessment if any trees appear borderline in health.
Essential Tools and Material Sourcing
Gather basic tools including a circular saw, drill, level, tape measure, hammer, and safety gear like gloves and goggles. Additional helpful items include a socket set for lag bolts, a chalk line for marking straight cuts, and clamps to hold pieces steady during assembly. For materials, focus on pressure-treated lumber, plywood, and galvanized fasteners that resist rust in outdoor conditions.
Sourcing options include local lumberyards, reclaimed wood from construction sites, and online marketplaces. Many builders successfully keep projects affordable through strategic shopping and reuse of materials from previous home renovations. As of 2026-09-09, numerous DIY enthusiasts report sourcing core materials for under $500 by prioritizing sales and recycled options. Create a detailed checklist before shopping to avoid impulse buys that inflate costs.
Materials Checklist
- Pressure-treated 2x6 and 2x8 lumber for framing
- Exterior-grade plywood for flooring
- Galvanized lag bolts and washers
- Deck screws and nails
- Wood sealant or stain
- Flashing for attachment points
Step-by-Step Framing Instructions
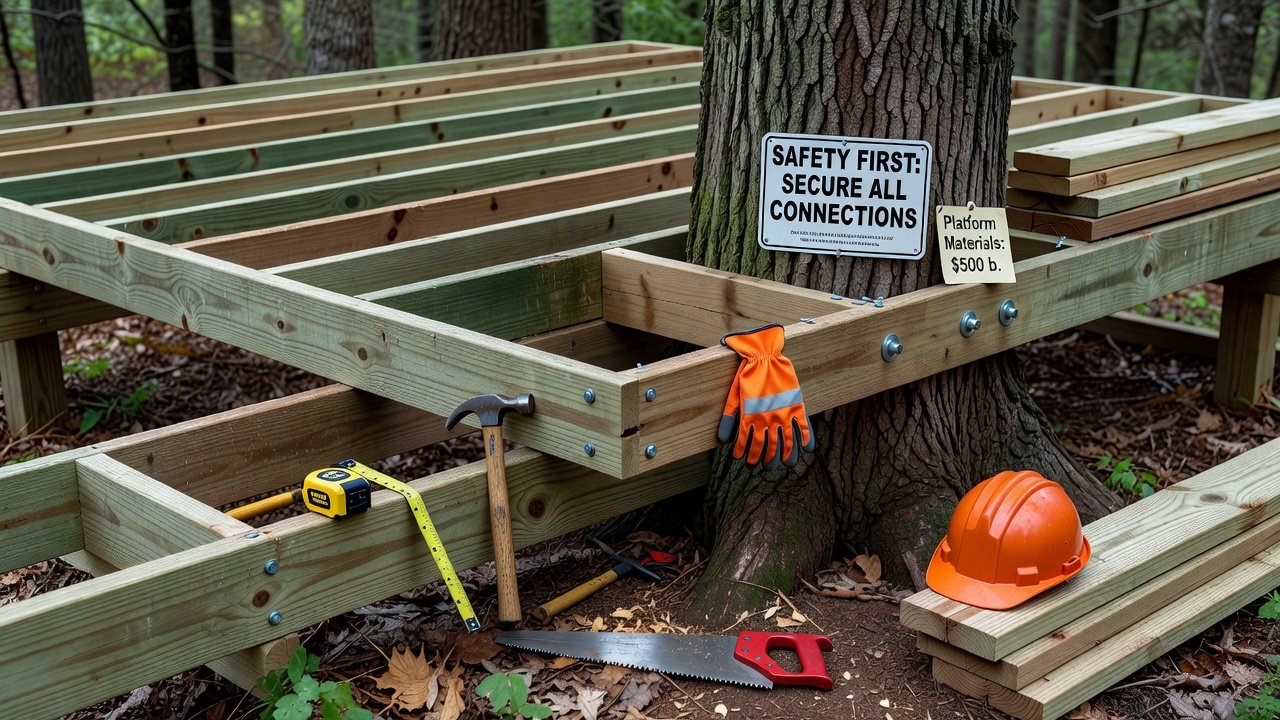
Begin with the platform. Attach ledger boards to the tree using lag bolts for stability. Install joists perpendicular to the ledgers, ensuring even spacing of 16 inches on center. Double-check all measurements with a level at every stage to prevent future wobbling.
Secure the subfloor with exterior-grade plywood. Add diagonal bracing for extra rigidity against movement. Test the structure incrementally before adding walls or roofing. Break the process into clear phases: first the main supports, then cross-bracing, followed by the floor decking. Homeowners who document each phase with photos often find troubleshooting easier later.
Common Framing Pitfalls to Avoid
Over-tightening bolts can crack wood fibers, while under-tightening allows movement during storms. Always leave a small expansion gap between boards to account for seasonal swelling. In one documented fixer-upper case, builders added extra cross-bracing after noticing slight sway in high winds, which resolved the issue permanently.
Installing Safety Railings and Access
Railings are critical for child safety. Build them at least 36 inches high with balusters no more than 4 inches apart. Use OSHA guidelines as a reference for fall protection standards even in residential settings. Extend railings fully around open sides and consider adding a gate at the access point.
For access, a sturdy ladder or staircase with handrails provides the safest entry. Anchor it securely to both ground and platform. Many families opt for a rope ladder as a secondary fun element but always include a fixed wooden option for younger children or adults carrying supplies.
Weatherproofing Techniques for Longevity
Apply exterior stain or sealant to all wood surfaces. Install flashing around attachment points to prevent water intrusion. Consider a sloped roof with asphalt shingles or metal panels for superior protection. Proper ventilation under the floor helps reduce moisture buildup. Check seals annually and reapply treatments as needed. Refer to EPA recommendations on safe wood treatments to minimize environmental impact while maintaining durability.
Kid-Friendly Design Ideas and Real Examples
Incorporate low-maintenance features such as built-in benches, small windows for ventilation, and easy-to-clean flooring. Real fixer-upper examples include urban backyards where reclaimed decking created charming platforms that matched the home's rustic exterior. Suburban homes often use simple A-frame designs that blend with mature landscaping and provide ample shade. These projects demonstrate how modest investments yield high-impact results that grow with the family.
Cost Comparisons and Maintenance
DIY builds typically cost far less than pre-fabricated kits, which often exceed several thousand dollars. The budget approach allows customization to fit specific backyard layouts and existing home styles. Compare your material list against local supplier quotes to identify savings opportunities through bulk purchases or off-season buying.
Conduct visual checks seasonally and after storms. Re-seal wood every 1-2 years and tighten hardware periodically. Consult USDA tree care resources for ongoing health monitoring of the supporting trees. Always verify local regulations before starting to ensure compliance and safety.
Conclusion
A well-planned DIY treehouse adds lasting value to fixer-upper properties. By focusing on safety, budget sourcing, and durable techniques, you create a backyard feature that delights for years. Begin with thorough assessment and proceed methodically for the best outcome.
No comments yet. Be the first!