 Fixated on Home
Introduction
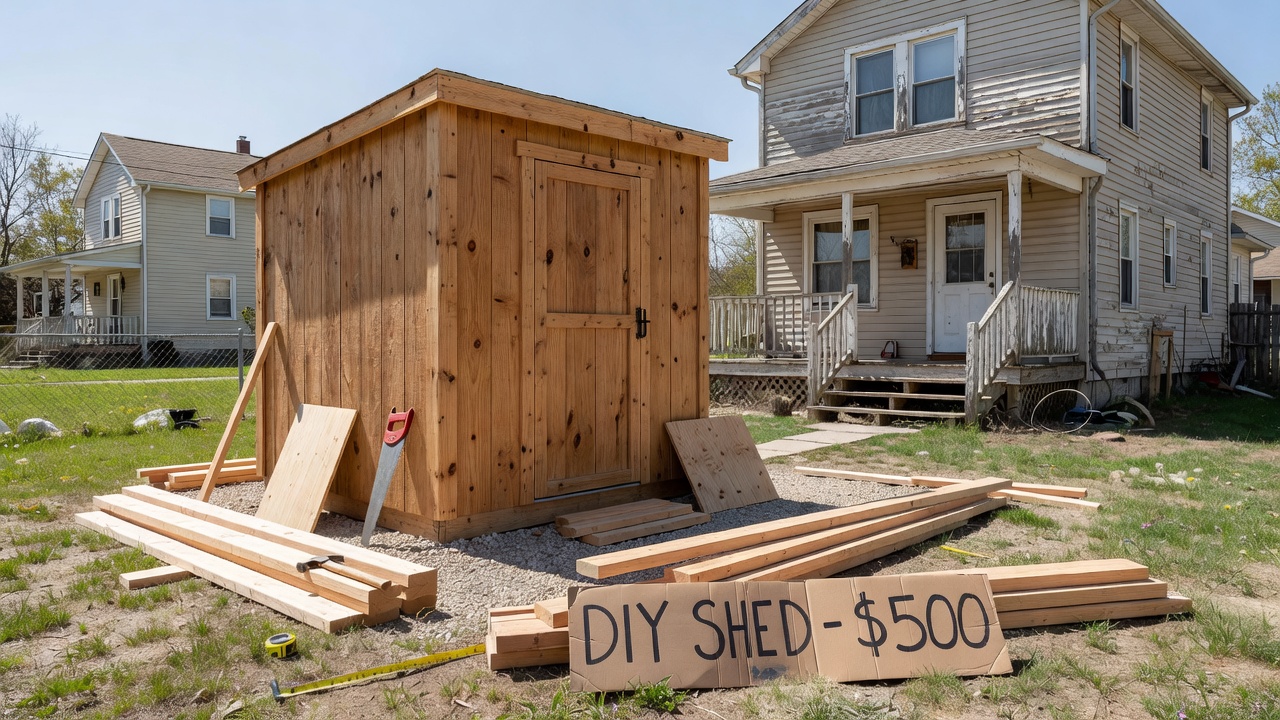
Homeowners tackling fixer-upper properties often need practical outdoor storage without breaking the bank. A budget DIY shed delivers exactly that, combining functionality with cost-effective techniques suited to renovation projects. This 2026 guide walks through every stage, from initial planning to final weatherproofing, ensuring beginners can succeed safely and efficiently. The process emphasizes using readily available materials, basic tools, and proven construction methods that align with typical property improvement timelines.
Whether your yard is small or you are managing multiple upgrades, the focus remains on sourcing materials affordably while prioritizing durability. Emphasis on local permits and safety protocols helps avoid common pitfalls that derail projects. By following structured steps, you create a versatile structure that complements ongoing home renovations and provides immediate utility for storing tools, equipment, and seasonal items.
Planning Your Shed Project
Start by assessing your space and needs. Measure the intended footprint, considering access paths and drainage. For fixer-uppers, align the shed design with the property's overall aesthetic to maintain curb appeal. Research local building codes early, as many areas require permits for structures exceeding certain sizes. Sketch simple plans including door placement and ventilation to support long-term usability. Consider factors such as sun exposure, proximity to utilities, and future expansion possibilities when finalizing the location.
Consult official resources such as OSHA guidelines for construction safety standards. Sketch simple plans including door placement and ventilation to support long-term usability. Involve family members or neighbors for input on design to ensure the shed meets practical storage demands without overwhelming the landscape.
Materials Sourcing Under Budget
Focus on reclaimed or sale lumber, basic fasteners, and weather-resistant sheathing. Prioritize pressure-treated wood for ground contact areas. Compare options at local suppliers and online marketplaces for the best deals. A typical build uses plywood, 2x4 framing studs, and metal roofing panels. Source items in bulk where possible and look for offcuts or remnants that still meet structural needs. Always verify material grades to avoid weak points that could compromise the build over time.
Tool requirements stay minimal: circular saw, level, hammer, drill, and safety gear like gloves and goggles. Rent specialized items if needed to keep costs low. Organize tools before beginning to streamline workflow and reduce downtime during construction phases.
Safety Protocols and Best Practices
Safety forms the foundation of any successful DIY project. Wear appropriate personal protective equipment at all times, including eye protection, gloves, and sturdy footwear. Work with a partner when lifting heavy components to prevent strains or injuries. Keep the work area clear of debris and maintain awareness of surroundings, especially when operating power tools. Reference additional guidance from CDC construction safety resources for comprehensive recommendations on hazard prevention.
Store materials securely overnight and secure the site against weather changes. These measures not only protect you but also ensure the project progresses smoothly without unexpected delays.
Foundation Options
Choose between concrete blocks, gravel pads, or skids based on soil conditions and shed size. Gravel offers excellent drainage for most fixer-upper lots and requires less excavation. Level the site thoroughly before installation to prevent future settling. For areas with heavy rainfall, consider adding a slight slope to the foundation to direct water away from the structure base.
Examine soil type beforehand; clay-heavy soils may benefit from deeper footings while sandy areas support simpler gravel solutions. Test stability by walking across the prepared base multiple times before proceeding to framing.
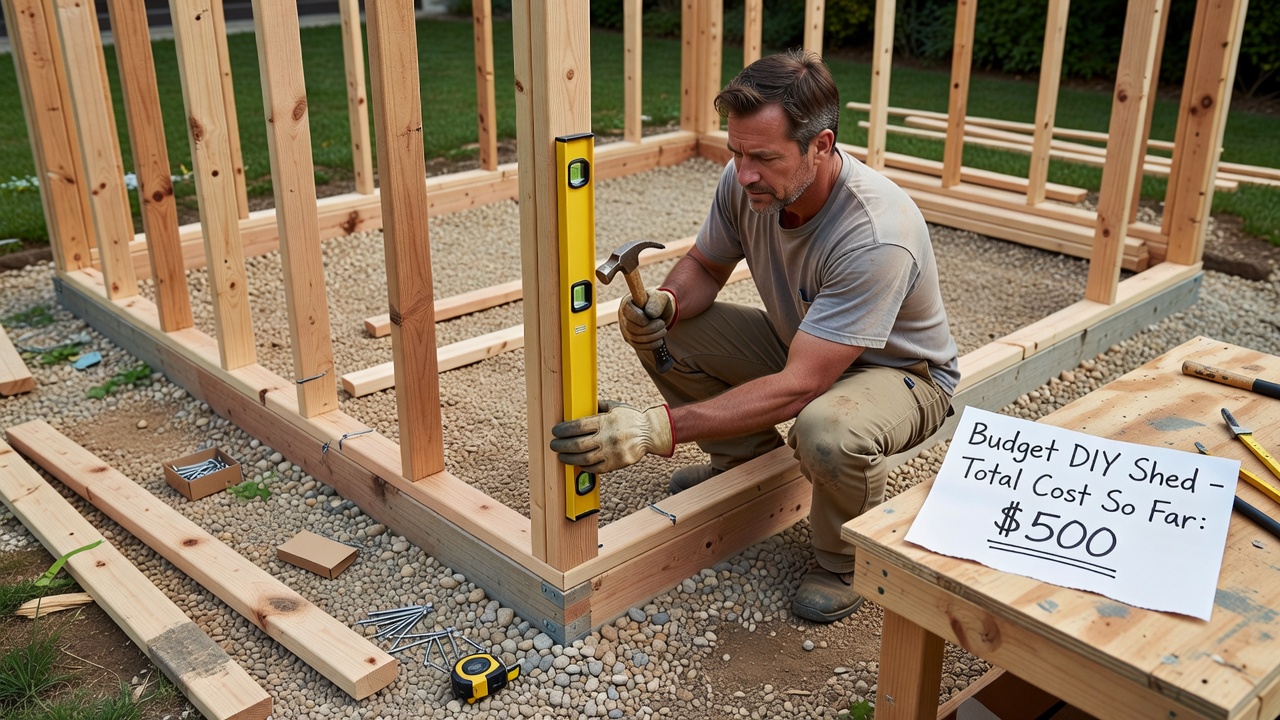
Wall Framing Hacks
Build walls on the ground first for easier assembly, then raise them into place. Use simple butt joints reinforced with metal brackets for beginners. Pre-cut all studs to uniform lengths to speed up the process and reduce errors. Mark stud locations clearly on top and bottom plates to maintain consistent spacing throughout the frame. This method minimizes on-site adjustments and allows for quicker progress even on uneven terrain.
Incorporate temporary bracing during raising to hold walls steady until roof components connect everything. Such techniques prove especially useful for solo builders managing larger wall sections.
Roofing Choices and Weatherproofing
Metal panels provide quick coverage and longevity, while asphalt shingles offer a traditional look at lower upfront cost. Overlap seams generously and install drip edges to direct water away. Apply sealant around fasteners and vents for complete protection against moisture. Additional tips include adding overhangs and using house wrap under siding for enhanced durability in varying climates. Reference environmental considerations through EPA weatherization guidelines to select materials that perform well locally.
Inspect all roofing layers for gaps before finalizing, and test for leaks with a hose after completion. Proper weatherproofing extends the shed's service life and protects stored contents from damage.
Numbered Build Sequence
- Clear and level the site, then install the foundation.
- Frame the floor and secure it to the foundation.
- Construct and erect the walls, checking for plumb at every corner.
- Install roof trusses or rafters and add sheathing.
- Attach roofing material and seal all joints.
- Apply siding and weatherproofing layers.
- Hang the door and add any windows or vents.
- Finish with trim and paint or stain for protection.
Follow each step methodically and pause to verify measurements. This sequence builds confidence for first-time builders while allowing flexibility for site-specific adjustments.
Wood Versus Metal Cost Comparisons
Wood framing remains popular for its workability and availability in small quantities. Metal kits offer faster assembly and corrosion resistance but may require specialized tools. Evaluate both based on your climate and skill level for the most practical choice. Wood allows easier customization with standard hand tools, whereas metal provides a sleek finish that resists pests and rot in humid environments.
Review local availability and transportation needs when deciding, as heavier metal components may influence delivery logistics on fixer-upper sites with limited access.
Common Beginner Mistakes to Avoid
- Skipping site leveling, leading to uneven doors and floors.
- Using untreated lumber in moisture-prone areas.
- Neglecting proper ventilation, causing interior condensation.
- Ignoring local permit requirements before starting construction.
- Rushing measurements without double-checking, resulting in misaligned components.
Maintenance Tips
Inspect the roof and seals annually, especially after harsh weather. Reapply protective coatings every few years and keep vegetation trimmed away from the structure. These simple steps extend the shed's lifespan significantly. Store items off the floor on shelves to improve airflow and reduce moisture accumulation inside.
Schedule seasonal checks for hardware tightness and paint touch-ups to maintain appearance and function year-round.
FAQ
Can I customize the shed for a very small yard?
Yes, scale down dimensions while maintaining proportional framing. Use vertical storage solutions inside to maximize limited space. Consider lean-to designs against existing fences for even smaller footprints without sacrificing capacity.
Do I need professional help with permits?
Check your municipality's website for requirements. Many simple sheds fall under exemptions, but verification prevents future issues. Document all steps in case additional inspections arise later.
How long does the build typically take?
Most first-time builders complete the project over two to three weekends with basic tools and a helper. Factor in extra time for weather delays or material sourcing runs.
Conclusion
This approach empowers homeowners to create reliable storage tailored to fixer-upper needs. By following the outlined steps and focusing on safety and budgeting, you achieve a functional addition that enhances your property without excessive expense. The resulting shed supports ongoing renovation work and adds lasting value through thoughtful, hands-on construction.
No comments yet. Be the first!