 Fixated on Home
Introduction
Planning a kitchen renovation can transform your home's heart into a functional, stylish space that boosts daily living and property value. Homeowners searching for reliable remodeling advice often focus on avoiding costly mistakes while aligning upgrades with modern trends. This guide breaks down the process into five essential steps, covering everything from initial assessment through final installation with practical examples and decision frameworks. Whether you are updating an outdated space or completely reconfiguring the layout, understanding each phase helps ensure the project stays on track and delivers results that meet both immediate needs and long-term goals.
Many homeowners underestimate the complexity involved, leading to delays or budget overruns. By following a structured approach, you can integrate smart storage, prioritize efficient layouts, and choose finishes that withstand daily use while reflecting current design preferences such as minimalist lines and sustainable materials.
Step 1: Conduct a Thorough Initial Assessment
Begin by evaluating your current kitchen's strengths and weaknesses. Measure the space accurately, note workflow inefficiencies, and identify must-have changes such as better lighting or expanded counter space. Walk through daily routines with family members to pinpoint pain points like inadequate prep areas or poor traffic flow. Professional assessors often recommend creating a detailed inventory of existing appliances, cabinets, and electrical systems before moving forward. Take time to photograph every corner and create simple sketches that highlight problem zones, including outlets that need relocation or windows affecting natural light.
Real-world timelines show that a comprehensive assessment phase typically spans two to four weeks. Document everything with photos and sketches to share with contractors later. This foundation prevents scope creep during later stages. Consider hiring a professional designer for an initial consultation to uncover hidden issues such as outdated wiring or insufficient ventilation that could affect future resale value.
Step 2: Establish a Realistic Budget and Timeline
Budgeting requires breaking costs into categories like demolition, materials, labor, and contingencies. Compare professional full-service packages against selective DIY approaches for tasks such as painting or basic cabinet refacing. Professional routes often deliver faster completion and warranty protections, while DIY can reduce expenses on non-structural elements when homeowners possess the necessary skills. Phased timelines help manage cash flow. For instance, complete structural changes first, followed by cabinet installation, then final finishes. Always allocate extra time for permit approvals and material delays.
Homeowners should also research financing options early and build in a 15-20 percent contingency fund for unexpected discoveries like plumbing repairs. Energy-efficient upgrades frequently qualify for incentives that stretch budgets further. Tracking expenses with simple spreadsheets allows real-time adjustments and keeps the project aligned with original goals.
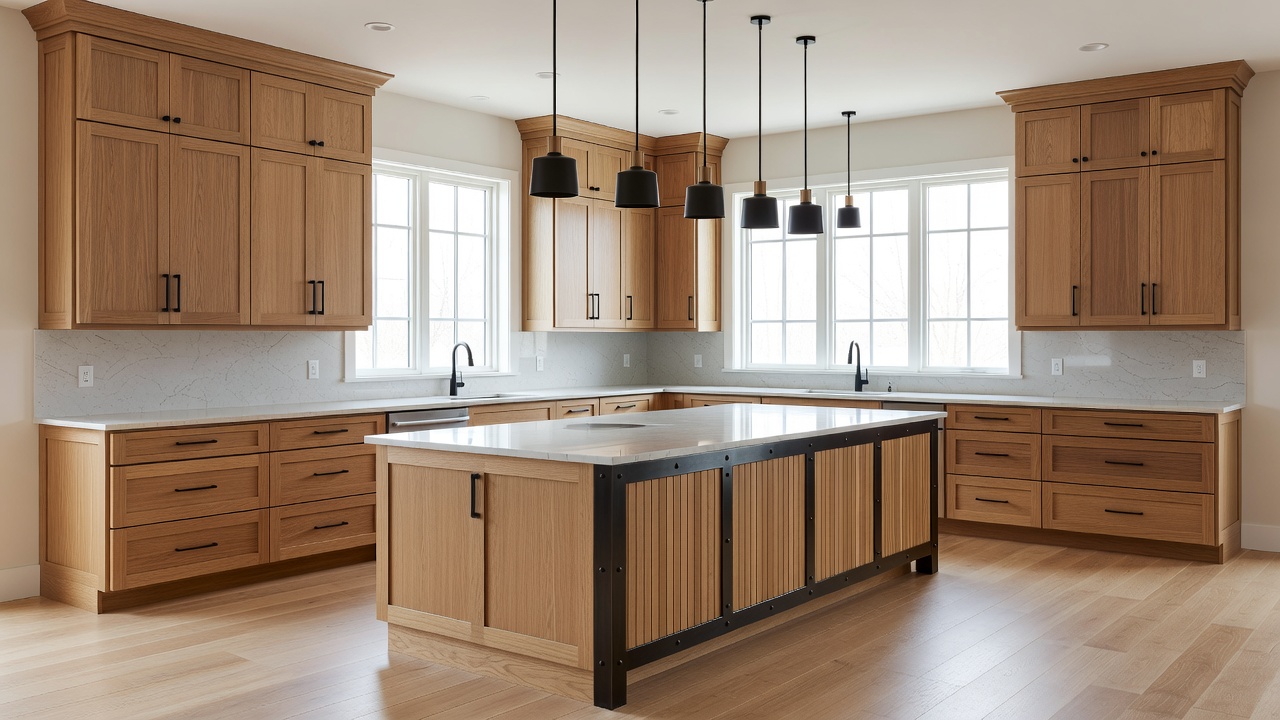
Step 3: Prioritize Smart Layout Changes
Layout decisions drive long-term usability. Focus on the classic work triangle between sink, stove, and refrigerator while incorporating modern open-concept elements if space allows. Consider relocating plumbing or electrical only when the benefits outweigh disruption costs. Popular choices include adding islands for casual dining or peninsula seating to improve entertaining flow. Test multiple configurations using tape on the floor to simulate new placements before committing.
Homeowners who invest time in 3D modeling software or consultations with designers report fewer regrets. Avoid moving load-bearing walls without structural engineering review to stay compliant with local codes. Examples from recent projects show that opening up a wall to create sightlines into the living area can increase perceived space dramatically without expanding the footprint.
Step 4: Integrate Smart Storage Solutions
Modern kitchens demand clever storage that maximizes every inch. Incorporate pull-out shelves, deep drawers, and vertical organizers rather than traditional fixed shelving. Corner solutions such as lazy Susans or magic corners eliminate dead space. Trends favor soft-close mechanisms and integrated charging stations for small appliances. Create zones for different activities: a baking station with specialized drawers near the oven, or a cleaning caddy hidden under the sink.
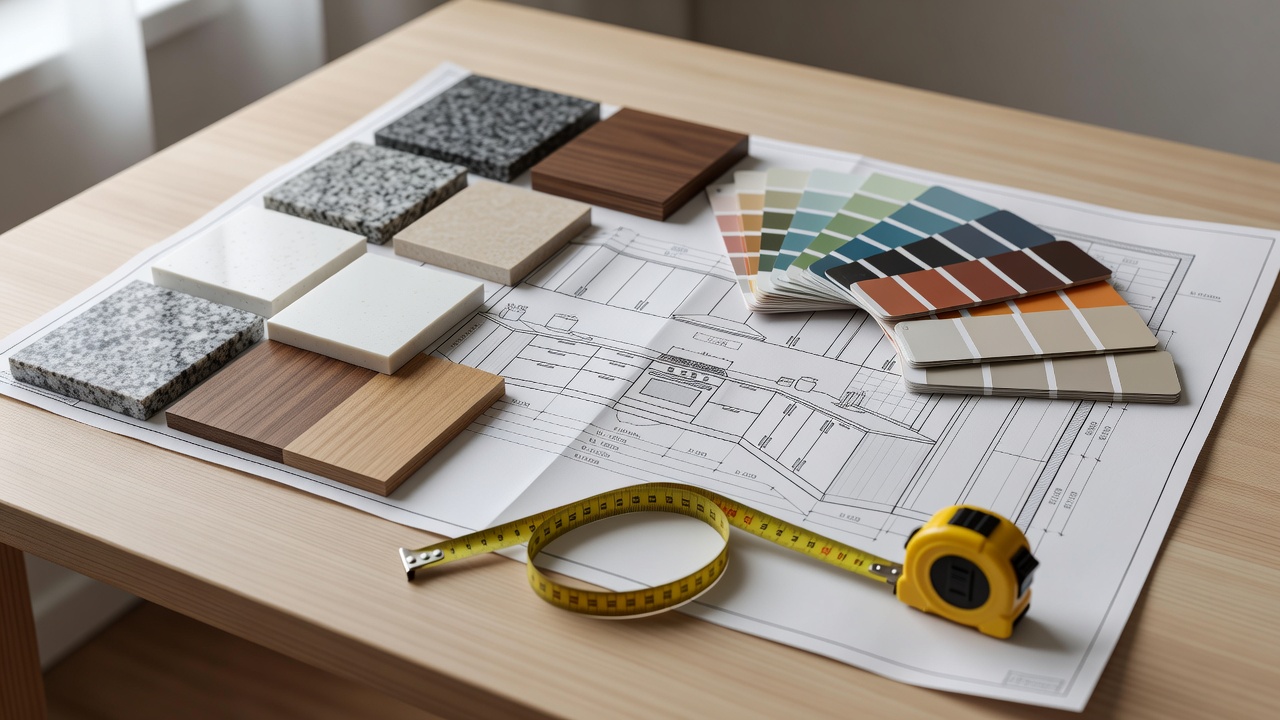
Compare material options early: solid wood offers durability while engineered alternatives provide cost stability. Test sample drawers in person to confirm smooth operation under load. Real-world examples include installing toe-kick drawers for rarely used items or wall-mounted racks for pots and pans to free up cabinet space. These thoughtful additions reduce clutter and improve daily efficiency significantly.
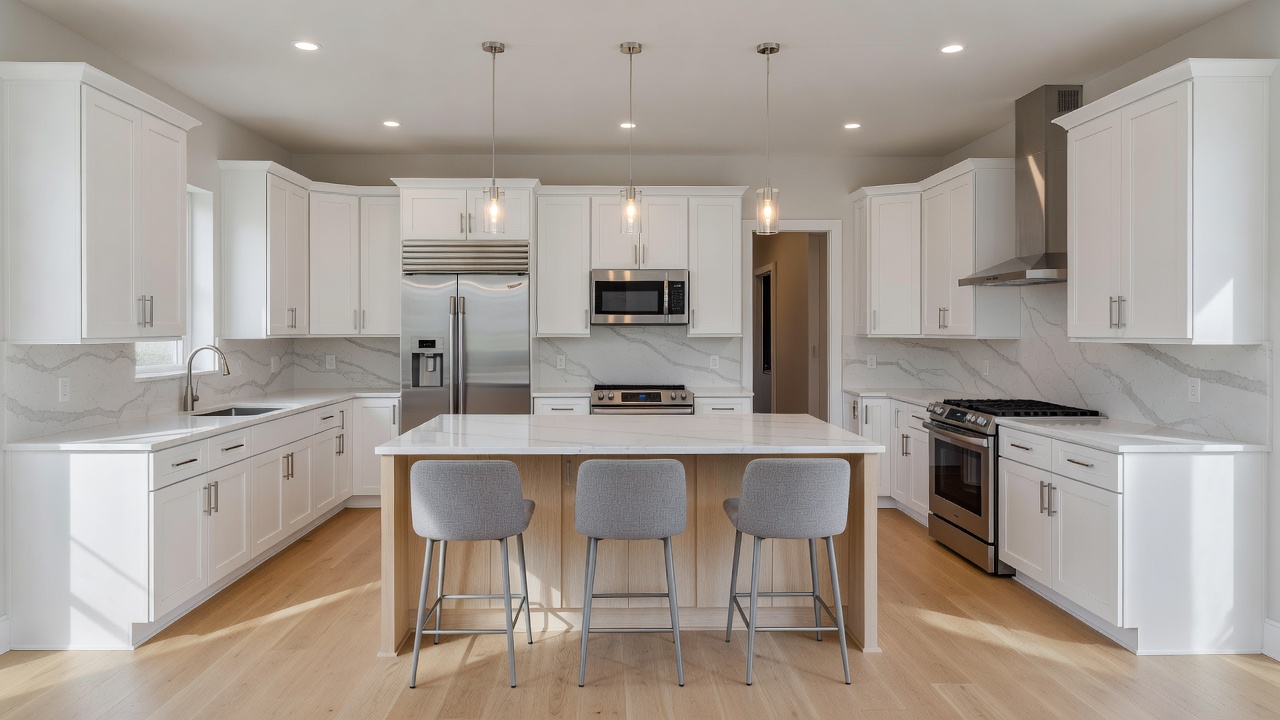
Step 5: Select Durable Finishes and Complete Installation
Finish choices should balance aesthetics with resilience. Quartz or granite counters resist stains better than laminate in high-use homes. Porcelain tile or luxury vinyl flooring withstands spills and heavy foot traffic. Cabinet finishes in matte or satin textures hide fingerprints while aligning with current minimalist trends. When selecting backsplash materials, consider both ease of cleaning and visual impact to tie the entire design together.
Professional installation teams coordinate sequencing to protect new surfaces during final assembly. Schedule a final walkthrough to verify all hardware functions correctly and that punch-list items are resolved before sign-off. Pay special attention to sealing grout lines and calibrating appliances to manufacturer specifications for optimal performance.
Cost-Saving Comparisons: Professional vs DIY
Full professional renovations typically deliver polished outcomes with fewer errors, though they require higher upfront coordination. Selective DIY on cosmetic updates like backsplash tiling or hardware swaps can yield meaningful savings when paired with expert oversight on plumbing and electrical work. Always weigh time investment against potential rework expenses. Many successful projects combine both approaches by handling demolition or painting themselves while subcontracting specialized trades.
Common Mistakes to Avoid
- Skipping the permit process, which can lead to fines or issues during home sale.
- Choosing trendy finishes over durable ones that suit your lifestyle.
- Underestimating storage needs, resulting in a beautiful but impractical kitchen.
- Ignoring lighting layers, which affects both functionality and ambiance.
FAQ
Do I need permits for a kitchen renovation?
Most structural, electrical, or plumbing modifications require permits. Check with your local building department early to understand requirements and avoid project delays or fines. Environmental guidelines may also apply for certain material disposals.
How long does a typical kitchen renovation take?
Timelines range from four to twelve weeks depending on scope. Simple refreshes finish faster, while full gut renovations with layout changes extend longer due to inspections and custom orders.
What are the best ways to stay on budget?
Prioritize needs over wants, obtain multiple quotes, and phase the project if necessary. Using quality mid-range materials instead of luxury options often provides excellent value without sacrificing performance.
Conclusion
Following these five steps positions you for a kitchen renovation that meets both functional needs and design aspirations. Careful planning, realistic budgeting, and attention to durable details ensure results that last for years. By addressing layout, storage, and finishes methodically, homeowners can create spaces that enhance daily life and add lasting value to their property.
No comments yet. Be the first!