 Fixated on Home

Kitchen islands have evolved from simple prep surfaces into dynamic hubs that enhance both workflow and visual appeal in modern homes. Homeowners undertaking renovations often seek designs that maximize space while adding practical features like integrated storage and seating. This guide covers essential planning steps, material choices, and customization strategies to create a functional centerpiece tailored to your kitchen dimensions and daily routines. By focusing on workflow efficiency, such as the classic triangle between sink, stove, and refrigerator, islands can reduce unnecessary steps during meal preparation and create a more enjoyable cooking environment for families and individuals alike.
Planning Your Kitchen Island Layout
Effective layout begins with measuring your available floor space. A well-placed island should allow at least 36 inches of clearance on all sides for comfortable movement. Consider traffic patterns around appliances and entry points to avoid bottlenecks. For open-concept kitchens, position the island to define zones between cooking and dining areas without obstructing sightlines. Ergonomics play a critical role here; the height of the island surface should align with the primary user's elbow height to minimize strain during chopping or mixing tasks. Many designers recommend testing cardboard mockups on the floor before committing to construction, allowing homeowners to visualize daily movement and adjust placements accordingly. Integration with existing cabinetry requires matching heights and finishes for a cohesive look. Many projects align the island countertop with perimeter counters at 36 inches high, while adding a lower bar-height section for seating. This approach creates visual continuity and supports multi-tasking during meal prep, such as keeping an eye on children while preparing lunches.
Workflow and Ergonomic Considerations
Beyond basic measurements, successful islands improve overall kitchen workflow by placing frequently used items within easy reach. For instance, incorporating a prep sink on the island reduces trips to the main sink, streamlining vegetable washing and dish rinsing. Electrical planning is equally important; outlets should be positioned to support small appliances without creating cord hazards. Consulting resources from the National Kitchen & Bath Association can provide standardized guidelines on clearances and safety features that professionals follow during renovations.
Sizing Guidelines Based on Room Dimensions
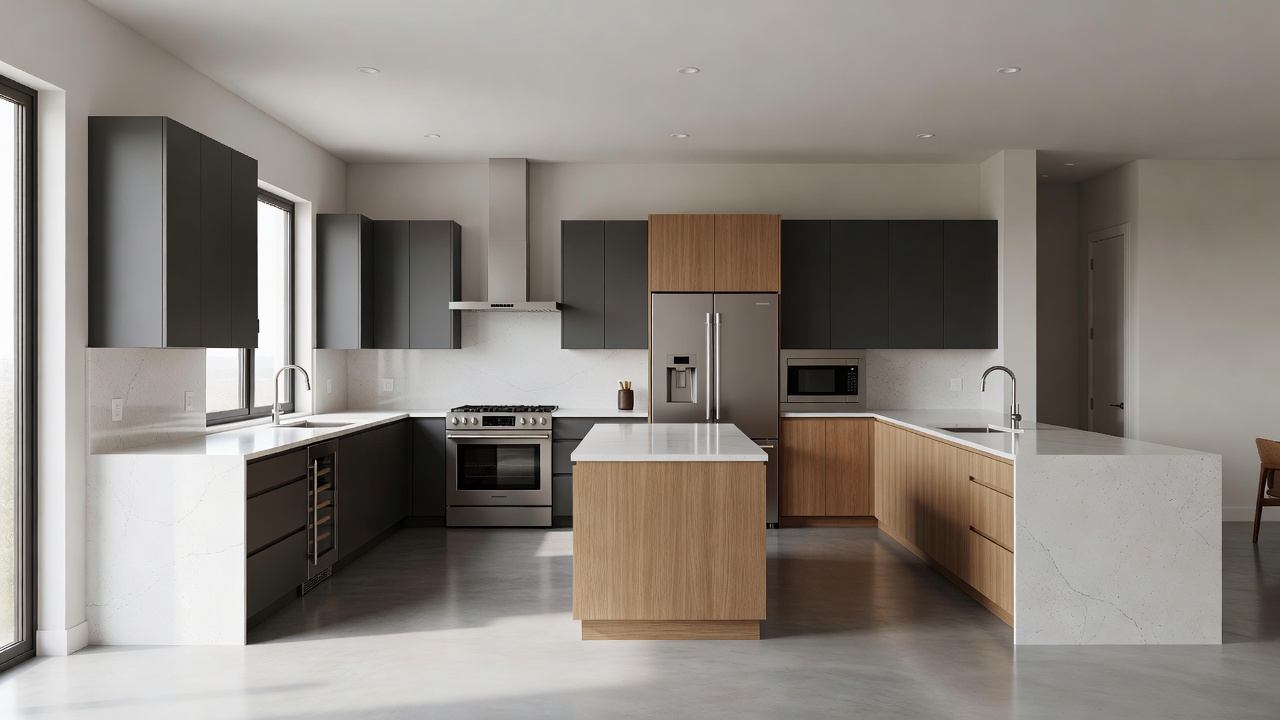
Room size directly influences island proportions. In kitchens under 200 square feet, opt for compact islands measuring 4 by 2 feet to maintain flow. Larger spaces above 300 square feet can accommodate islands up to 8 by 4 feet with extensions for additional workspace. Always verify that the design leaves adequate pathways to doors and appliances. Real-world examples from recent renovations show that L-shaped islands work well in rectangular rooms, providing extra surface area without overwhelming the layout. These configurations often include built-in sinks or cooktops when plumbing and electrical access permits. In narrow galley kitchens, a slim peninsula-style island attached to one wall can offer similar benefits while preserving more open floor area for movement. Homeowners should also factor in ceiling height when adding overhead storage or pendant lights, ensuring the island does not create a cramped feeling in lower-ceilinged spaces.
Material Selections for Durability and Style
Choosing materials involves balancing aesthetics with performance. Quartz and granite remain popular for countertops due to their resistance to heat and stains. Wood butcher block offers warmth and can be refreshed with sanding over time. For bases, painted cabinetry or open shelving in metal and wood combinations adds modern character. Sustainability is an emerging priority; selecting reclaimed wood or low-VOC finishes contributes to healthier indoor air quality. When selecting finishes, coordinate with surrounding elements like flooring and backsplashes. Matte textures reduce fingerprints in high-use areas, while polished surfaces reflect light to brighten the room. Edge profiles such as eased or bullnose can further customize the look, with thicker edges providing a more substantial, custom appearance that elevates the entire kitchen design.
Multi-Use Features to Boost Daily Usability
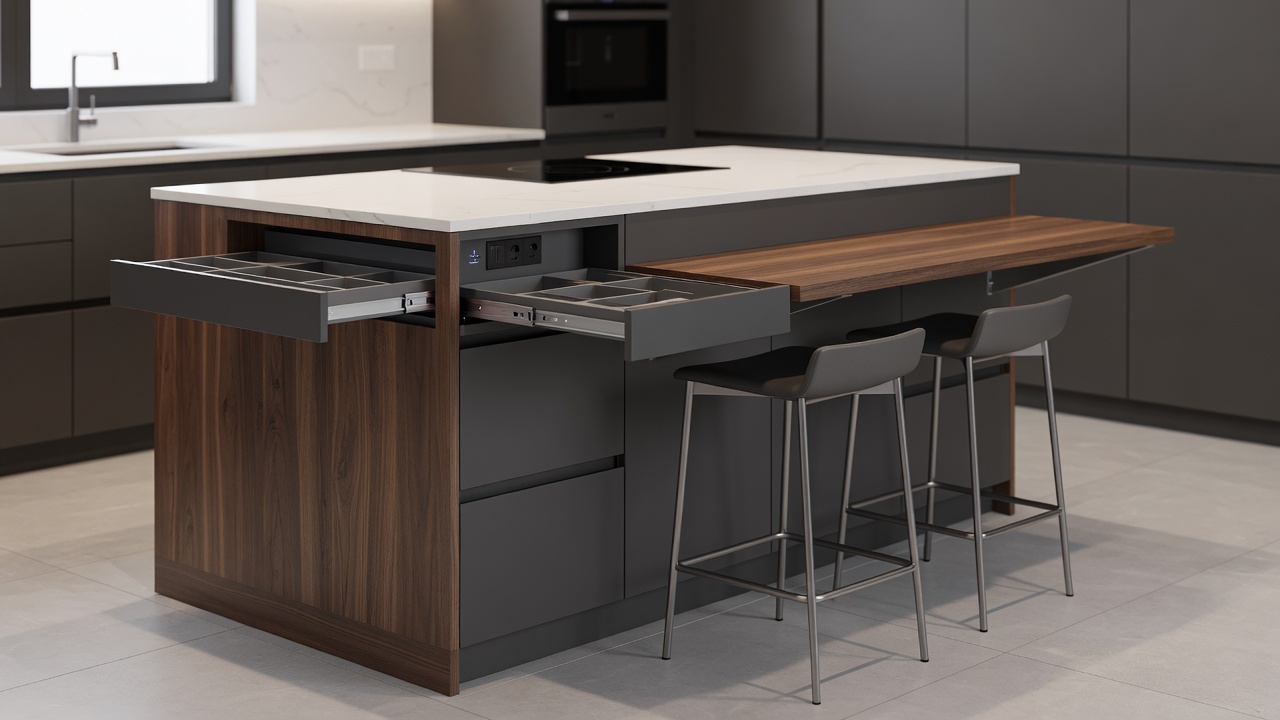
Built-in storage transforms islands into efficient organizers. Deep drawers for pots and pull-out trash bins keep essentials accessible yet hidden. Charging stations with USB ports and power outlets support devices during family gatherings. Seating options expand usability. Overhanging countertops on one side accommodate bar stools for casual dining or homework sessions. Some designs incorporate wine racks or appliance garages to consolidate frequently used items. Additional features like a built-in microwave drawer, pet feeding station with pull-out bowls, or even a small herb garden planter can turn the island into a true multi-functional hub. In one family home renovation, the island included a hidden recycling center and a fold-down extension for extra prep space during holidays, dramatically improving organization and reducing countertop clutter.
- Assess storage needs by listing items currently scattered across counters.
- Incorporate lighting such as pendant fixtures above the island for task illumination and ambient glow during evening meals.
- Add casters to smaller islands for mobility in flexible spaces used for both cooking and entertaining.
- Plan for future needs, such as space for a stand mixer or additional seating as family size changes.
Cost-Effective Customization Options
Customization does not require premium budgets. Prefabricated bases paired with custom tops allow personalization at lower expense. Reusing existing cabinetry sections or selecting stock doors in updated colors provides affordable upgrades. Focus on high-impact additions like soft-close hardware and organizational inserts rather than exotic materials. Working with local fabricators for countertops instead of big-box retailers can yield unique edge details without excessive costs. Homeowners can also explore modular systems that allow future expansions, such as adding a rolling cart attachment later on.
Real-World Project Examples
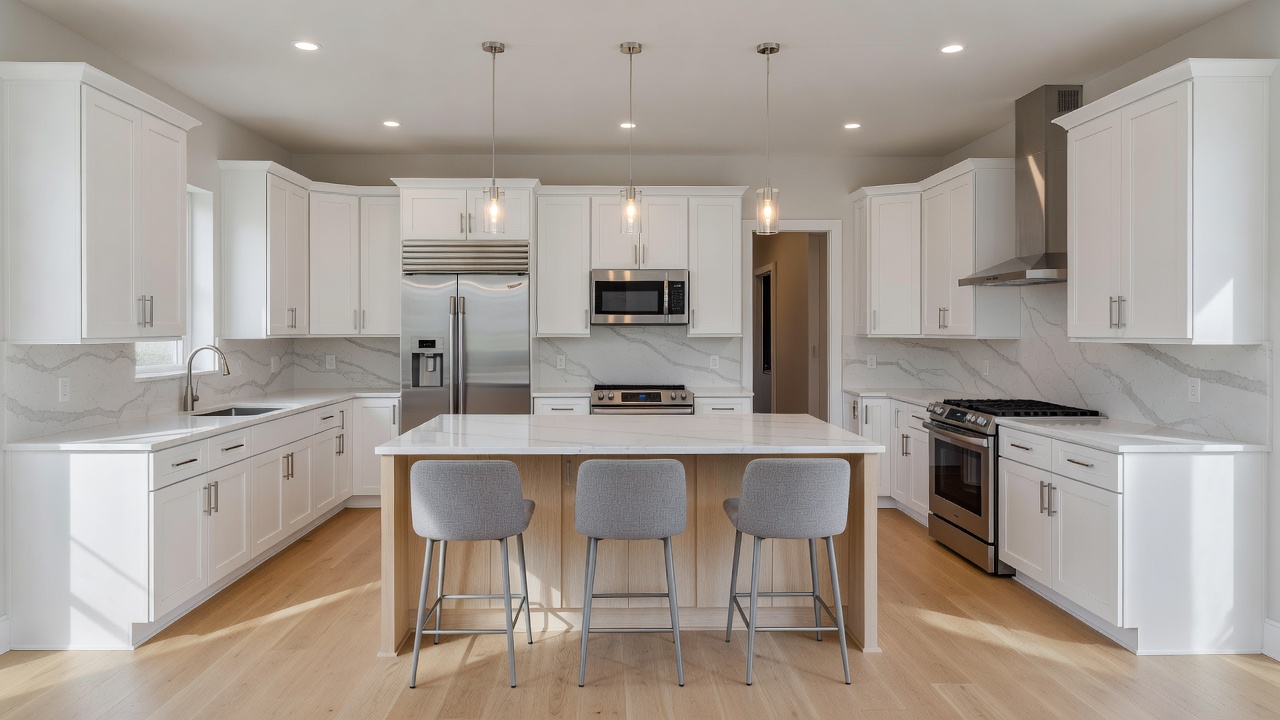
One recent renovation in a suburban home used a waterfall-edge quartz island to connect white shaker cabinets with a walnut floor. The design included a built-in microwave drawer and seating for four, improving family workflow during busy evenings. Another urban project featured a movable island on locking casters, allowing reconfiguration for entertaining or larger gatherings. A third example from a coastal property incorporated marine-grade materials resistant to humidity, with an integrated wine cooler and open shelving for displaying glassware, blending practicality with aesthetic appeal in a high-moisture environment.
Simple Decision Checklist
- Measure clearances around the proposed island location and test traffic flow with temporary markers.
- Identify must-have features such as seating or appliance integration based on daily habits.
- Review material samples against existing cabinetry finishes under different lighting conditions.
- Confirm electrical and plumbing requirements with professionals early in the planning phase.
- Evaluate timeline impacts including permit needs and material lead times.
- Consider maintenance requirements for chosen materials to ensure long-term satisfaction.
FAQs on Permits and Installation Timelines
Many island projects require building permits when electrical or plumbing modifications are involved. Check local codes early to avoid delays. Installation timelines typically span two to four weeks once materials arrive, depending on complexity and contractor availability. Professional installation ensures structural stability and code compliance. Homeowners can handle simpler tasks like painting bases but should consult experts for countertop templating and heavy lifting. Additional questions often include whether islands affect home resale value; in most cases, well-designed islands increase functionality and appeal to buyers. For further guidance on industry standards, refer to publications from Better Homes & Gardens that cover renovation best practices.
Conclusion
Innovative kitchen island designs deliver lasting value by improving organization, supporting multiple activities, and elevating overall kitchen aesthetics. By focusing on thoughtful sizing, durable materials, and purposeful features, renovations can achieve enhanced functionality without unnecessary complexity. Start with accurate measurements and a clear feature list to guide selections that suit your space and lifestyle. With careful planning and attention to workflow details, your new island can become the heart of the home for years to come.
No comments yet. Be the first!