 Fixated on Home
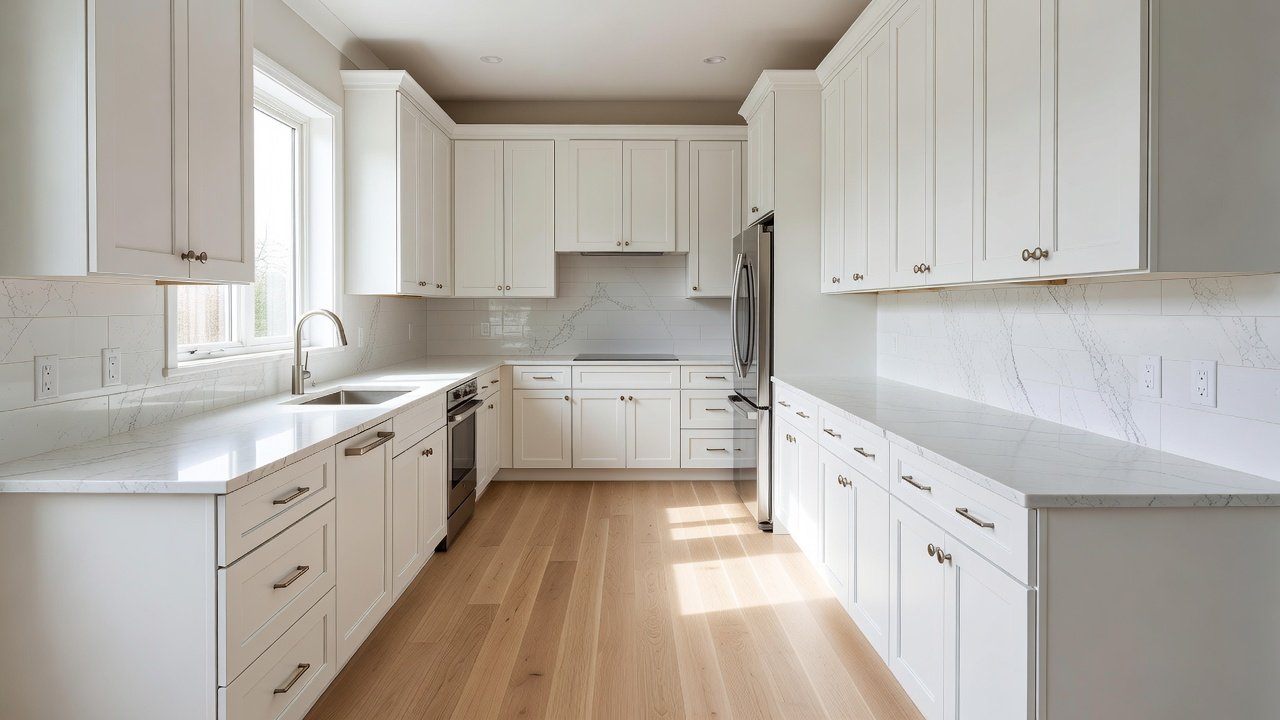
Introduction to Post-Renovation Kitchen Care
After completing a kitchen renovation, homeowners often focus on the immediate beauty of new materials and layouts, but long-term success depends on consistent maintenance. This comprehensive guide provides in-depth advice on preserving upgrades such as quartz or granite countertops, shaker-style cabinets, hardwood or tile flooring, and modern appliances. By following material-specific routines, you can prevent common issues like staining, warping, and premature aging, ultimately saving time and money on future repairs. Whether your renovation included budget-friendly updates or high-end features, these strategies apply universally to extend the lifespan of your investment and maintain a hygienic cooking environment.
Daily Maintenance Routines
Daily habits form the foundation of kitchen longevity. Start each morning by wiping down high-touch surfaces with a microfiber cloth dampened in warm water mixed with a drop of mild dish soap. This prevents grease buildup from cooking vapors that can harden overnight. After meals, clear countertops immediately to avoid acidic spills from citrus or tomatoes etching natural stone. For cabinets, gently dust doors and handles weekly using a dry microfiber cloth to remove oils from hands that lead to discoloration. Flooring benefits from a quick sweep or vacuum to capture crumbs before they scratch finishes underfoot. Incorporate a simple checklist: inspect sinks for standing water, run the garbage disposal with cold water for 30 seconds, and ensure range hood filters are free of debris. These small actions, performed consistently, reduce the need for intensive cleaning sessions and keep your renovated space looking fresh.
Material-Specific Cleaning Methods
Understanding the unique properties of each material is crucial for effective care without causing damage.
Countertops
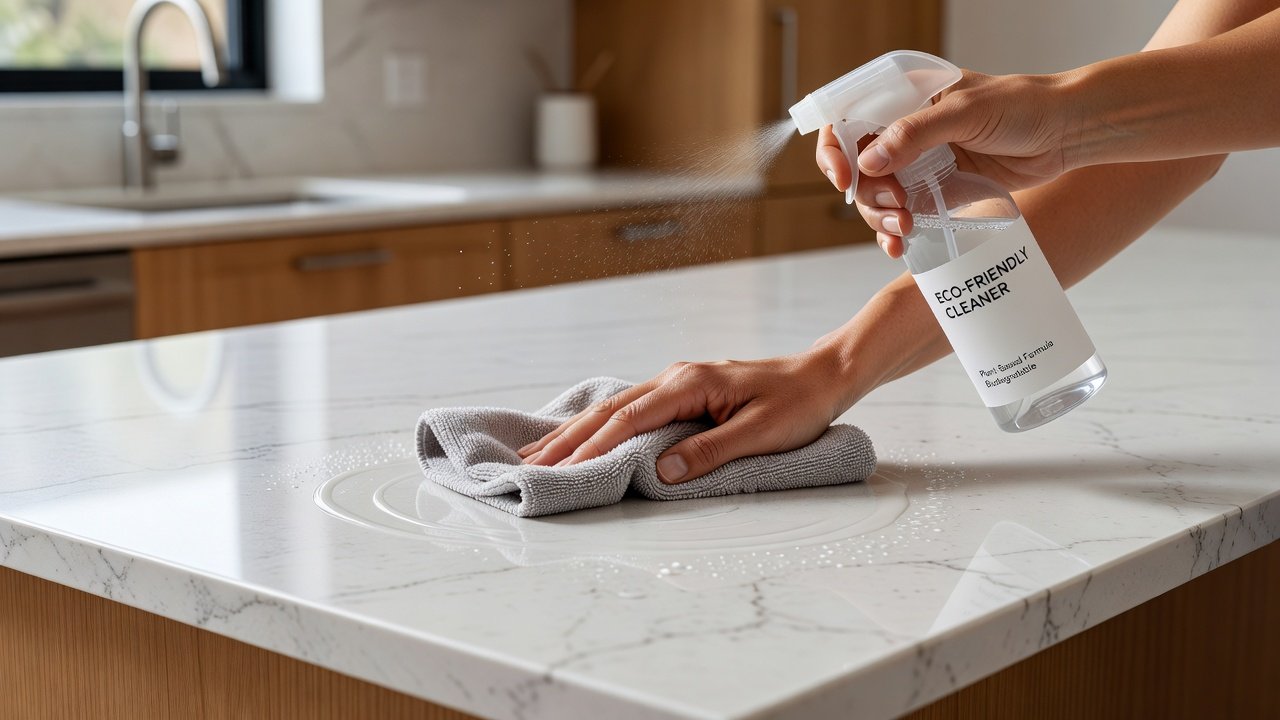
Quartz countertops, popular in modern renovations, require pH-neutral cleaners to maintain their non-porous surface. Avoid vinegar-based solutions that can dull the finish over time. For granite, apply a stone sealer annually and clean with a soft cloth and warm soapy water. Marble demands extra caution due to its sensitivity to acids; use dedicated marble cleaners and reapply sealer every six months. Always blot spills rather than wiping to prevent spreading stains. In high-use areas, place trivets under hot pots to avoid thermal shock.
Cabinets
Shaker cabinets made from wood or laminate need different approaches. Wood finishes respond well to occasional polishing with products containing natural oils like lemon or beeswax, applied sparingly every three months. Laminate surfaces clean easily with a damp cloth but should never be soaked, as moisture can seep into edges and cause swelling. Pay special attention to hinges and drawer slides by lubricating them lightly with silicone spray to ensure smooth operation without attracting dust.
Flooring
Hardwood flooring in kitchens requires daily dry sweeping followed by occasional damp mopping with manufacturer-approved cleaners. Tile and grout benefit from a weekly application of a baking soda paste to remove embedded dirt, followed by thorough rinsing. For luxury vinyl plank options, use only pH-balanced mops to preserve the wear layer.
Seasonal Maintenance Checklist
Beyond daily care, seasonal deep cleaning addresses hidden issues. In spring, focus on deep-cleaning appliances by running vinegar through the dishwasher and descaling the coffee maker if present. Summer routines emphasize humidity control with a dehumidifier to protect wood elements from swelling. Fall is ideal for inspecting caulking around sinks and backsplashes, replacing any that shows cracks. Winter maintenance includes checking for drafts around windows that could affect temperature-sensitive materials and ensuring proper ventilation to reduce condensation on cabinets. Follow this expanded checklist for thorough coverage: 1. Vacuum all crevices behind appliances using a crevice tool attachment. 2. Polish stainless steel with a dedicated cleaner in circular motions for streak-free results. 3. Test smoke and carbon monoxide detectors near the kitchen area. 4. Re-seal grout lines in tiled floors using a penetrating sealer. 5. Organize pantry items to prevent pest attraction that could damage cabinet interiors.
Common Wear Issues and Solutions
Even with care, wear can occur. Scratches on countertops from metal utensils can be minimized by always using cutting boards; for minor marks on quartz, a baking soda paste buffed gently often restores the surface. Cabinet warping from steam typically results from poor ventilation—installing a stronger range hood fan solves this. Flooring cupping in wood often stems from repeated water exposure; solutions include professional sanding and refinishing rather than DIY attempts. Before-and-after examples illustrate impact: a neglected countertop developed permanent coffee stains within months, while a maintained one using coasters and daily wiping remained spotless after two years. Similarly, cabinets left uncleaned showed yellowing from grease, contrasting sharply with regularly dusted versions that retained their original color.
Recommended Tools and Products
Equip your kitchen with quality items for efficient upkeep. Essential tools include a set of color-coded microfiber cloths to avoid cross-contamination, a soft-bristle brush for grout, and a spray bottle for homemade solutions like diluted castile soap. Recommended products feature stone-specific cleaners from trusted brands, cabinet polishes without silicone for natural wood, and floor cleaners certified by environmental standards. For safety, consult EPA guidelines on green cleaning alternatives and CDC cleaning protocols for food-contact surfaces. Additional resources from FDA food safety pages provide insights on maintaining sanitary conditions during meal prep.
Before-and-After Examples of Neglected vs. Maintained Spaces
Real-world scenarios highlight the difference maintenance makes. One homeowner skipped daily countertop wiping, resulting in etched surfaces from spilled wine that required professional resurfacing. After adopting routines, their kitchen regained vibrancy with minimal effort. Another example involves flooring: neglected hardwood developed deep scratches from tracked-in dirt, necessitating full replacement, whereas consistent sweeping preserved the original finish for over five years.
Step-by-Step Checklists for Key Tasks
For countertop sealing: Clean thoroughly, apply sealer in thin coats with a soft cloth, allow 24-hour curing, and test water beading. For cabinet hinge maintenance: Remove doors if needed, clean tracks, apply lubricant, and reattach while checking alignment.
FAQ
How often should I seal countertops? Every 6-12 months depending on material and usage patterns.
What products damage cabinets? Ammonia-based or abrasive cleaners strip protective finishes quickly.
Can I use steam mops on hardwood? Only with explicit manufacturer approval to avoid moisture penetration.
How do I handle stubborn grout stains? A paste of baking soda and hydrogen peroxide left for 15 minutes works effectively on most surfaces.
Is professional cleaning necessary annually? For complex materials like natural stone, yes, to ensure proper sealing and inspection.
Conclusion
Implementing these detailed maintenance practices transforms your newly renovated kitchen into a durable, inviting space that retains its appeal for years. By prioritizing material-specific care, seasonal deep cleans, and proactive damage prevention, homeowners achieve lasting results that protect both aesthetics and functionality. Consistent effort ensures your kitchen remains a centerpiece of the home without unexpected repair costs.


No comments yet. Be the first!