 Fixated on Home
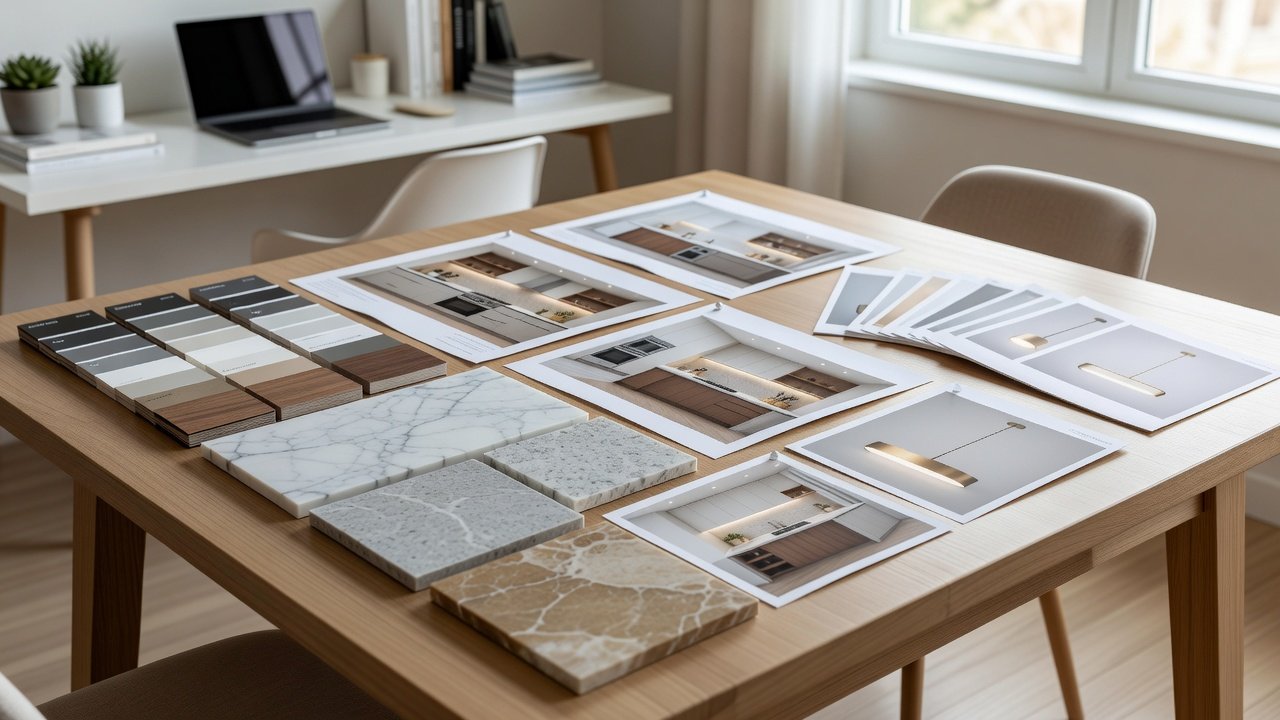
Introduction to Mood Boards in Kitchen Renovations
Kitchen renovations stand among the most impactful home improvement projects, merging everyday functionality with lasting aesthetic value. Creating a mood board acts as your essential visual planning tool, allowing homeowners to align critical decisions on cabinet styles, countertops, lighting fixtures, and backsplashes with broader modern home design principles. This structured approach minimizes missteps, saves time, and ensures the final result reflects a cohesive vision rather than scattered ideas gathered during the renovation process.
By curating images and materials early, mood boards bridge the gap between inspiration and execution. They help translate vague preferences into concrete choices, whether your project involves a complete gut renovation or targeted upgrades like replacing outdated countertops. The process supports both digital workflows and traditional physical boards, making it adaptable for solo homeowners or those collaborating with designers and contractors.
Why Mood Boards Are Essential for Visual Planning Success
Mood boards bring clarity to complex renovation decisions by highlighting relationships between elements such as color harmony, texture balance, and scale proportions. Without this visual anchor, homeowners often encounter mismatched finishes or regret over selections made in isolation. Boards encourage deliberate choices that enhance flow throughout the space, from the kitchen island to adjacent dining areas in open-concept layouts.
They also reduce the risk of overcommitting to trends that may not suit long-term needs. For instance, pairing industrial lighting with warm wood tones requires careful previewing to avoid visual discord. Research from design professionals shows that projects guided by mood boards experience fewer change orders, leading to smoother timelines and preserved budgets. This method directly addresses search intent for visual inspiration by turning online browsing into a purposeful planning asset.
Step-by-Step Guide to Building an Effective Kitchen Mood Board
Follow this detailed process to develop a board that drives confident decisions:
- Establish core renovation objectives, including overall style direction such as contemporary minimalist or transitional farmhouse, along with functional priorities like increased storage or improved lighting.
- Collect diverse source material including high-resolution photos of cabinet profiles, countertop slabs, backsplash tiles, and fixture options from reputable showrooms and publications.
- Organize images into categories: dominant surfaces first, then accents and hardware details to build layers of visual information.
- Limit the initial collection to 20-25 pieces before editing down to the strongest 10-12 that demonstrate clear compatibility.
- Arrange elements on the board to test sight lines, ensuring no single feature dominates unless intentionally featured as a focal point.
- Incorporate physical material samples on physical boards or high-fidelity digital representations to verify real-world appearance under varying light conditions.
- Review the board multiple times with different viewers to gather feedback and identify overlooked inconsistencies.
This methodical refinement transforms scattered ideas into a unified blueprint ready for contractor discussions.
Selecting Cohesive Images for Cabinet Styles, Countertops, and Lighting
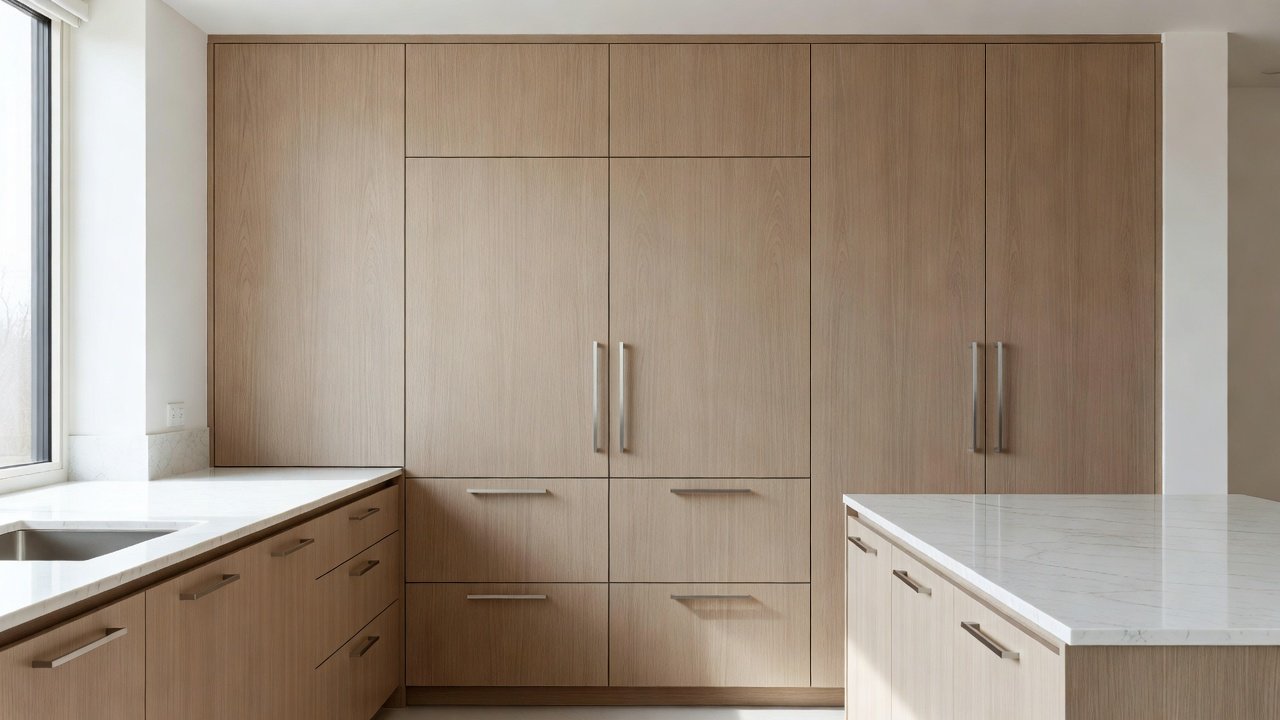
Focus image selection on harmony across primary elements. Cabinet styles range from sleek flat-panel designs to classic shaker or inset profiles; choose photographs that show these in context with complementary hardware finishes. Countertop selections should emphasize durability and visual weight, such as pairing honed quartz with matte cabinetry or polished granite against lighter wood tones for contrast.
Lighting plays a pivotal role in mood definition. Include images of layered solutions: recessed ceiling lights for ambient glow, under-cabinet strips for task areas, and statement pendants over islands. Ensure these integrate with backsplash choices like subway tile or full-slab marble to maintain continuity. Real-world examples include a recent urban loft renovation where a mood board unified navy blue cabinets, leathered quartzite counters, and brass sconces, resulting in a sophisticated yet inviting workspace. Another suburban project used the board to balance warm oak cabinetry with white marble and black matte fixtures for timeless appeal that aged gracefully.
Comparing Digital Tools and Physical Boards for Practical Execution
Digital platforms provide unmatched flexibility for iteration and sharing. Leading options include Pinterest for rapid image aggregation, Canva for customizable layouts, Houzz for integrated product sourcing, and specialized apps like Milanote for organizing complex layers. Houzz stands out for its ability to link inspiration directly to professional services, while Pinterest excels at discovering emerging trends through community boards. These tools allow easy resizing, color matching filters, and remote collaboration with family members or contractors.
Physical boards, by contrast, deliver tactile advantages when matching actual samples of stone or wood finishes. Many successful renovators begin digitally to gather volume, then transition to printed or pinned versions for final material verification. The choice depends on project scope: digital suits fast-paced timelines, while hybrid approaches offer the best of both worlds for thorough planning.
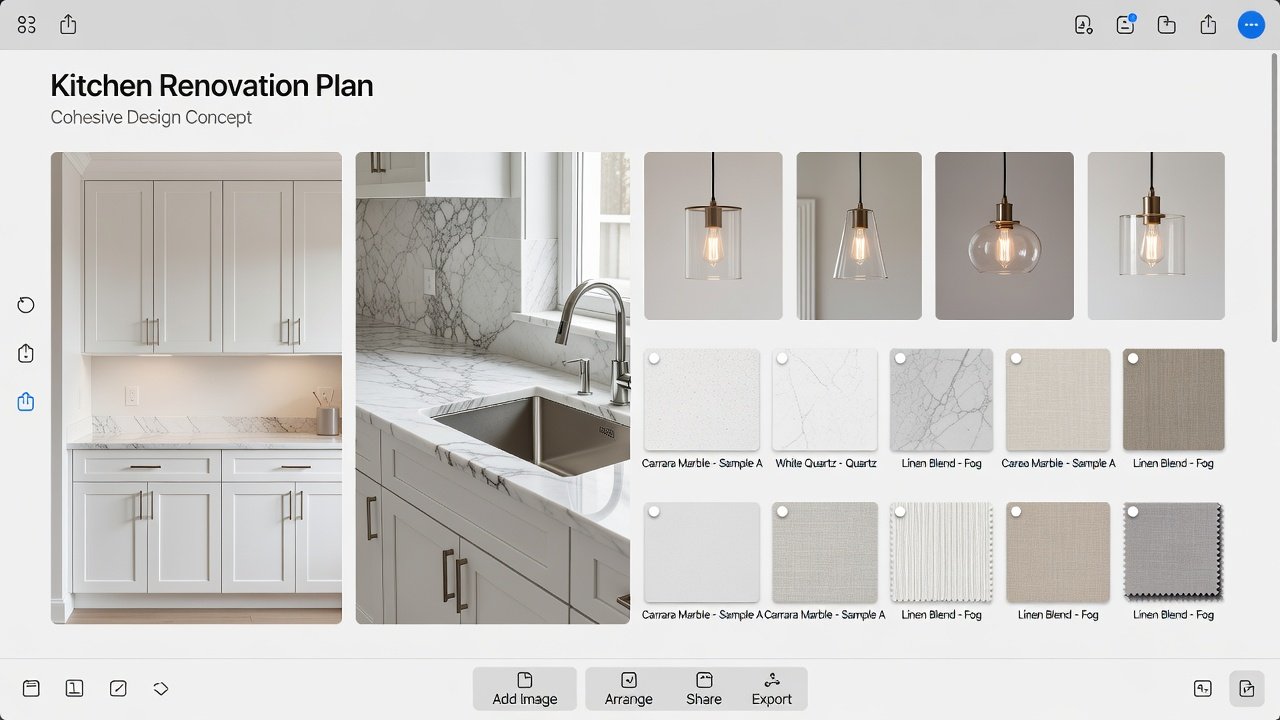
Refining and Iterating Your Mood Board for Optimal Results
Once assembled, subject the board to rigorous testing. View it under morning, afternoon, and evening lighting to confirm selections perform consistently. Remove redundant images that dilute focus, and add transitional elements like accent rugs or window treatments if they influence the overall scheme. Professional designers recommend at least three revision cycles before finalizing, incorporating input from trusted sources to catch blind spots such as insufficient contrast or overlooked functionality.
Common Pitfalls and How to Avoid Them
Many renovation projects stumble due to preventable errors in the planning phase. Overcomplicating the theme by mixing too many styles leads to visual chaos; instead, anchor the board around two to three consistent motifs. Ignoring scale appears when images lack context, making small fixtures look disproportionate. Always verify real-life dimensions. Another frequent issue involves neglecting practical performance, such as choosing high-maintenance surfaces without considering daily use patterns. Address these by cross-referencing every selection against lifestyle needs before committing.
Frequently Asked Questions About Kitchen Mood Boards
- How many images should a final board contain? Aim for 8-15 focused selections to maintain clarity without overwhelming the viewer.
- Can I update a mood board mid-project? Yes, but limit changes to preserve momentum and avoid cascading revisions.
- Is professional help necessary? Not always, though consulting a designer for complex layouts can accelerate cohesion.
- What if my inspirations conflict? Edit ruthlessly, keeping only elements that share color families or material families.
Conclusion
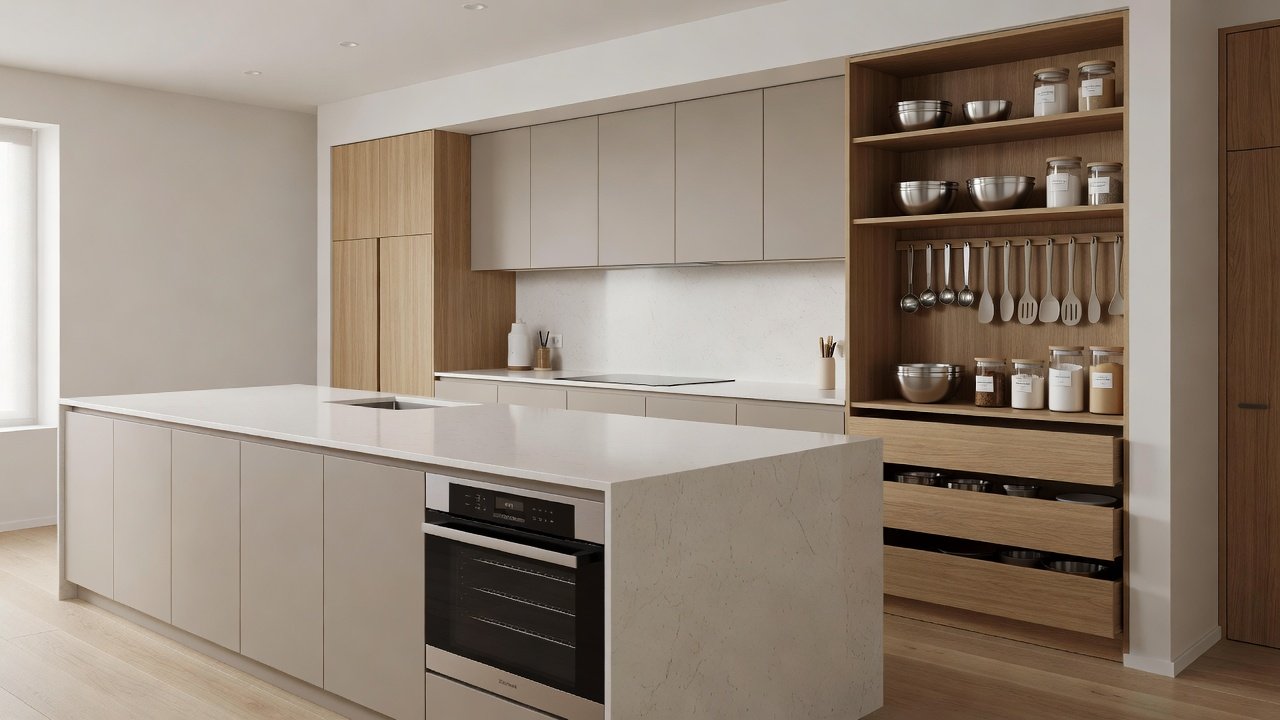
Mastering mood boards equips homeowners with the visual discipline needed for successful kitchen renovations. Through careful curation, comparison of tools, and iterative refinement, these boards deliver cohesive outcomes that align with modern design standards and personal preferences. Begin assembling your board today to transform inspiration into a beautifully executed space that enhances daily living for years ahead.
No comments yet. Be the first!