 Fixated on Home
Introduction to Soundproofing in Open Kitchens
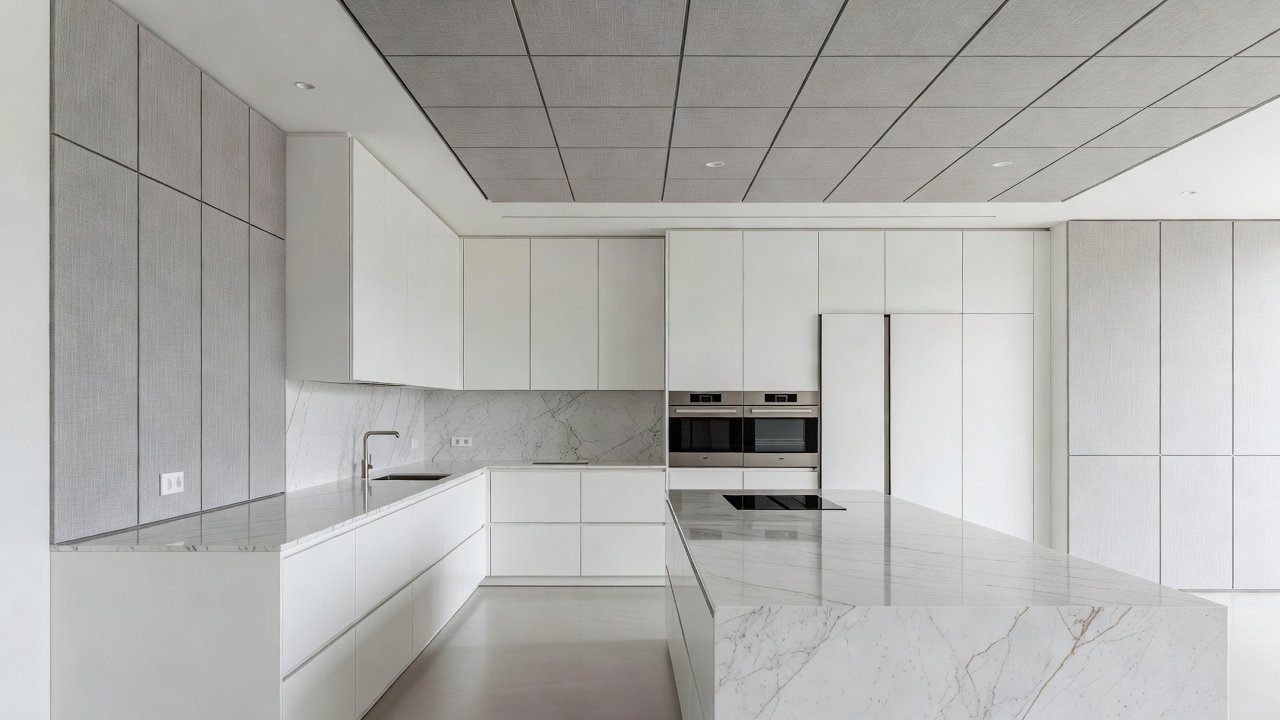
Open-plan kitchens have become a staple of modern home design, blending cooking spaces with living and dining areas for a seamless flow. However, this layout often amplifies noise from appliances, conversations, and daily activities, making soundproofing essential during renovations. Homeowners seeking quieter, functional spaces can achieve significant noise reduction while maintaining aesthetic appeal through targeted strategies. Effective soundproofing addresses both airborne sounds, like voices and music, and impact noises from footsteps or cabinet doors. By integrating acoustic solutions early in the renovation process, you create a more comfortable environment that enhances overall home livability and supports family interactions without constant background distractions.
Noise in open kitchens stems from multiple sources including range hoods, dishwashers, refrigerators, and social gatherings. Unaddressed, this can lead to fatigue and reduced enjoyment of the space. Renovations offer the perfect opportunity to incorporate sound control measures that align with contemporary aesthetics such as clean lines, integrated appliances, and neutral color palettes. This guide explores comprehensive approaches tailored to these needs, drawing on proven techniques for lasting results.
Selecting the Right Acoustic Materials
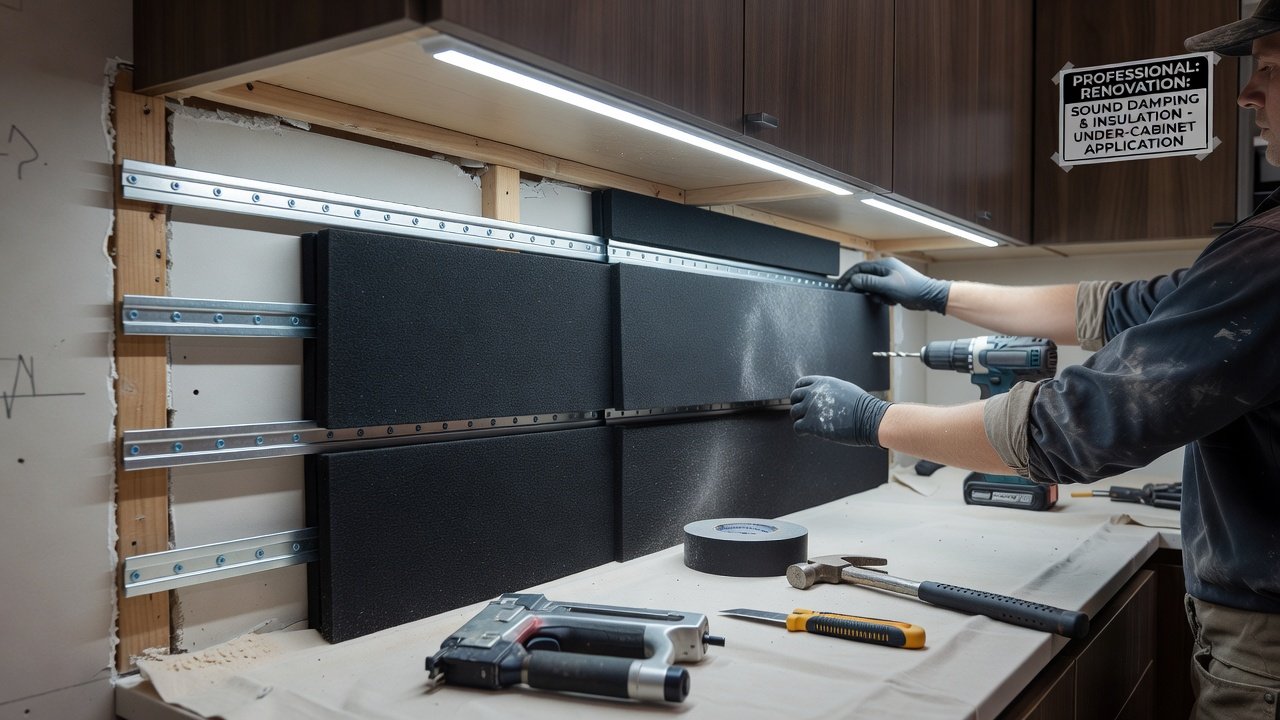
Choosing appropriate materials is the foundation of any successful soundproofing project. Insulated panels, such as those with mass-loaded vinyl or fiberglass cores, effectively absorb sound waves across a broad frequency range. Under-cabinet damping materials, including viscoelastic compounds, reduce vibrations from appliances and drawers, preventing them from traveling through structures. Additional options include acoustic drywall with gypsum layers designed for decoupling, resilient channels that create air gaps to interrupt sound paths, and ceiling clouds or baffles that hang discreetly to control echoes in high-ceiling areas. These materials blend with modern designs when finished with stylish coverings like textured paint or matching cabinetry. For ventilation systems, opt for sound-attenuating ducts and silencers to prevent noise conflicts while preserving airflow efficiency. When selecting, consider factors such as fire resistance, moisture tolerance in kitchen environments, and compatibility with existing insulation. Homeowners often combine multiple materials for layered protection that targets both high-frequency chatter and low-frequency appliance hums.
Comparing Material Performance
- Insulated panels: High absorption for mid-to-high frequencies with easy surface mounting.
- Under-cabinet damping: Targets low-frequency vibrations from refrigerators and dishwashers through direct application.
- Acoustic caulk and sealants: Seals gaps around outlets, windows, and fixtures for comprehensive sound blocking without visible changes.
- Resilient channels and clips: Provide structural decoupling ideal for new wall builds during renovations.
Step-by-Step Installation Guides
For Walls
Begin by assessing wall cavities and adding dense insulation such as mineral wool batts for initial absorption. Next, install resilient channels perpendicular to studs at 16-inch intervals, securing them firmly before attaching new drywall layers with acoustic sealant at all seams and edges. This decoupled approach minimizes sound transmission by breaking direct contact points. Finish with joint compound and paint to match surrounding decor. Tools needed include a stud finder, level, acoustic caulk gun, and drywall screws. Practical tips include working in sections to avoid disrupting daily kitchen use and testing sound levels before and after with a simple decibel app.
For Ceilings
Use hat channels and isolation clips to create an air gap between the existing ceiling and new layers. Attach multiple drywall sheets with staggered seams, then add bass traps in corners for low-frequency control. Always test for proper sealing around lights, vents, and smoke detectors to maintain safety compliance. This method works well in open kitchens where ceilings contribute to echo.
DIY Versus Professional Approaches
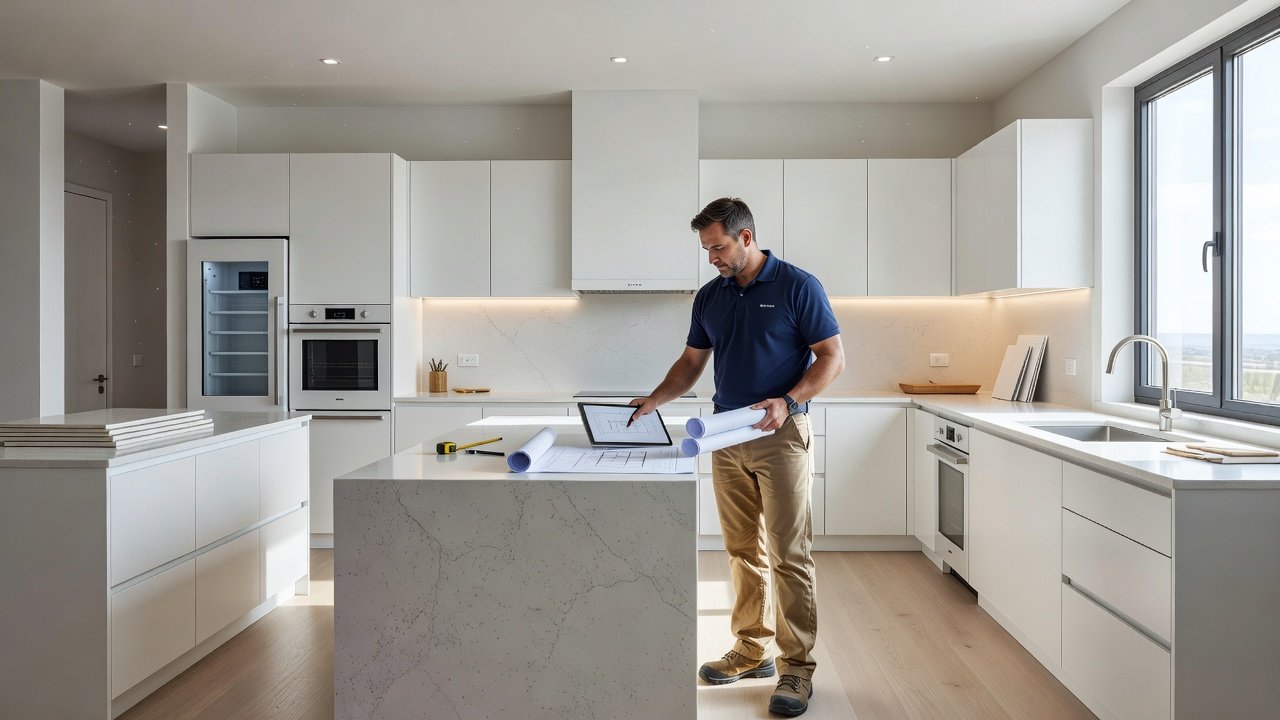
DIY methods suit homeowners with basic carpentry skills, offering cost savings and customization flexibility during phased renovations. However, professionals bring expertise in complex integrations, such as aligning with existing HVAC systems, ensuring compliance with building codes, and optimizing material placement for maximum effect. Real-world projects demonstrate that hybrid approaches—DIY for simple panels and pro assistance for structural changes—yield optimal results. For instance, a family in a two-story home handled cabinet damping themselves while hiring specialists for ceiling work to avoid disrupting electrical wiring.
Real-World Examples from Recent Projects
In a recent suburban renovation, homeowners combined insulated wall panels with under-cabinet damping to reduce kitchen noise noticeably, transforming a bustling family hub into a calmer gathering spot. Another urban loft project incorporated ceiling baffles that preserved an industrial aesthetic while improving acoustics for entertaining. A third example involved a coastal home where moisture-resistant acoustic materials were installed around a large island, addressing both sound and humidity concerns simultaneously. These cases highlight how tailored strategies adapt to different layouts and lifestyles.
Addressing Common Challenges
Ventilation conflicts arise when soundproofing blocks airflow; solve this with acoustic louvers or inline silencers that maintain efficiency. Integration with smart home features like automated lighting requires careful planning around wiring paths. Design harmony is achieved by selecting finishes that complement cabinetry and countertops, ensuring acoustic elements remain unobtrusive.
Mistakes to Avoid
Common pitfalls include skipping proper sealing, which leaves gaps for sound leakage, or choosing materials without considering kitchen humidity levels. Overlooking ventilation needs can lead to poor air quality, while ignoring code requirements may result in rework. Always measure twice and consult experts for load-bearing considerations.
Frequently Asked Questions
How long does soundproofing installation take?
Typical projects span one to two weeks depending on kitchen size and whether structural modifications are involved.
Can soundproofing affect kitchen ventilation?
Proper planning with specialized vents and silencers prevents issues while maintaining airflow efficiency and safety standards.
What maintenance is required?
Regular inspections of seals, panels, and damping layers ensure lasting performance, typically once or twice annually.
Does soundproofing work with open shelving designs?
Yes, targeted wall and ceiling treatments complement open storage by controlling reflections without blocking access.
Conclusion
Soundproofing open kitchens during renovations transforms noisy spaces into serene hubs that support modern living. By selecting quality materials, following detailed installation steps, and weighing DIY options against professional help, homeowners achieve upgrades that prioritize comfort and functionality. Explore resources from EPA and WHO for broader insights on noise control and indoor environments.
No comments yet. Be the first!