 Fixated on Home
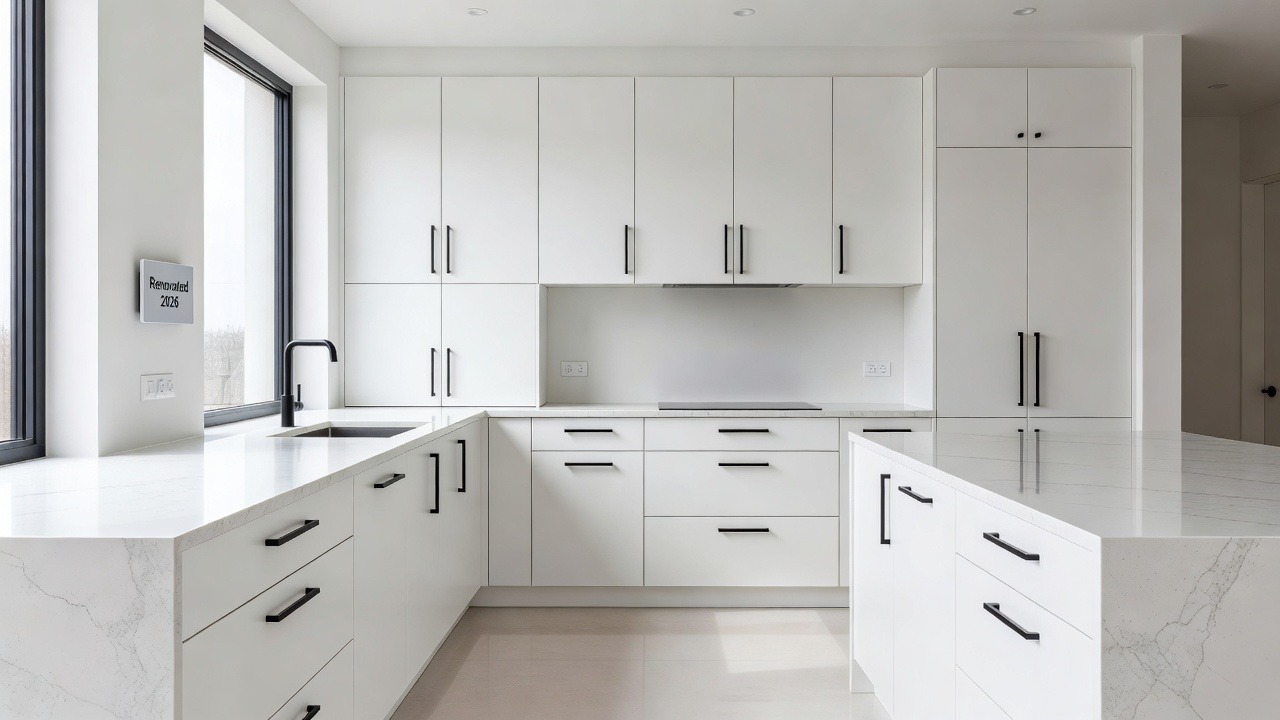
Introduction to Painting Kitchen Cabinets in 2026
Homeowners tackling kitchen renovations in 2026 often seek affordable ways to achieve modern upgrades without full replacements. Painting kitchen cabinets stands out as a transformative project that refreshes the space while aligning with current design trends like sustainable materials and neutral palettes with bold accents. This guide delivers actionable steps for preparation, paint selection, application, and finishing to ensure professional-looking results that last. Many homeowners report that a well-executed cabinet painting project can completely change the feel of a kitchen, making it brighter, more cohesive, and aligned with contemporary living standards. In addition to visual appeal, properly painted cabinets resist moisture, grease, and daily handling better than outdated finishes. This approach supports broader 2026 home design movements that emphasize longevity, eco-friendly products, and personalized style on a budget.
Proper cabinet painting enhances durability against daily wear and supports longevity in high-moisture environments. Whether refreshing dated oak or transforming laminate, the process boosts home value and creates a cohesive look with 2026 trends emphasizing clean lines and eco-friendly finishes. Before starting, assess your current cabinet condition to decide if painting is the right path versus full replacement.
Essential Tools and Materials for Success
Start with the right equipment to avoid frustration. Gather these items before beginning:
- Screwdrivers and a drill for hardware removal
- Sandpaper in 120- and 220-grit varieties
- Degreaser or TSP substitute for cleaning
- Primer designed for cabinets
- High-quality cabinet paint in your chosen finish
- Paint brushes, foam rollers, and a paint sprayer if preferred
- Drop cloths, painter's tape, and ventilation fans
- New hardware and soft-close hinges for updates
These tools ensure smooth execution. Focus on quality brushes to minimize brush marks, a common issue in DIY projects. Invest in angled sash brushes for edges and detail work. A good degreaser removes years of buildup that could otherwise cause paint failure. Consider purchasing a paint sprayer for larger kitchens to achieve even coverage faster, though hand application works well for smaller spaces. Always wear protective gear such as gloves and a mask during sanding and painting phases.
Preparation Techniques for Long-Lasting Results
Thorough preparation prevents peeling and ensures adhesion. Remove doors, drawers, and hardware first. Label everything for easy reassembly. Clean surfaces with a degreaser to eliminate grease buildup, then lightly sand to create tooth for primer. Wipe away dust with a tack cloth. Work in sections to keep the workspace manageable and reduce the chance of missing spots. For stubborn stains, apply a second cleaning pass and allow extra drying time.
Repair any dents or damage with wood filler. For 2026 renovations, consider adding new backing panels if updating the interior look. Allow surfaces to dry completely before priming. This step is critical for kitchens exposed to steam and cooking residues. Take photos of the original layout before disassembly to serve as a reference during reinstallation. If your cabinets have glass inserts or intricate trim, mask these areas carefully with painter's tape to protect them from primer and paint.
Selecting Paint for Durability and 2026 Style
Choose paints formulated for cabinets, such as acrylic or alkyd enamels with a satin or semi-gloss finish for easy cleaning. Look for low-VOC options to align with modern eco-conscious trends. In 2026, popular palettes include warm neutrals paired with deep greens or terracotta accents for depth. Test colors on sample boards under your kitchen lighting to see how they appear at different times of day. High-quality cabinet paints often include built-in primers or self-leveling properties that reduce visible brush strokes.
Pair soft grays with brass hardware for timeless appeal or crisp whites for a bright, airy feel. Research color pairing ideas through resources like This Old House for inspiration tailored to current renovations. Consider the overall kitchen flow when selecting hues; for example, coordinate cabinet color with existing flooring or backsplash tones. Matte finishes are gaining popularity for a modern, understated look, but they require more careful maintenance than satin sheens.
Step-by-Step Application Process
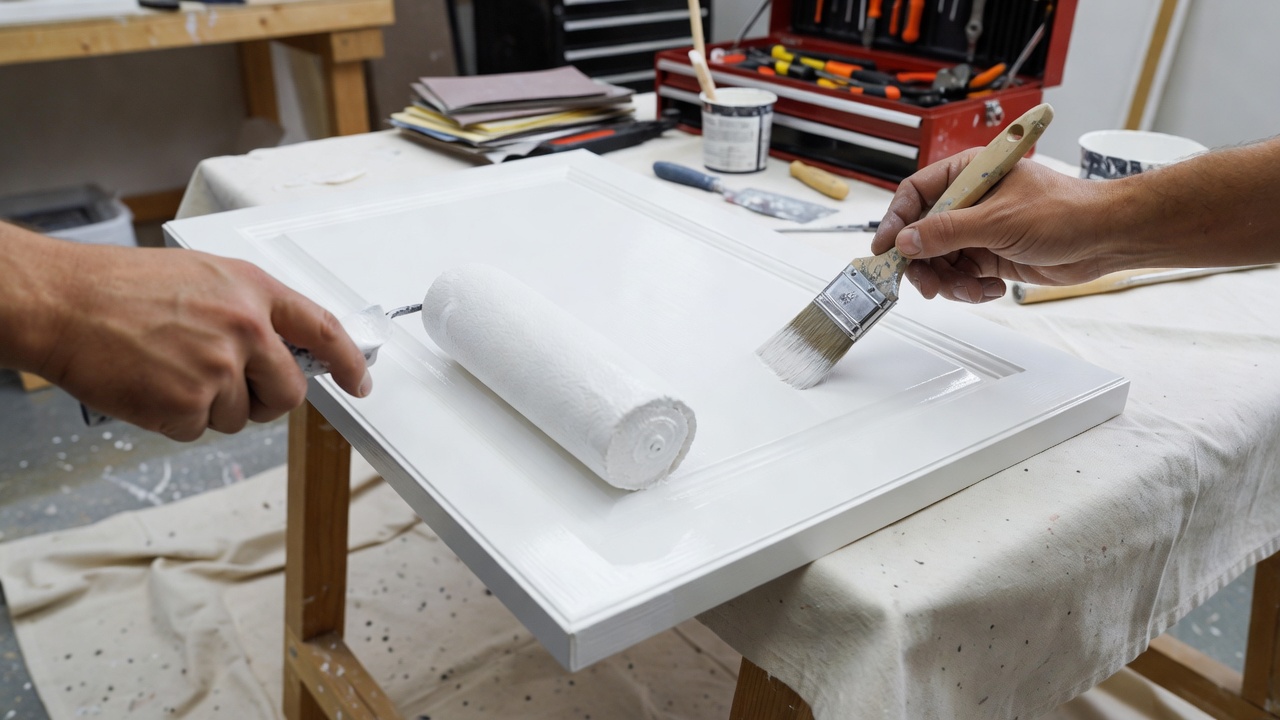
Apply primer in thin, even coats using a roller for flat surfaces and a brush for details. Allow full drying time between coats. Follow with two coats of paint, sanding lightly between layers for smoothness. Work methodically from the inside out, painting the backs of doors first before moving to fronts. Maintain a wet edge to prevent lap marks by painting adjacent sections quickly.
Work in a well-ventilated area and maintain consistent temperature around 70 degrees Fahrenheit. Use a paint sprayer for factory-like finishes on intricate moldings. Let cabinets cure fully before reinstalling, typically 7-14 days for heavy use. Between coats, store brushes in airtight containers or wrap them in plastic wrap to avoid drying out. If using a sprayer, practice on scrap wood first to dial in the correct pressure and spray pattern.
Common Pitfalls and Before-and-After Examples
Many DIYers skip proper cleaning, leading to adhesion failure. Another mistake is rushing drying times, causing tacky surfaces. Avoid overloading brushes to prevent drips. Poor lighting during application can hide imperfections that become obvious later. Before: Dated brown cabinets with visible wear and mismatched hardware. After: Sleek painted cabinets in a soft sage green that brightens the entire kitchen and pairs beautifully with new quartz counters. Document your progress with photos to track improvements and avoid repeating errors on future projects.
DIY Versus Professional Results Comparison
DIY painting offers cost savings and personal satisfaction but requires time and patience. Professionals deliver faster turnaround and often superior finishes using specialized equipment. For complex layouts or tight schedules in 2026 renovations, hiring experts may yield better longevity, though skilled homeowners achieve comparable outcomes with careful technique. DIY results typically take one to two weekends plus curing time, while professionals complete the job in days. The key difference often lies in surface preparation and the final topcoat quality, where pros use commercial-grade products.
Finishing Touches and Remodeling Tips for Longevity
Reinstall hardware carefully and consider upgrading to modern pulls. Add protective clear coats if needed for extra durability. Maintain painted cabinets by wiping spills promptly and avoiding abrasive cleaners. Regular touch-ups keep the look fresh for years. Integrate these cabinets into broader kitchen renovations by coordinating with new countertops or backsplashes. Tips like proper ventilation during cooking help preserve the finish. Store heavy items away from painted surfaces to minimize chipping risk over time.
Color Pairing Ideas for 2026 Kitchens
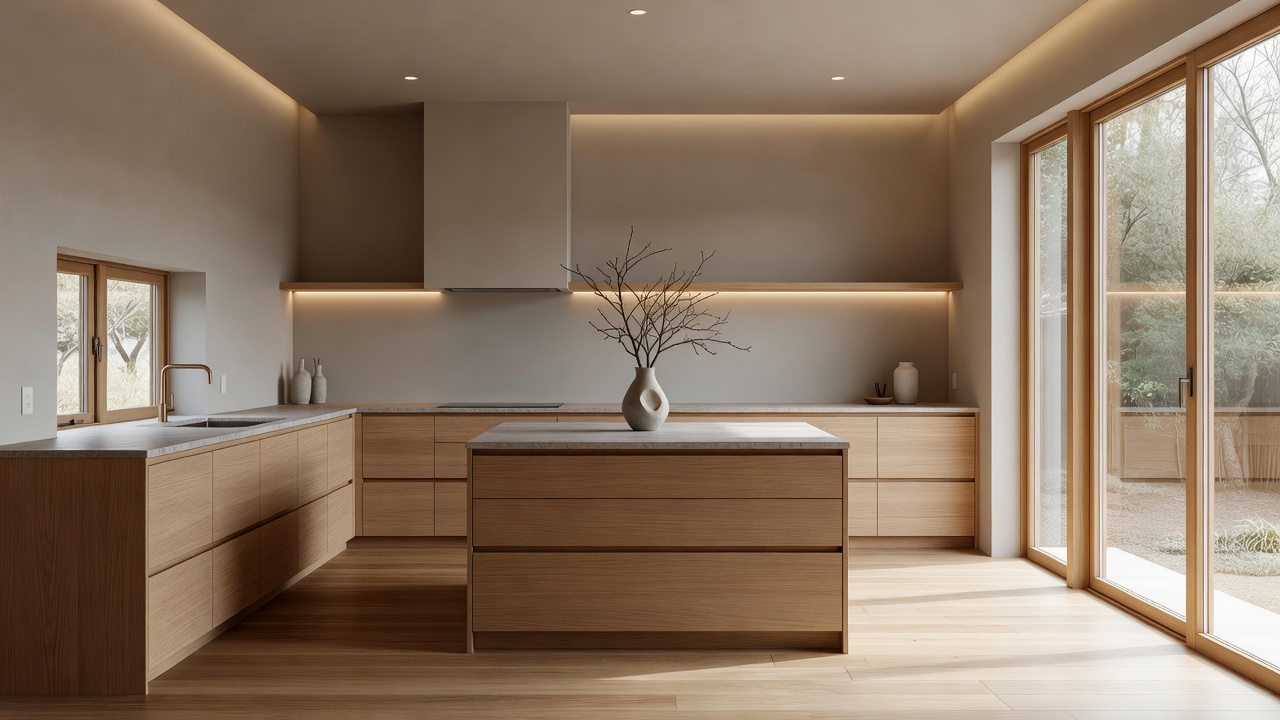
Popular pairings this year include soft beige cabinets with navy islands for contrast, or all-white cabinets accented by warm wood tones in open shelving. For a bolder statement, try charcoal gray cabinets with gold hardware. Always view samples in your actual space before committing, as lighting dramatically affects perception.
Frequently Asked Questions
How long does paint take to dry on kitchen cabinets?
Primer dries in 1-2 hours, paint in 4-6 hours for recoating, but full cure takes up to two weeks. Test readiness before heavy use to avoid fingerprints or sticking.
What maintenance is required after painting?
Clean with mild soap and water. Avoid soaking doors and reapply touch-up paint as needed for chips. Annual inspections catch issues early and extend the life of your finish.
Can I paint over laminate cabinets?
Yes, with specialized bonding primer and thorough sanding for best adhesion. Multiple thin coats outperform a single heavy application in these cases.
For additional guidance on safe painting practices, consult EPA resources on low-VOC products. Home improvement enthusiasts can also explore detailed tutorials at Family Handyman.
Conclusion
Painting your kitchen cabinets offers an accessible path to a refreshed 2026 kitchen. With careful preparation, quality materials, and attention to detail, the results can rival professional work while staying within budget. Follow the steps outlined above for a durable, stylish outcome that enhances your home for years to come.
No comments yet. Be the first!