 Fixated on Home
Introduction to DIY Living Room Art in 2026
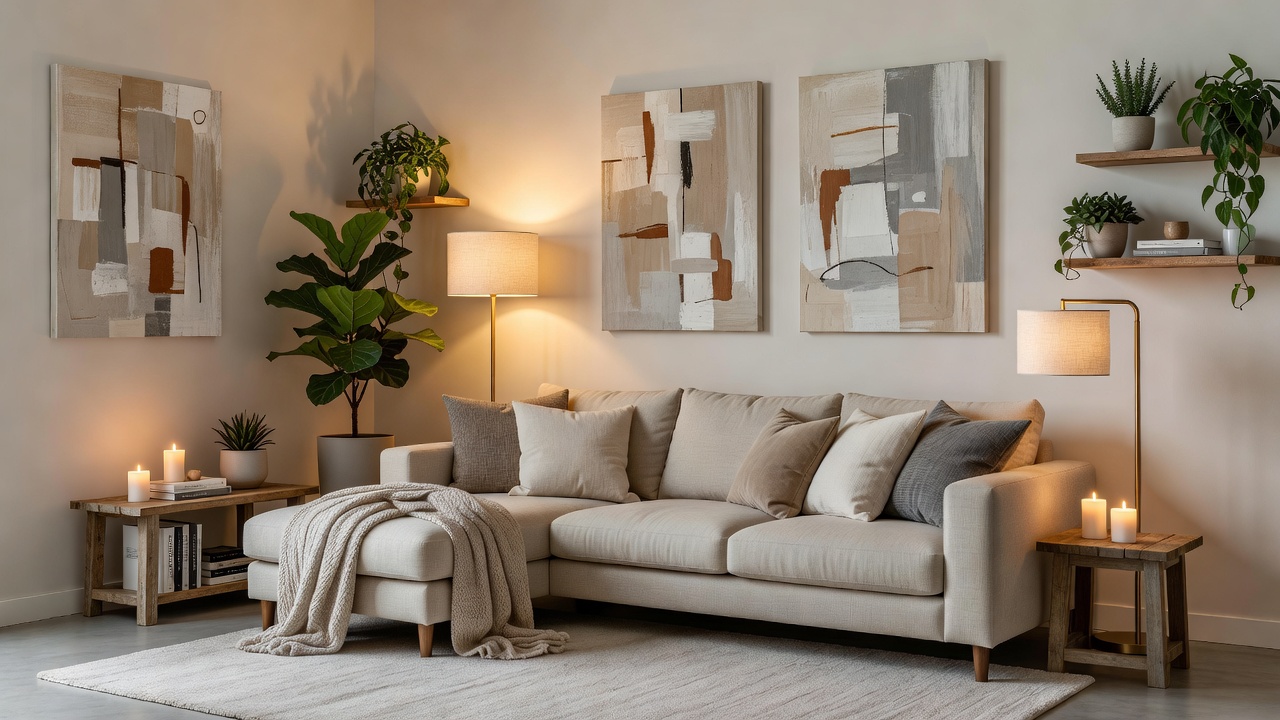
Creating personalized art for your living room has never been more accessible. In 2026, DIY approaches empower beginners to transform blank walls into conversation starters without hiring professionals. This guide covers material selection, detailed tutorials across styles, integration strategies, real examples, technique comparisons, and scaling advice for any room size. Whether refreshing a small apartment or updating a spacious family room, these projects emphasize affordability and creativity. They align perfectly with current trends favoring sustainable, custom decor over mass-produced items. Homeowners increasingly seek ways to express individuality through handmade pieces that reflect personal stories and tastes while enhancing overall interior harmony.
Selecting the Right Materials for Lasting Results
Start with quality basics that suit your skill level and budget. Canvas boards, acrylic paints, wood panels, and recycled fabrics form the foundation of most projects. For texture, consider adding plaster, fabric scraps, or natural elements like dried botanicals. Always choose low-VOC paints for indoor air quality and opt for acid-free papers to prevent yellowing over time. Compare options such as stretched canvas versus stretched linen: the former is more affordable and beginner-friendly, while the latter offers premium durability. Gather tools like brushes, palettes, rulers, and hot glue guns early to streamline workflow. Additional supplies might include gesso for priming surfaces, sandpaper for smoothing edges, and protective gloves to keep hands clean during messy stages. Sourcing from local craft stores or online suppliers allows comparison of brands for consistency in pigment strength and drying times.
Step-by-Step Tutorial: Abstract Canvas Project
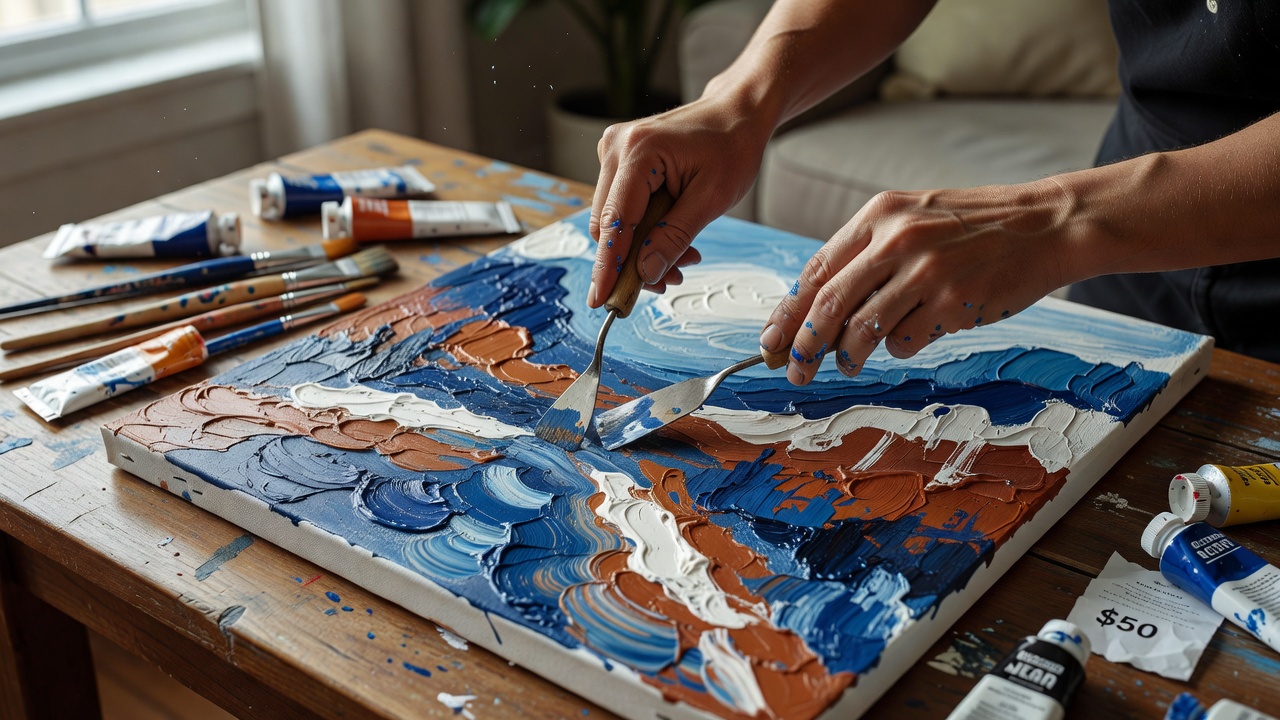
This beginner-friendly abstract piece uses bold colors and shapes to energize neutral living rooms. Gather a 24x36 inch canvas, acrylic paints in three complementary hues, painter's tape, and a palette knife. First, work in a well-ventilated area and lay down drop cloths to protect floors. Prep the canvas with a base coat and let it dry completely, which typically takes one to two hours depending on humidity. Apply painter's tape to create geometric sections, pressing firmly to avoid paint bleed. Fill sections with layered paint using the palette knife for texture, building up thin coats rather than thick ones to prevent cracking. Remove tape while paint is wet for clean lines, then add fine details with a small brush. Seal with a matte varnish once dry. Expect this project to take 3-4 hours plus drying time. Experiment with color gradients by blending adjacent sections before they set. The result adds modern flair that complements sectional sofas and coffee tables. For variations, incorporate metallic accents or stencils for added depth without extra cost.
Step-by-Step Tutorial: Nature-Inspired Wall Hanging
For organic appeal, craft a macramé or pressed botanical hanging. Materials include cotton rope, a wooden dowel, dried flowers or leaves, and a frame or backing board. Begin by measuring your wall space to determine the final hanging dimensions. Cut rope into equal lengths and knot them onto the dowel using basic square knots, practicing on scrap material first if new to the technique. Incorporate pressed botanicals by gluing them onto fabric backing within the design, allowing glue to set fully between layers. Add beads or feathers for subtle movement if desired. Hang using simple wall hooks or command strips positioned at eye level for optimal viewing. This technique suits bohemian or Scandinavian living room aesthetics and scales easily by adjusting rope length. Dry flowers thoroughly beforehand to avoid mold, and consider sealing natural elements with a light spray for longevity.
Seamless Integration with Existing Layouts
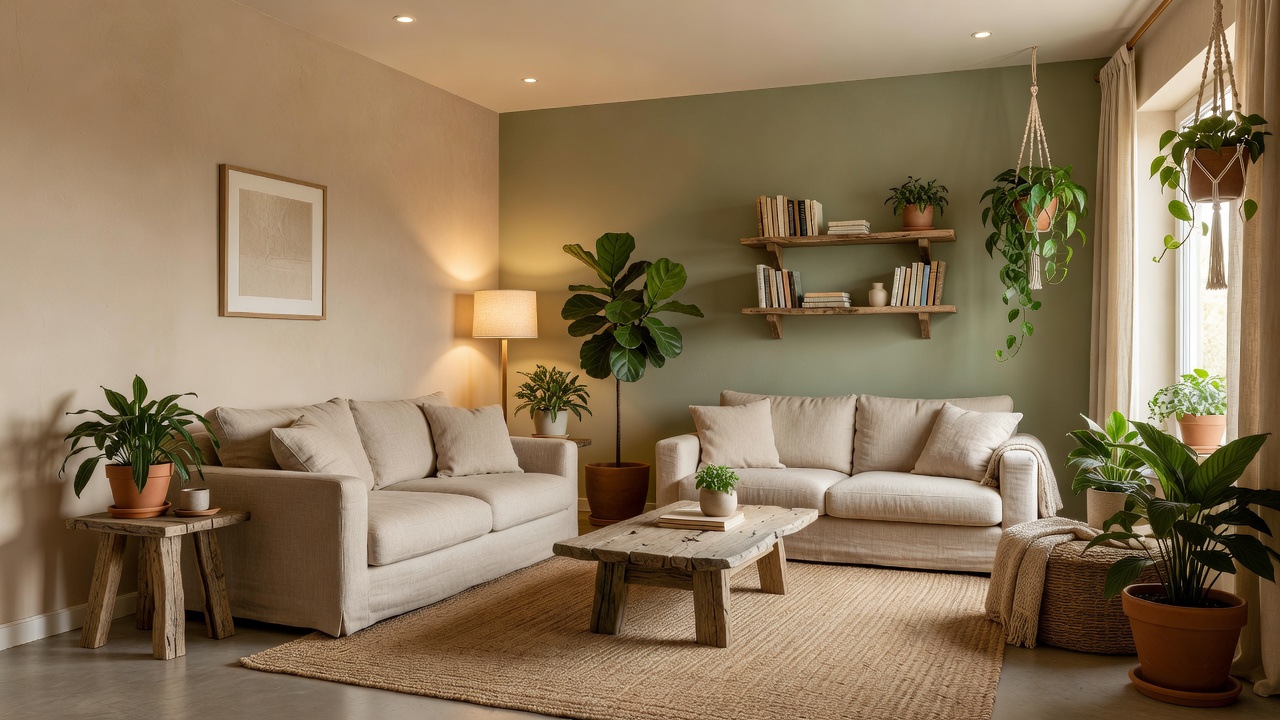
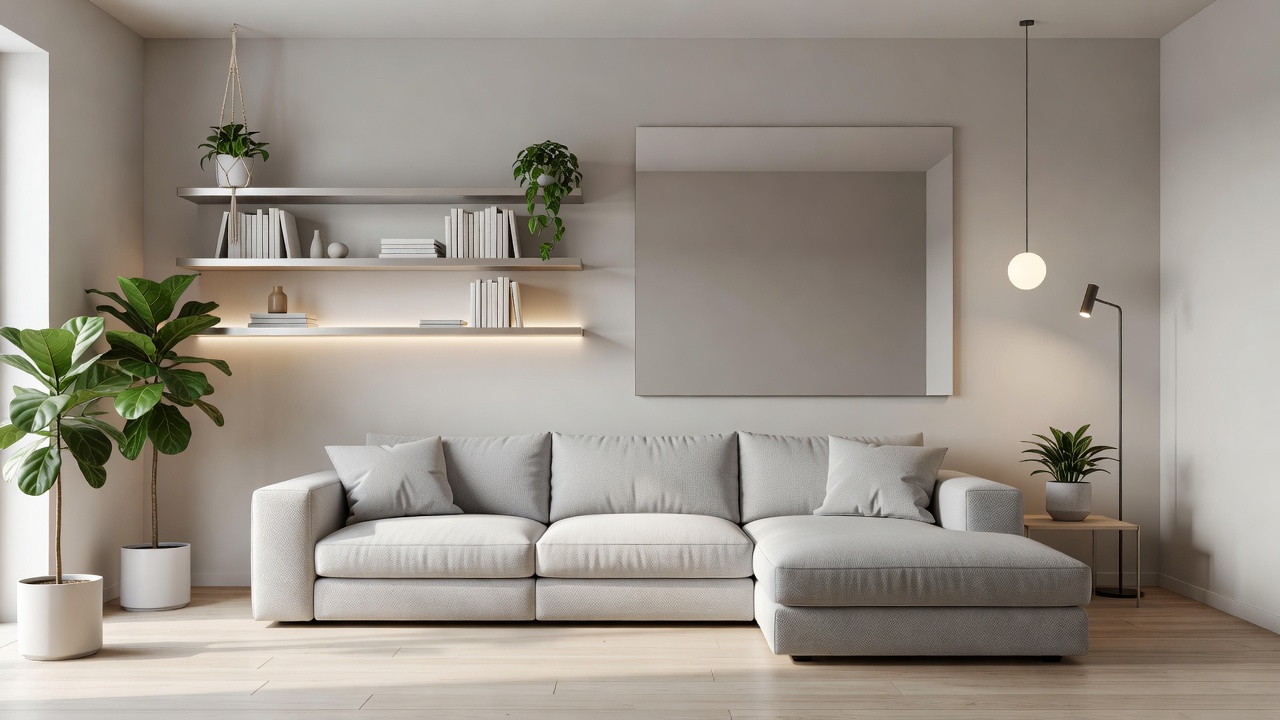
Match art scale to furniture proportions. Position larger pieces above sofas as focal points, while smaller works create gallery walls beside windows or bookshelves. Consider color harmony by pulling tones from existing rugs, curtains, or throw pillows. Test placements with paper templates before committing to nails or adhesive hooks. Think about room flow: place reflective or light-colored pieces near windows to bounce natural light, while darker textured works anchor seating areas. Layering multiple pieces at varying heights creates visual interest without overcrowding. Review your current layout by photographing the space and overlaying digital mockups if possible.
Real-World Budget-Friendly Transformations
One family refreshed their living room by creating three coordinating canvases using leftover house paint, achieving a cohesive look for under $50 in new supplies. Another transformed thrift store frames with custom fabric inserts, turning a dated space into a contemporary haven. A third example involved repurposing old maps and postcards into a collage triptych that told a travel story, installed above a media console. These examples highlight how personal projects outperform generic prints in both cost and satisfaction. Tracking your own before-and-after photos helps document progress and inspires future iterations.
Comparing Techniques: Painting vs. Mixed Media vs. Textile Art
Painting offers quick color impact but requires steady hands for precision. Mixed media adds dimension through collage elements yet demands more drying stages. Textile art provides softness and warmth ideal for family rooms but involves sewing skills. Choose based on your available time, tools, and desired visual weight—painting wins for speed, while mixed media excels in uniqueness. Textile pieces often invite tactile interaction, making them suitable for relaxed environments. Each method carries different learning curves; start simple and progress to combinations once comfortable.
Scaling Projects for Small or Large Spaces
In compact rooms, focus on vertical emphasis with tall, narrow pieces or clustered mini artworks to avoid overwhelming surfaces. For expansive areas, create statement triptychs or oversized installations using multiple canvases. Modular designs allow future rearrangement as layouts evolve. Always measure wall space first and maintain 6-8 inches between grouped items for balanced breathing room. In tiny apartments, consider portable options like leaning art on shelves or using over-the-door hangers. Larger homes benefit from thematic series that unify open-concept areas.
Color Theory Basics for Effective DIY Art
Understanding basic color relationships enhances every project. Complementary colors like blue and orange create vibrant contrast, while analogous schemes using neighboring hues on the color wheel promote calm. Test swatches on scrap paper under your room's lighting conditions before committing. Neutrals serve as versatile backdrops that let bolder accents shine. This knowledge prevents clashing and ensures art enhances rather than competes with existing decor.
Sustainable Material Choices
Opt for recycled canvases, plant-based dyes, and reclaimed wood to reduce environmental impact. Many crafters now incorporate upcycled items such as old clothing for fabric elements or cardboard for sculptural bases. These choices not only lower costs but also add unique character through inherent imperfections. Research local recycling programs for safe disposal of unused paints and solvents.
Common Mistakes to Avoid
Skipping surface prep leads to poor adhesion. Overloading with too many elements creates visual clutter. Ignoring lighting means art looks flat at night—add directional lamps to highlight textures. Test colors in the actual room lighting before full commitment. Other pitfalls include rushing drying times, which causes bubbling, and neglecting to secure hanging hardware properly, risking damage to walls or artwork. Always allow extra time for each phase.
Frequently Asked Questions
What if I have no prior art experience?
Begin with simple stencils or tape-resist methods. Online video resources from established home improvement sites build confidence quickly.
How do I protect finished pieces from dust and fading?
Apply protective sealants and position away from direct sunlight. Rotate displays seasonally for even exposure.
Can these projects work in rental properties?
Yes—use removable adhesives, command hooks, or freestanding easels instead of permanent fixtures.
How long do DIY art pieces typically last?
With proper sealing and care, most last five to ten years or more before needing touch-ups.
What tools are essential for beginners?
A basic kit includes brushes in multiple sizes, painter's tape, a level, measuring tape, and a variety of adhesives.
For further inspiration on creative home projects, explore resources from HGTV, The Museum of Modern Art, and Architectural Digest. With these techniques, your living room can reflect personal style beautifully in 2026.
No comments yet. Be the first!