 Fixated on Home
Integrating Hobby Spaces into Living Rooms in 2026
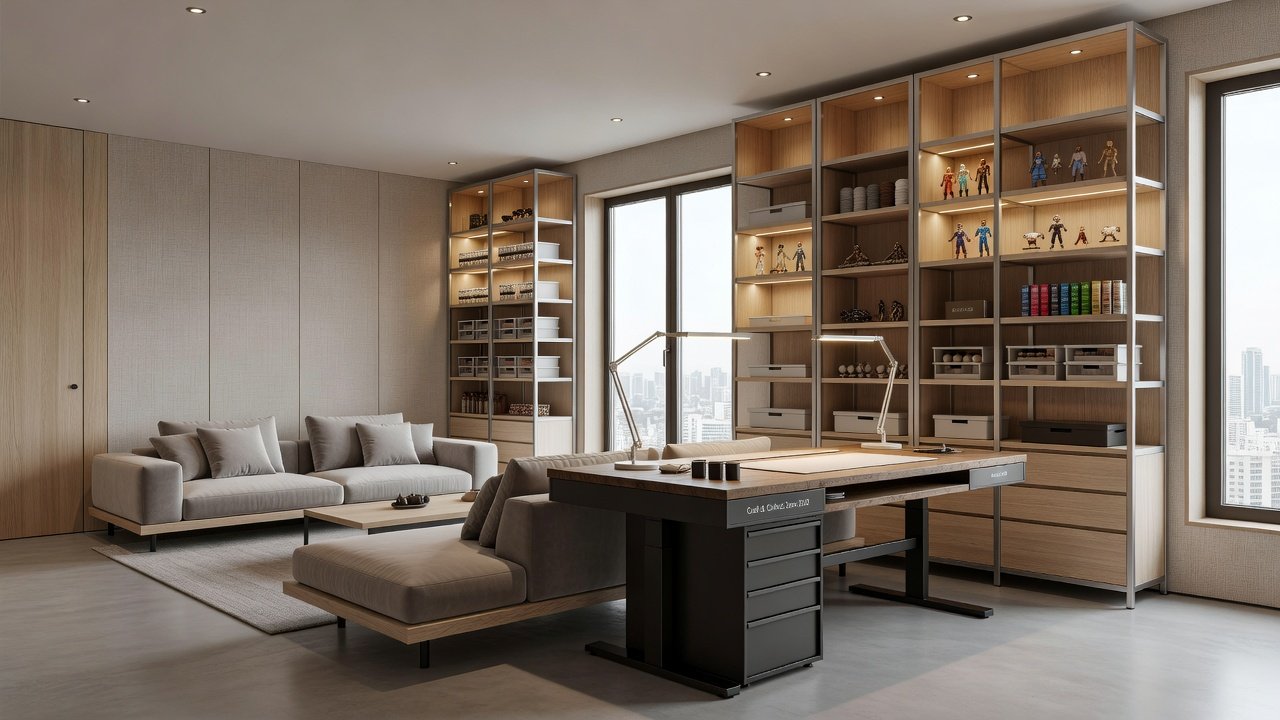
Homeowners today want living rooms that serve multiple purposes, blending relaxation with creative outlets. Whether you collect vintage stamps or enjoy knitting intricate patterns, dedicated hobby zones can enhance your space without overwhelming it. This guide explores zoning with modular furniture, vertical storage solutions, custom display builds, and lighting comparisons to create functional areas that feel intentional and organized. The goal is to design spaces that support daily hobbies while preserving the room's primary role as a welcoming gathering spot for family and friends.
Successful integration requires careful planning around traffic flow, visual balance, and accessibility. Many people overlook how small adjustments in layout can prevent a hobby area from feeling like an afterthought. By treating the hobby zone as an extension of the existing decor rather than a separate entity, you create cohesion that elevates the entire room.
Zoning Strategies Using Modular Furniture
Effective zoning starts with defining boundaries using flexible pieces. Modular sofas and shelving units allow you to carve out a craft corner while maintaining an open flow. Position a low console table against one wall to anchor the hobby zone, then use rolling ottomans that double as seating or storage. This approach keeps the main seating area free for guests while providing quick access to supplies.
Consider room orientation when planning zones. In smaller living rooms, place the hobby area near a window for natural light. Larger spaces benefit from L-shaped sectional arrangements that naturally separate relaxation from creation. Test layouts with painter's tape on the floor before committing to furniture placement. Additional tips include using area rugs to visually delineate the hobby zone and selecting furniture with hidden compartments for quick cleanup before company arrives.
Another practical method involves nesting tables or stackable crates that can be rearranged seasonally. For example, a crafter might pull out a portable cutting mat during active projects and store it away when the space needs to revert to a purely social function. These strategies ensure the living room remains versatile throughout the year.
Vertical Storage Solutions for Supplies
Wall-mounted systems maximize floor space and keep tools visible. Floating shelves in varying depths organize yarn, paints, and small tools by frequency of use. Install pegboards above a work surface for scissors, rulers, and brushes, freeing drawers for bulk items. For collectors, tall narrow cabinets with glass doors protect delicate items from dust while showcasing them. Add interior lighting strips to highlight favorite pieces. Combine these with under-shelf baskets for items used less often, creating a clean visual line that integrates seamlessly with living room decor.
Choose materials that match your existing furniture finishes for a unified look. Metal brackets provide industrial strength for heavier collections, while wooden ledges offer warmth suitable for textile crafts. Regular rotation of displayed items prevents visual fatigue and allows you to enjoy different parts of your collection over time. IKEA offers affordable modular wall systems that adapt as collections grow.
Step-by-Step Guide to Building Custom Display Nooks
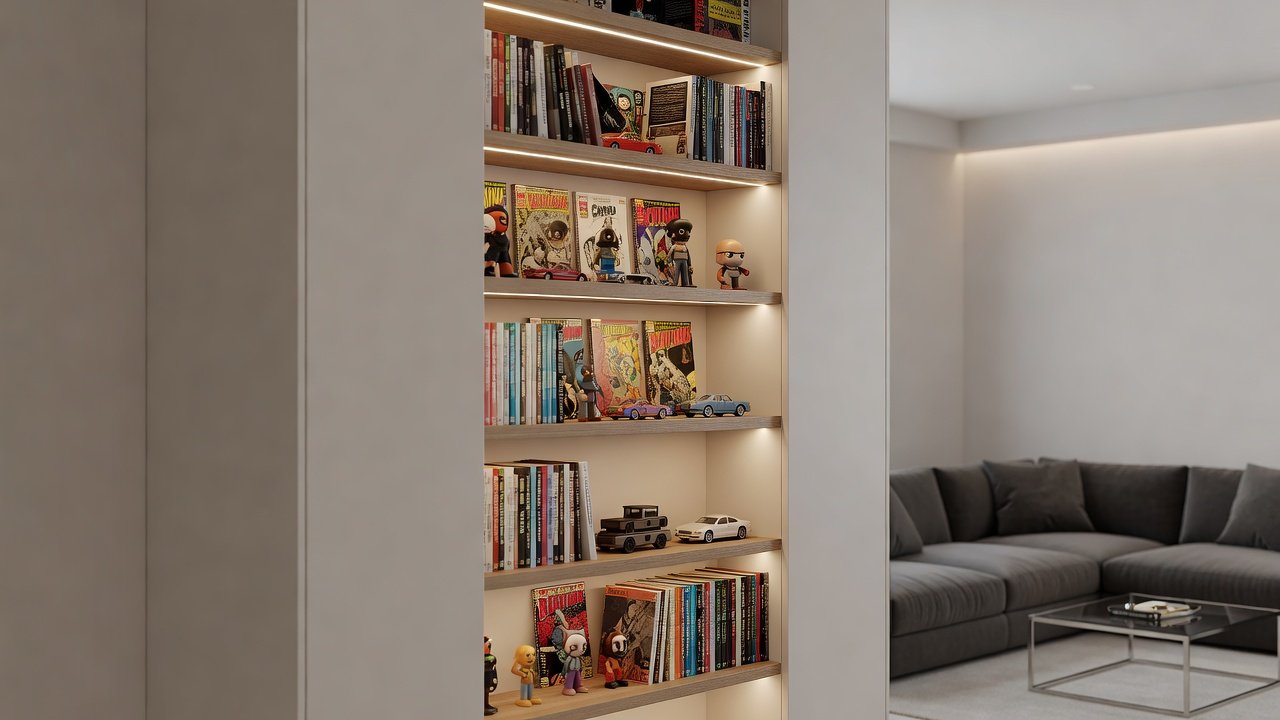
Creating a built-in nook adds architectural interest and dedicated display space. Follow these steps for a professional result. First, gather materials including lumber, drywall screws, wood filler, paint, and adjustable shelf brackets. Always wear safety glasses and work in a well-ventilated area.
- Measure the chosen wall section precisely, noting outlets and vents to avoid electrical hazards.
- Frame the nook with 2x4 lumber, ensuring level surfaces by using a carpenter's level at every stage.
- Install drywall or plywood backing, then add trim for a finished look that matches baseboards elsewhere in the room.
- Paint to match surrounding walls or use a contrasting color for emphasis on the display area.
- Mount adjustable shelving brackets and test weight capacity with sample items before loading your full collection.
- Seal all edges with caulk to prevent dust buildup and install a small LED strip along the top for subtle illumination.
This project typically takes a weekend for DIYers with basic tools. Variations include adding a pull-down desk surface for active crafting or incorporating electrical outlets inside the nook for charging devices used in hobbies.
Comparing Lighting Options for Detailed Work
Proper illumination prevents eye strain during close work. LED task lamps provide bright, cool light ideal for crafting. Floor lamps with adjustable arms offer flexibility without hardwiring. Compare these to overhead recessed fixtures, which deliver even ambient light but may cast shadows on work surfaces. Smart bulbs allow color temperature adjustments—warm for evening relaxation, cool for precision tasks. Position lights to avoid glare on glossy collectibles. Test multiple setups during different times of day to find the best balance between functionality and ambiance.
For collectors handling small items, consider magnifying lamps with built-in LEDs. Crafters working with fabric or paper may prefer daylight-spectrum bulbs that render colors accurately. Always keep spare bulbs on hand and consider dimmable options to transition smoothly from hobby time to evening entertaining.
Real-Life Case Studies
One suburban family transformed a blank living room wall into a knitting station using a modular credenza and overhead shelving. The zone now holds yarn in color-coded bins and integrates with family movie nights via a fold-down table. Another collector in an urban apartment built a narrow display niche for vintage cameras, using vertical space above a sofa to maintain seating capacity. A third example involves a retired teacher who created a scrapbooking corner with a rolling cart system that tucks neatly behind an armchair when not in use, allowing the space to host book club meetings without visible clutter.
These examples show how personal interests enhance rather than disrupt shared living areas when planned thoughtfully. Each case demonstrates the importance of scalability and easy maintenance in long-term success.
Common Mistakes to Avoid
Many homeowners rush into hobby integration without considering long-term usability. Avoid overcrowding shelves, which leads to difficult access and visual chaos. Another frequent error is ignoring cable management for electronic tools or lighted displays. Finally, failing to plan for expansion can result in a space that quickly feels cramped as collections grow.
FAQ: Maintenance Concerns for Hobby Zones
How do I keep dust from accumulating on displays? Weekly microfiber dusting and annual deep cleans with appropriate cleaners maintain appearance.
What if my collection expands? Choose expandable modular systems that allow adding units without full redesigns.
Are there safety tips for craft supplies near living areas? Store flammables in sealed containers away from seating and ensure good ventilation during use.
How often should lighting be checked? Replace bulbs every 12-18 months and inspect cords quarterly for wear.
Can children or pets safely share the space? Use locked cabinets for sharp or small items and choose low-VOC finishes on all surfaces.
Thoughtful planning turns living rooms into versatile spaces that celebrate both comfort and creativity year-round. With these strategies, your hobby area becomes a natural part of daily life rather than a separate project.

No comments yet. Be the first!