 Fixated on Home
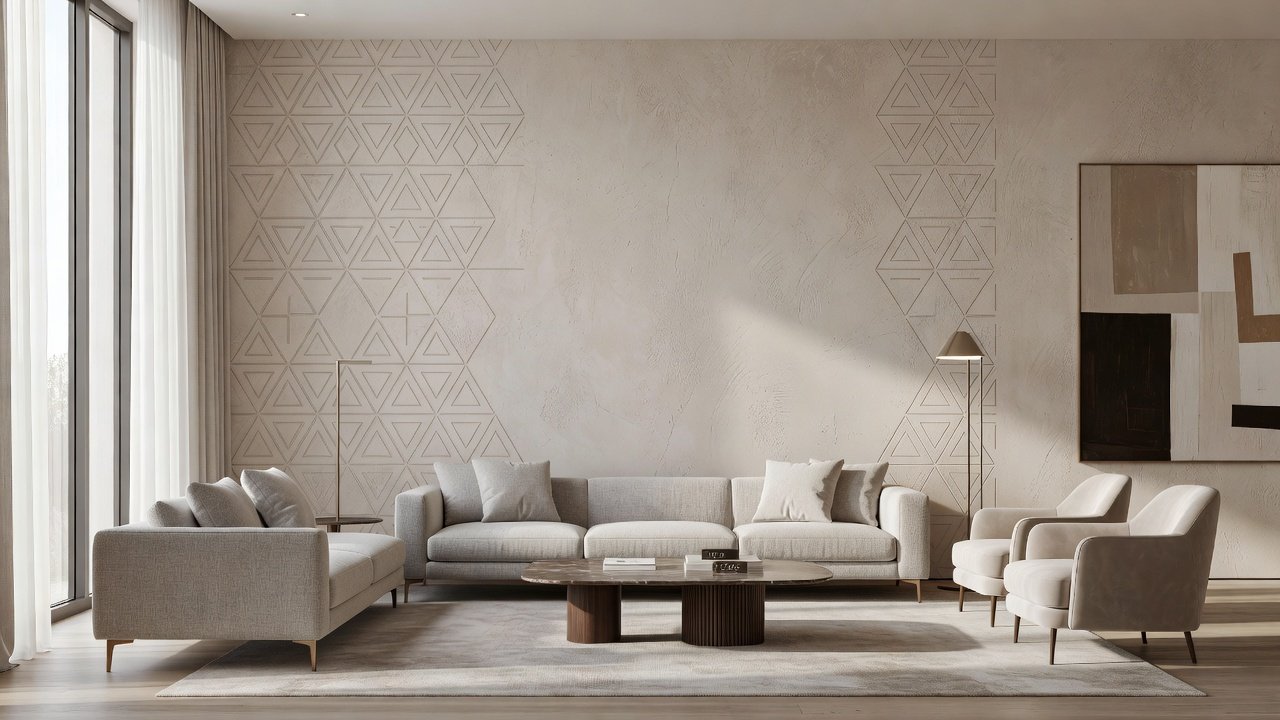
Introduction to Transformative Living Room Paint Finishes
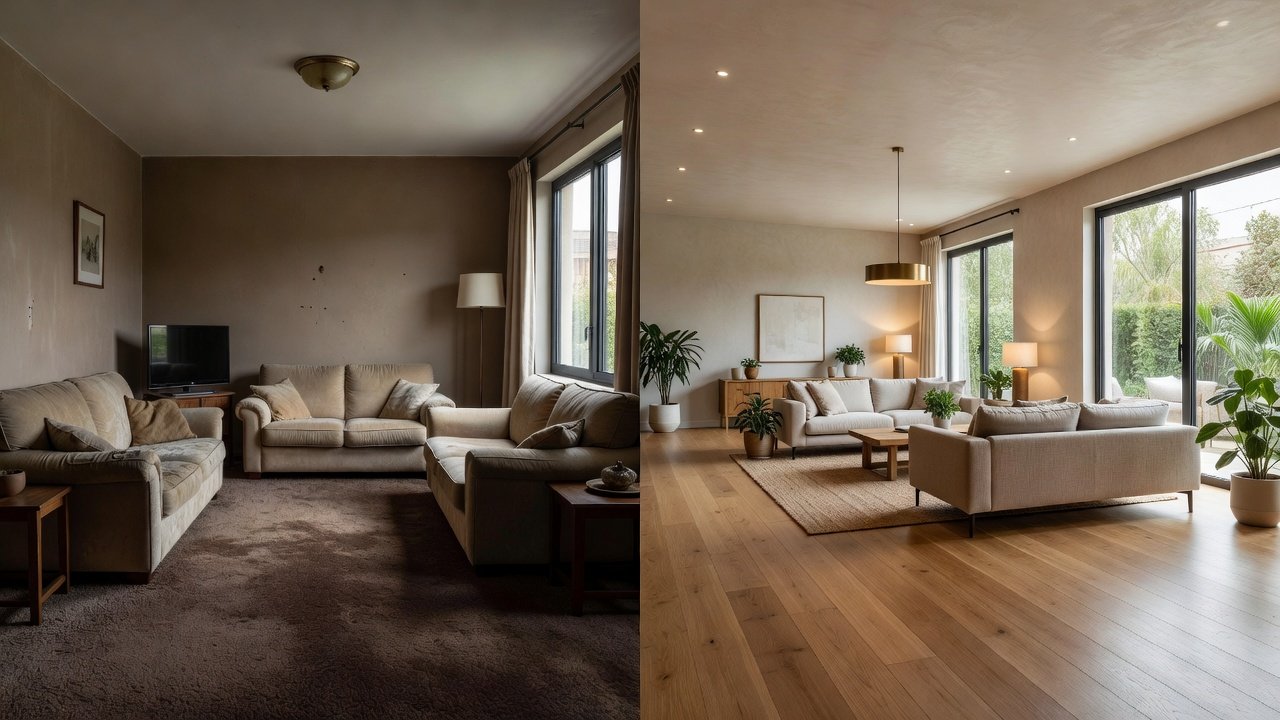
Updating your living room with advanced paint techniques can completely refresh the space without a full renovation. In 2026, homeowners are moving beyond standard flat paint to finishes that add depth, texture, and personality. This guide covers three standout methods: Venetian plaster, color washing, and geometric stenciling. Each offers unique visual impact while addressing durability and cost considerations compared to traditional painting. These techniques suit various design styles, from modern minimalist to eclectic bohemian. Real-home examples show dramatic before-and-after transformations that enhance resale value and daily enjoyment. Whether you are tackling a weekend DIY project or planning a larger remodel, understanding the nuances of each finish helps you make informed decisions that align with your lifestyle and aesthetic goals.
Standard painting serves as the baseline for most living room updates, but advanced finishes introduce layers of sophistication. Homeowners often seek these methods to create focal points, improve light reflection, or add subtle patterns that evolve with changing decor trends. The following sections break down each technique with practical instructions, material lists, and real-world applications to ensure successful results.
Venetian Plaster: Luxurious Depth and Texture
Venetian plaster creates a polished, marble-like surface using multiple layers of lime-based plaster. It provides a sophisticated, high-end look ideal for accent walls behind sofas or entertainment centers. This finish draws from centuries-old Italian techniques and remains popular for its ability to mimic natural stone without the weight or expense of actual marble.
Materials List
- Lime-based Venetian plaster in your chosen tint
- Stainless steel trowels in multiple sizes
- Fine-grit sandpaper for burnishing
- Clear protective sealer
- High-quality primer designed for masonry surfaces
- Drop cloths, painter's tape, and mixing tools
Step-by-Step Application
- Prepare the wall by repairing any cracks, cleaning thoroughly, and applying primer. Allow full drying time.
- Mix the plaster according to manufacturer instructions and apply the first thin, even layer using a trowel at a 30-degree angle.
- Let the layer dry completely, then sand lightly before adding the second coat with varied trowel strokes for natural texture.
- Continue building three to five layers, burnishing each with increasing pressure to develop the signature sheen.
- Finish by applying a sealer to protect against moisture and stains.
This finish excels in durability against moisture and wear, outperforming standard paint in high-traffic areas. Visual impact is dramatic, mimicking natural stone. In one suburban family home, a Venetian plaster wall in warm taupe transformed a plain living room into a gallery-like space that photographed beautifully for real estate listings.
Color Washing: Soft, Artistic Layers
Color washing involves applying diluted glaze over a base coat to achieve a watercolor effect. It adds subtle movement and warmth to living rooms, making it suitable for large walls or open-concept spaces where a single color might feel flat.
Materials List
- Base paint color in eggshell or satin finish
- Glaze medium and tint colors
- Wide paintbrushes and lint-free rags
- Drop cloths, painter's tape, and mixing buckets
- Optional: sea sponges for additional texture
Step-by-Step Application
- Paint the base coat and let it dry fully, usually overnight.
- Mix glaze with a contrasting or complementary color at a 4:1 ratio for translucency.
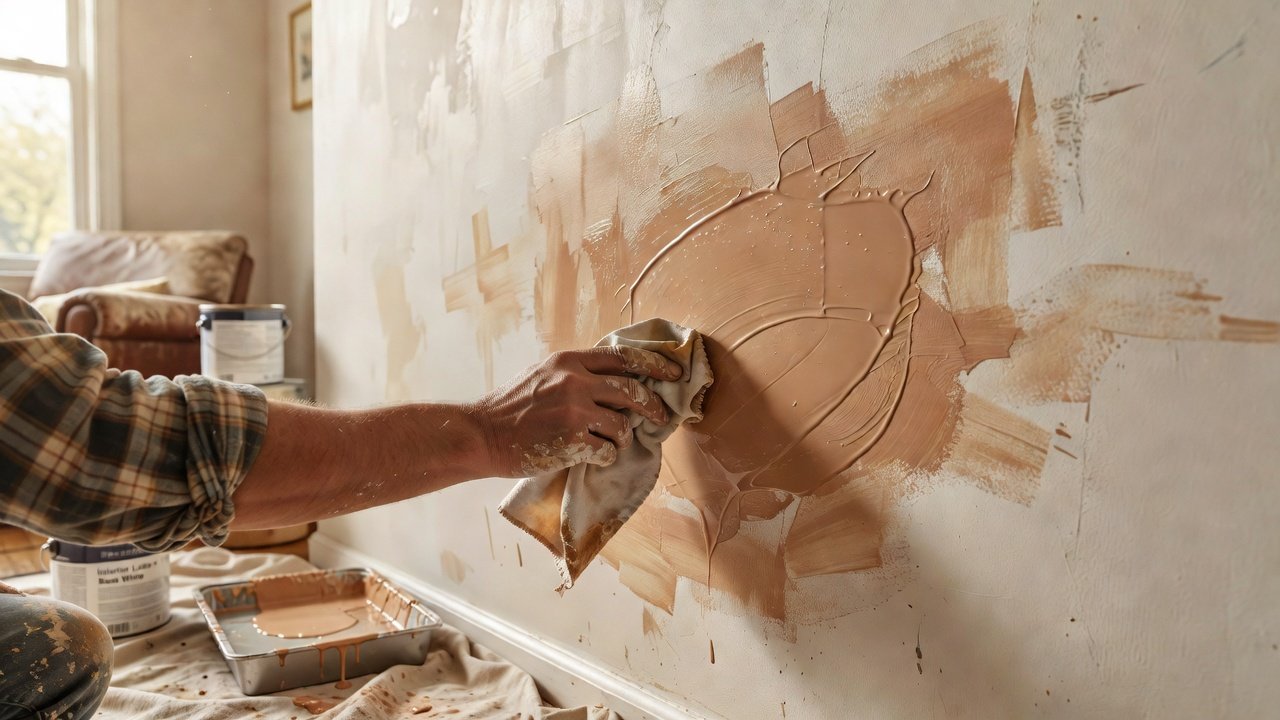
- Apply the wash in random, overlapping strokes, then immediately soften with a clean rag using circular motions.
- Work in small sections to maintain wet edges and avoid lap marks.
- Allow complete drying before adding optional second layers for deeper color variation.
Compared to standard painting, color washing offers greater visual interest at moderate cost. Durability is good with proper sealing, though it may require more frequent touch-ups than plaster. A city apartment owner used soft gray color washing over white to create an airy, cloud-like backdrop that complemented their mid-century furniture collection.
Geometric Stenciling: Modern Patterns and Precision
Geometric stenciling uses reusable stencils to create bold patterns like chevrons, hexagons, or triangles. Perfect for feature walls or ceilings in contemporary living spaces, this method allows precise customization without the permanence of wallpaper.
Materials List
- Base paint in a neutral shade
- Reusable plastic or mylar stencils
- Stencil brushes, foam rollers, or pouncing tools
- Accent paints in two to three complementary colors
- Low-tack adhesive spray and level for alignment
Step-by-Step Application
- Apply the base coat and allow it to cure. Mark horizontal and vertical guidelines with a level.
- Secure the stencil with adhesive spray, ensuring no gaps that could cause bleeding.
- Load a small amount of paint on the brush and apply with a stippling motion, removing excess on a paper plate first.
- Remove the stencil carefully after each section and reposition for the repeating pattern.
- Let all paint dry before adding any topcoat sealer if desired.
This method provides high visual impact with lower material costs than plaster. Durability matches standard paint when using quality materials, but patterns can hide minor imperfections. A couple in a loft apartment stenciled a bold navy geometric pattern on their longest living room wall, turning a blank space into a conversation starter that tied together their eclectic artwork.
Comparing Finishes: Durability, Cost, and Impact
Standard painting remains the baseline for ease and affordability. Venetian plaster leads in longevity and luxury appeal, often lasting decades with minimal maintenance. Color washing balances artistry with moderate upkeep, while geometric stenciling offers customizable patterns at accessible prices. Consider room usage, lighting conditions, and your comfort level with multi-step processes when choosing. For example, plaster suits formal spaces, whereas stenciling works well in family rooms where patterns can mask everyday wear.
Real-Home Examples and Maintenance Tips
In one suburban home, a Venetian plaster accent wall transformed a dated living room into a modern oasis, with the family noting easier cleaning and compliments from guests. Maintenance involves gentle dusting with microfiber cloths and occasional resealing every few years. Color-washed walls in an urban apartment create cozy ambiance while resisting fading under natural light. Geometric stenciling in a coastal cottage used ocean-inspired blues that withstood humidity when sealed properly. For longevity across all finishes, vacuum walls regularly, avoid abrasive cleaners, and touch up high-wear areas promptly. Test any cleaning product on an inconspicuous spot first.
Preparing Your Space and Choosing the Right Finish
Before beginning any project, clear the room, protect floors and furniture, and ensure good ventilation. Assess your wall condition—repairs are essential for smooth results with plaster or stenciling. Match the finish to your decor style: Venetian plaster complements traditional or transitional interiors, color washing enhances farmhouse or Scandinavian looks, and geometric patterns suit modern or industrial designs. Experiment with sample boards on large poster paper to preview colors and textures under your specific lighting.
FAQ: Common Mistakes and Tool Recommendations
- Mistake: Skipping surface prep. Always clean and prime thoroughly to prevent peeling.
- Tool tip: Invest in quality trowels from established brands for even application; check resources from Sherwin-Williams.
- Mistake: Overloading stencils with paint. Use light coats to prevent bleeding under edges.
- Tool tip: Use low-tack tape and levels for precise alignment in stenciling projects; see guidance at Benjamin Moore.
- Mistake: Rushing drying times between layers. Patience ensures professional results and longevity.
Additional planning resources are available through This Old House for technique videos and product comparisons.
Conclusion
These transformative paint finishes empower homeowners to achieve professional results with DIY approaches. Experiment with samples first to match your vision for a stunning 2026 living room update that reflects personal style and stands the test of time.
No comments yet. Be the first!