 Fixated on Home
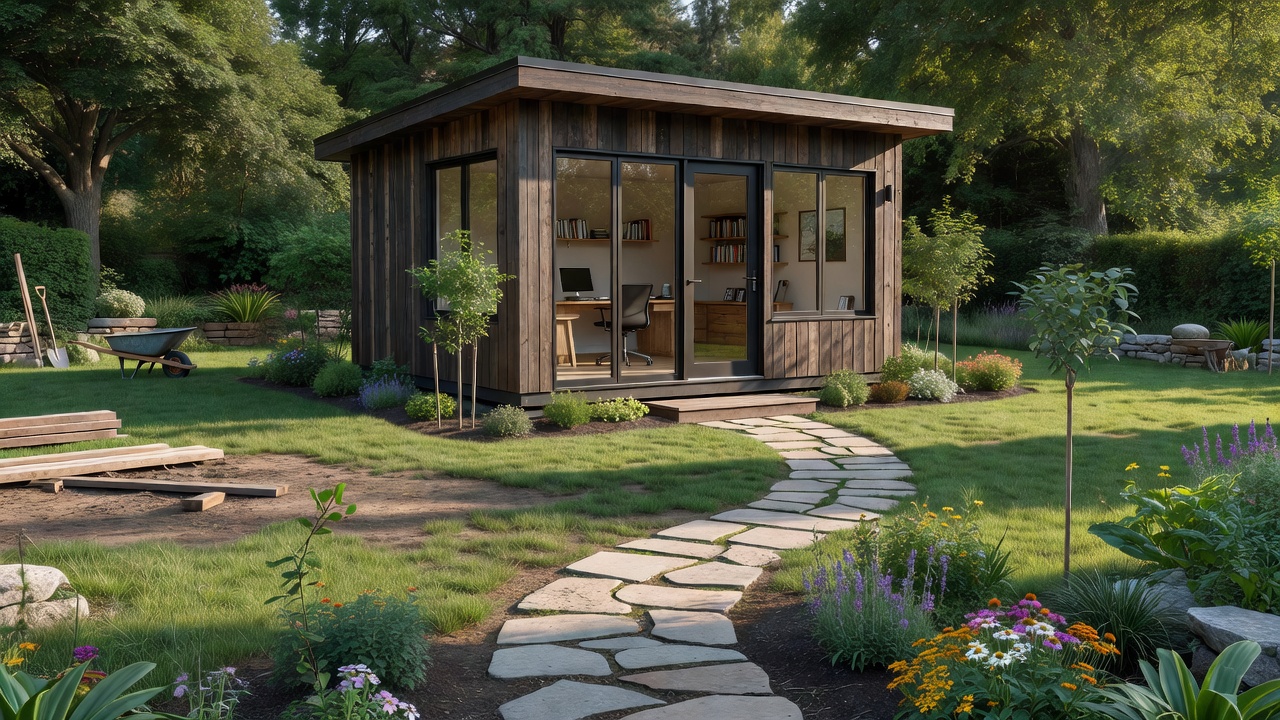
Introduction to DIY Backyard Offices in Fixer-Upper Yards
Transforming a neglected outdoor space into a functional workspace is an excellent way to boost property value while creating a dedicated area for remote work. In 2026, DIY backyard office builds remain popular for homeowners tackling fixer-upper properties. This approach combines practical home improvement techniques with creative outdoor renovation strategies to deliver a weather-resistant structure that enhances curb appeal. Many fixer-uppers face challenges like uneven terrain, poor drainage, or outdated landscaping, yet these can be overcome with thoughtful planning. A backyard office not only provides separation from household distractions but also adds versatile living space that can adapt over time. Focus on durability, code compliance, and cost-effective choices to ensure long-term success without compromising on quality or safety.
Whether your yard features uneven terrain, overgrown areas, or outdated structures, a well-planned backyard office can integrate seamlessly. This guide walks through every stage from initial assessment to final landscaping touches, offering real-world examples and decision-making frameworks along the way.
Site Selection and Preparation
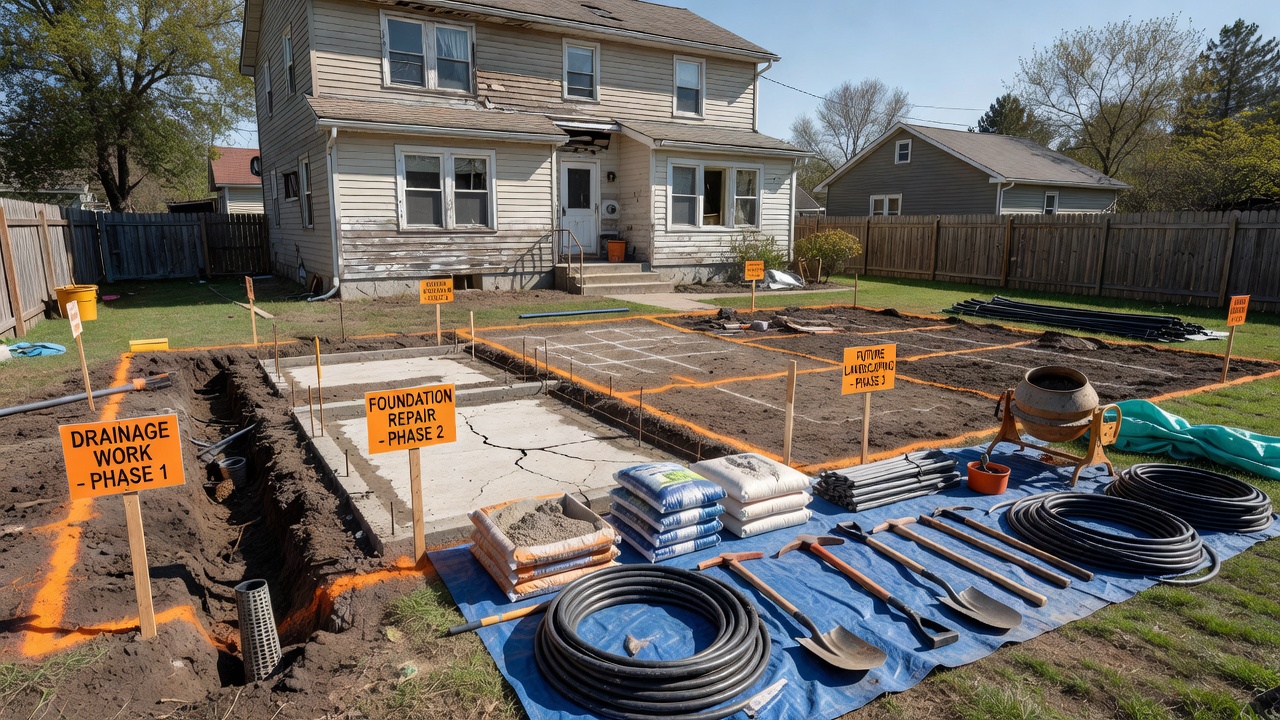
Choosing the right location is critical for both functionality and longevity. Evaluate sunlight exposure, drainage patterns, and proximity to utilities such as power and water lines. For fixer-uppers, start by clearing debris and leveling the ground using basic grading tools. Measure the area to accommodate a structure of 100-150 square feet, allowing room for future expansion or additions like a small deck. Test soil stability before any foundation work to prevent settling issues that could compromise the build years later.
Consider wind direction and privacy from neighbors when positioning the office. A south-facing orientation often maximizes natural light in northern climates while reducing heating needs. Assess potential obstacles like tree roots or buried utilities by calling local locate services. Proper site preparation also involves checking local zoning regulations early to avoid costly rework.
Weatherproofing Strategies for Longevity
Effective weatherproofing protects your investment against rain, snow, and extreme temperatures common in many regions. Use pressure-treated lumber for the base frame and apply exterior-grade sealants to all joints. Install a sloped roof with quality underlayment and asphalt shingles rated for high winds. Wall sheathing should include house wrap followed by siding materials like fiber cement or cedar that resist moisture and pests.
Add insulation to walls and roof for year-round comfort without relying heavily on heating or cooling systems. Proper flashing around windows and doors prevents water intrusion, a common problem in older yards with established drainage issues. Incorporate vapor barriers in humid climates to control condensation inside the structure.
Essential Materials and Tools
Select materials based on your climate and overall project goals. Core supplies include 4x4 posts, 2x6 joists, plywood flooring, and metal roofing options for superior durability. For fixer-uppers, repurpose salvaged lumber where possible after thorough inspection for rot or structural weakness. Compare options such as composite decking versus traditional wood for flooring longevity and maintenance requirements.
Basic tools needed include a circular saw, drill, level, framing square, and measuring tape. Rent specialized equipment like a post-hole digger or concrete mixer for larger projects. Always wear appropriate safety gear including gloves, goggles, and hearing protection during construction phases.
Step-by-Step Construction Guide
Begin with foundation work using concrete piers or skids for mobility and stability on uneven ground. Frame the walls on a flat surface before raising them vertically to ensure square corners. Secure the roof trusses next and add sheathing followed by roofing material. Install windows and doors for natural ventilation and light. Apply exterior finishes and interior paneling, then finish with trim and paint or stain for protection.
Throughout the process, double-check measurements and plumb lines at each stage. Many DIY builders find it helpful to work in phases, completing the shell one weekend and interior work the next to maintain momentum without burnout.
Integrating Electrical Needs Safely
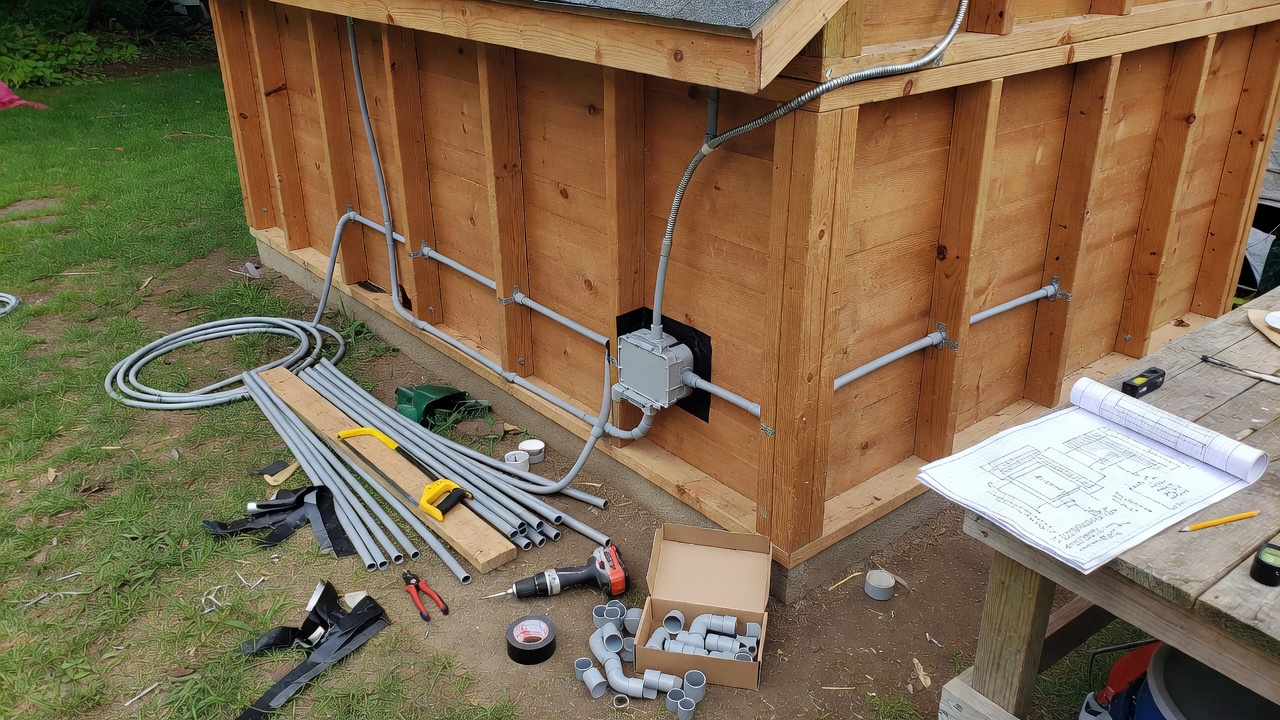
Plan wiring early to support lighting, outlets, and essential devices. Run conduit from the main house panel to the office using buried lines rated for outdoor use. Hire a licensed electrician for final connections to meet safety standards and local codes. Learn more about energy-efficient electrical planning from the U.S. Department of Energy. Consider adding dedicated circuits for computers and lighting to prevent overloads, and install GFCI protection where required for outdoor environments.
Furniture Choices and Interior Layout
Opt for modular, space-saving furniture that withstands humidity fluctuations. A sturdy desk, ergonomic chair, and shelving units create a productive environment. Incorporate storage benches that double as seating for visitors. Position the desk near natural light sources while ensuring easy access to electrical outlets. Many homeowners add a small rug or plants to soften the space and improve acoustics.
Landscaping Ties to Enhance Curb Appeal
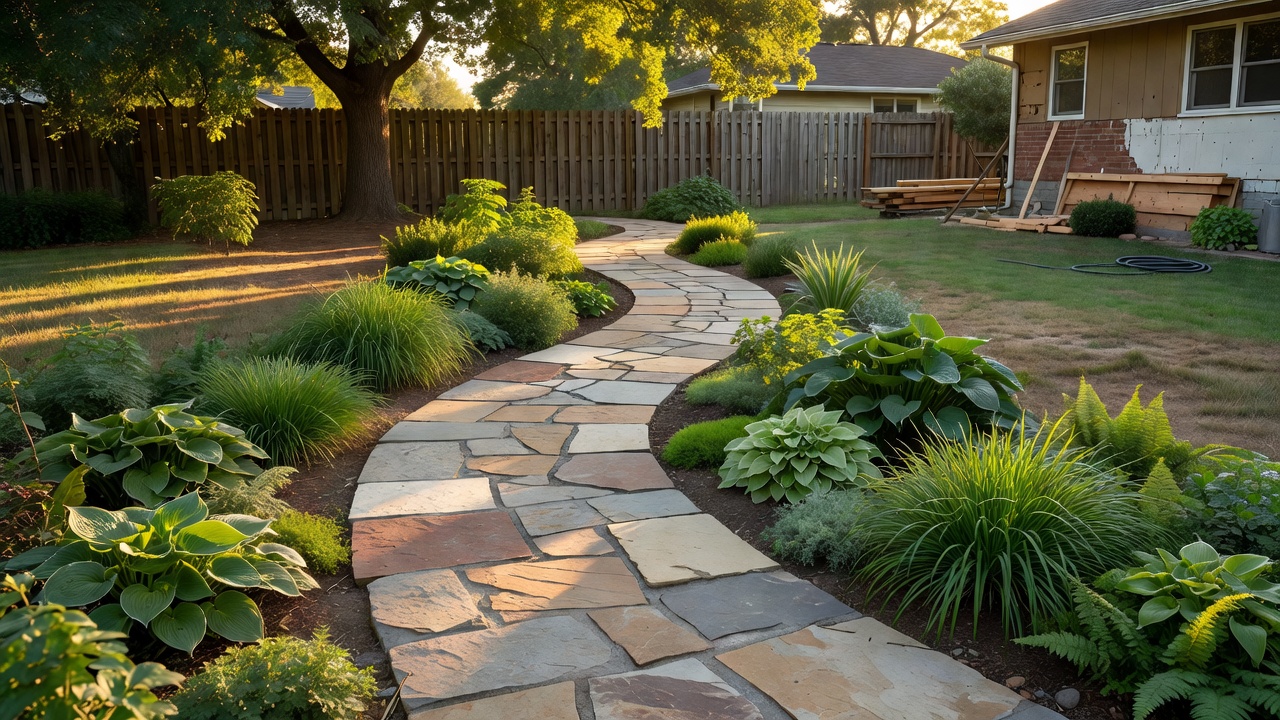
Blend the office with existing yard elements through native plants and defined pathways. Add mulch beds and low-voltage lighting to highlight the structure at night. Explore landscaping best practices via the USDA. This integration improves overall property aesthetics without high ongoing maintenance. Consider rain gardens or permeable surfaces around the foundation to manage runoff effectively.
Budget vs Premium Options with Examples
Budget builds rely on basic wood frames and simple roofing, suitable for mild climates and DIY skill levels. Premium versions incorporate smart insulation, metal exteriors, and automated climate controls for enhanced comfort. Real-world examples show fixer-upper owners completing functional offices in under two months using phased DIY methods that prioritize core structure first before adding custom finishes.
Common Mistakes to Avoid
- Skipping soil testing, which can lead to foundation shifts over time.
- Neglecting proper permits, resulting in fines or removal orders.
- Using interior-grade materials outdoors, causing premature deterioration.
- Overlooking ventilation, leading to moisture buildup and mold.
- Ignoring drainage, which undermines the entire structure during heavy rains.
Troubleshooting Common Challenges
Address permit requirements by checking local zoning offices before starting any work. For maintenance, inspect seals annually and reapply treatments as needed. Moisture issues often stem from poor ventilation—install vents early to avoid mold growth. If settling occurs, shim the foundation promptly rather than waiting for larger problems.
FAQ
- Do I need permits for a backyard office? Most areas require permits for structures over a certain size; verify with your municipality early in planning.
- How do I handle uneven ground? Use adjustable piers or hire grading services for long-term stability.
- What maintenance is required? Seasonal checks on roofing, paint, and electrical components ensure longevity and safety.
- Can I add plumbing later? Yes, but plan conduit routes during initial construction for easier future additions.
With careful planning and attention to detail, your DIY backyard office can become a valuable, long-lasting addition to any fixer-upper property.
No comments yet. Be the first!