 Fixated on Home
Introduction to DIY Outdoor Flooring for Fixer-Uppers
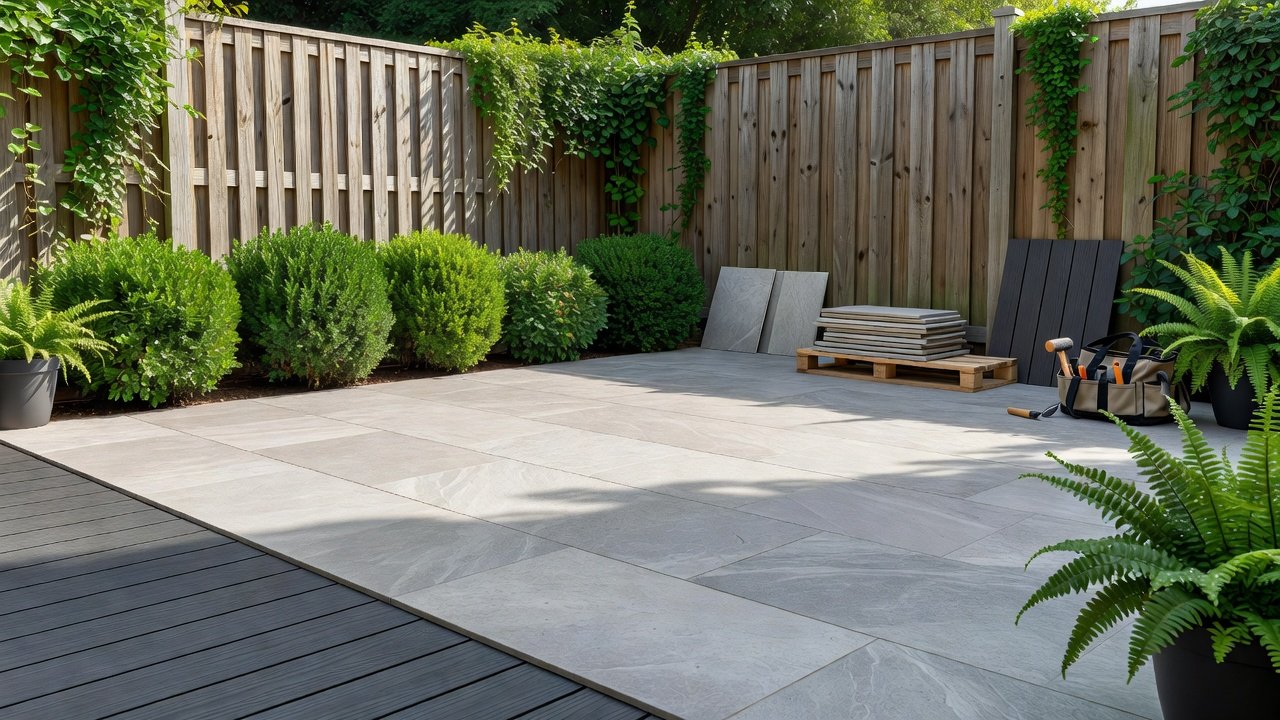
Renovating a fixer-upper often means transforming neglected outdoor spaces into functional, attractive areas without breaking the bank. In 2026, homeowners are prioritizing durable, low-maintenance materials that withstand varied weather while supporting budget-conscious projects. This comparison focuses on four leading options: composite tiles, gravel grids, rubber pavers, and porcelain slabs. Each offers unique benefits for patios, walkways, and decks, emphasizing cost-effectiveness and ease for beginners. Outdoor flooring upgrades can dramatically improve curb appeal, increase property value, and create usable living spaces for entertaining or relaxation. Whether addressing cracked concrete, muddy yards, or uneven surfaces, these materials provide practical solutions tailored to DIY enthusiasts.
Choosing the right flooring impacts longevity and daily enjoyment. Factors like installation difficulty, weather resistance, and maintenance play key roles. Homeowners targeting sections under typical mid-range budgets benefit from these versatile materials that align with current trends toward sustainable and modular designs. Understanding regional climate challenges, soil conditions, and usage patterns helps narrow choices effectively.
Key Comparison Factors for 2026 Materials
Evaluating options requires looking at durability, weather performance, and installation complexity. Composite tiles excel in moisture resistance and quick assembly. Gravel grids provide excellent drainage for rainy climates. Rubber pavers offer cushioning and slip resistance, while porcelain slabs deliver a premium stone-like aesthetic with high strength. Additional considerations include environmental impact, availability in local markets, and compatibility with existing structures. 2026 trends emphasize recycled and low-VOC materials, reflecting broader shifts toward eco-conscious home improvements.
- Durability: All options resist wear, but porcelain leads in impact resistance, followed closely by composites and rubber that handle heavy foot traffic without cracking.
- Weather Performance: Gravel grids and rubber handle freeze-thaw cycles well; composites and porcelain resist UV fading and moisture absorption effectively across seasons.
- Installation Difficulty: Tiles and pavers suit DIYers with basic tools; grids and slabs may need more precise base preparation and leveling for optimal results.
- Maintenance Requirements: Low-effort sweeping or occasional rinsing keeps most surfaces looking new for years.
Trends in 2026 highlight recycled-content materials for eco-friendliness, with modular systems reducing waste. For authoritative guidance on sustainable building practices, refer to resources from the U.S. Environmental Protection Agency.
Detailed Breakdown of Each Flooring Option
Composite Tiles
These interlocking tiles, often made from recycled wood and plastic, mimic natural decking. They install over existing surfaces with minimal tools. Weather performance includes strong resistance to rot and insects, making them ideal for humid regions. Pros include fade resistance and easy replacement of individual pieces. Cons involve potential expansion in extreme heat, requiring proper spacing during installation.
Gravel Grids
Plastic or metal grids stabilize gravel for a permeable surface. They excel in drainage, preventing puddles, and perform well in snowy areas by allowing meltwater to flow freely. Installation involves base preparation but remains beginner-accessible. This option supports grass or plant integration for a natural look while controlling erosion on sloped sites.
Rubber Pavers
Recycled tire-derived pavers provide a soft, non-slip surface. They absorb impacts and handle extreme temperatures without cracking. Sourcing often involves local suppliers for cost savings. These pavers work well near pools or play areas due to their cushioning properties and quick-drying characteristics.
Porcelain Slabs
Large-format porcelain offers a sleek, tile-like finish with superior durability against stains and scratches. They suit high-traffic zones but require precise leveling for best results. Their non-porous nature makes them highly resistant to mold and mildew in damp environments.
Material sourcing tips include checking local home improvement stores for stock or online marketplaces for bulk deals. Always verify compatibility with your climate via local extension services or extension offices.
Budget Breakdowns and Maintenance Schedules
Projects can target reasonable costs per section by selecting modular options and reusing base materials where possible. Focus on smaller areas like entry paths first to test techniques. Maintenance varies: sweep composites weekly to remove debris, top up gravel annually to maintain level surfaces, clean rubber seasonally with mild detergent, and seal porcelain as needed every few years. A simple schedule prevents costly repairs over time and extends overall lifespan significantly.
Step-by-Step Guides for Two Beginner-Friendly Methods
Installing Composite Tiles
- Clear and level the area, removing debris and vegetation thoroughly.
- Lay a weed barrier fabric to prevent future growth underneath.
- Interlock tiles starting from one corner, snapping edges together firmly.
- Trim edges with a utility knife or saw for custom fit around obstacles.
- Secure borders if required by the system to prevent shifting over time.
- Allow 24 hours for settling before heavy use.
This method typically completes in a weekend for a standard 10x10 section and requires only basic hand tools like a mallet and measuring tape.
Installing Rubber Pavers
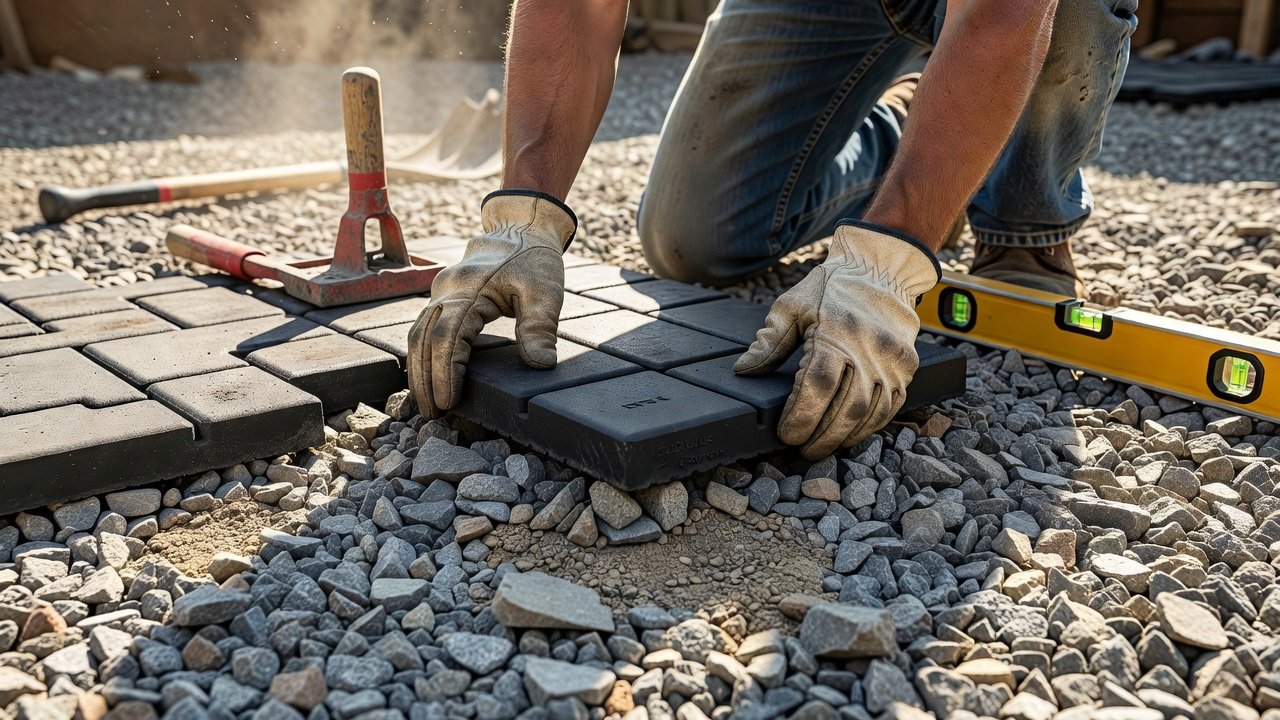
- Prepare a compacted gravel base 4 inches deep for stability and drainage.
- Place pavers in a staggered pattern for enhanced load distribution and stability.
- Fill gaps with sand or polymeric sand to lock pieces in place.
- Compact the surface with a hand tamper or plate compactor for a firm finish.
- Edge with flexible borders to contain the layout neatly.
- Water the area lightly to settle sand into joints.
Both methods minimize heavy equipment needs and allow for easy adjustments if mistakes occur during the process.
Real Homeowner Case Examples
One suburban fixer-upper owner used composite tiles on a cracked concrete patio, completing the project in two days and noting improved drainage after heavy rains. Another rural homeowner installed gravel grids around a garden path, reducing mud issues and enhancing accessibility for wheelbarrows and garden equipment. A third example involves a coastal property where rubber pavers were chosen for their salt resistance, creating a safe play surface near the beach that withstood seasonal storms effectively. These examples highlight how small investments yield practical upgrades and long-term satisfaction.
Mistakes to Avoid When Choosing and Installing
Common pitfalls include skipping proper base preparation, which leads to uneven settling. Always account for drainage direction to avoid water pooling. Overlooking expansion joints in composite systems can cause buckling. Ignoring local soil types may result in shifting pavers. Researching material warranties ensures protection against defects. Testing small sections first helps identify color or texture mismatches before full commitment.
FAQ: Permits, Longevity, and Common Concerns
Do I need permits for outdoor flooring? Many areas exempt small DIY patios under certain sizes; check local building departments for rules on drainage and setbacks to remain compliant.
How long do these materials last? With proper installation, expect 15-25 years for composites and rubber, 20+ for porcelain and stabilized gravel, depending on climate exposure and usage intensity.
Can I install over existing surfaces? Yes for tiles and pavers in most cases; grids often need excavation for stability to achieve a professional result.
What about winter performance? Rubber and gravel options perform best in freeze-thaw regions, while porcelain requires careful sealing to prevent surface damage from de-icing chemicals.
Conclusion
Selecting the right 2026 DIY outdoor flooring transforms fixer-upper spaces affordably. By comparing options on durability, ease, and performance, homeowners can choose confidently. Start with site assessment, source quality materials, and follow simple steps for lasting results. Enhance your outdoor living with these practical upgrades today and enjoy improved functionality for years to come.
No comments yet. Be the first!