 Fixated on Home
Introduction: Turning Unused Yards into Family Play Havens
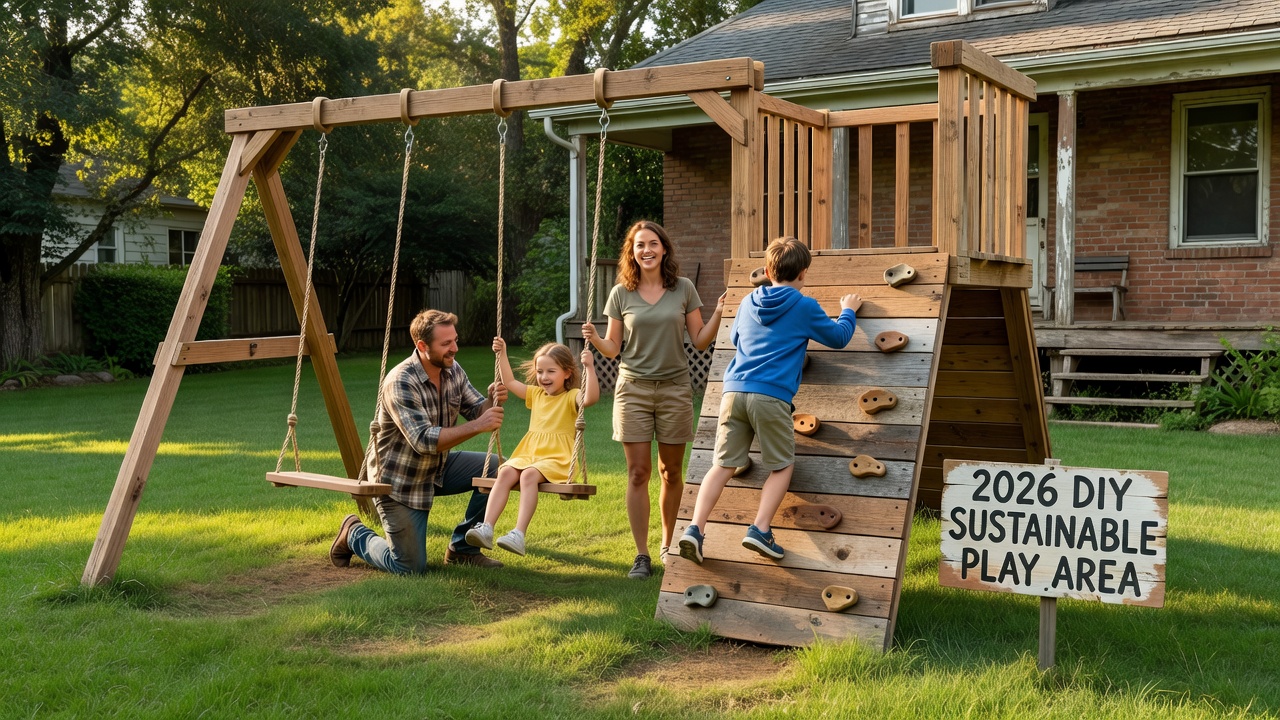
Homeowners with fixer-uppers often face blank or neglected outdoor spaces that could become vibrant play zones. In 2026, the focus is on sustainable DIY projects that enhance safety, engagement, and property value. This guide walks through practical steps for building swingsets and climbing walls using eco-friendly materials while meeting modern standards. Site assessment starts the process. Evaluate soil stability, sun exposure, drainage, and proximity to utilities. Measure available space to ensure structures fit without crowding. Families benefit most from zones that combine active play with shaded rest areas. Planning also involves considering how the play area will integrate with existing landscaping and home access points to create a seamless transition from indoor to outdoor living.
Before breaking ground, sketch a rough layout on paper or use free digital tools to visualize traffic flow. Account for future growth, such as adding more stations or expanding into garden beds. Real-world fixer-upper projects demonstrate that thoughtful upfront planning prevents costly rework later and ensures the final result feels cohesive rather than piecemeal.
Selecting Sustainable Materials for 2026 Builds
Choose materials that align with current eco-trends. Recycled plastic lumber resists rot and requires minimal maintenance. Cedar or redwood offers natural durability when sourced responsibly. Avoid pressure-treated wood containing older chemicals. Cross-reference local building codes for approved options. Compare composite decking versus natural wood by weighing factors like lifespan, environmental impact, and ease of installation. Recycled options often win for low-maintenance families, while responsibly harvested timber provides a classic aesthetic that blends with mature trees.
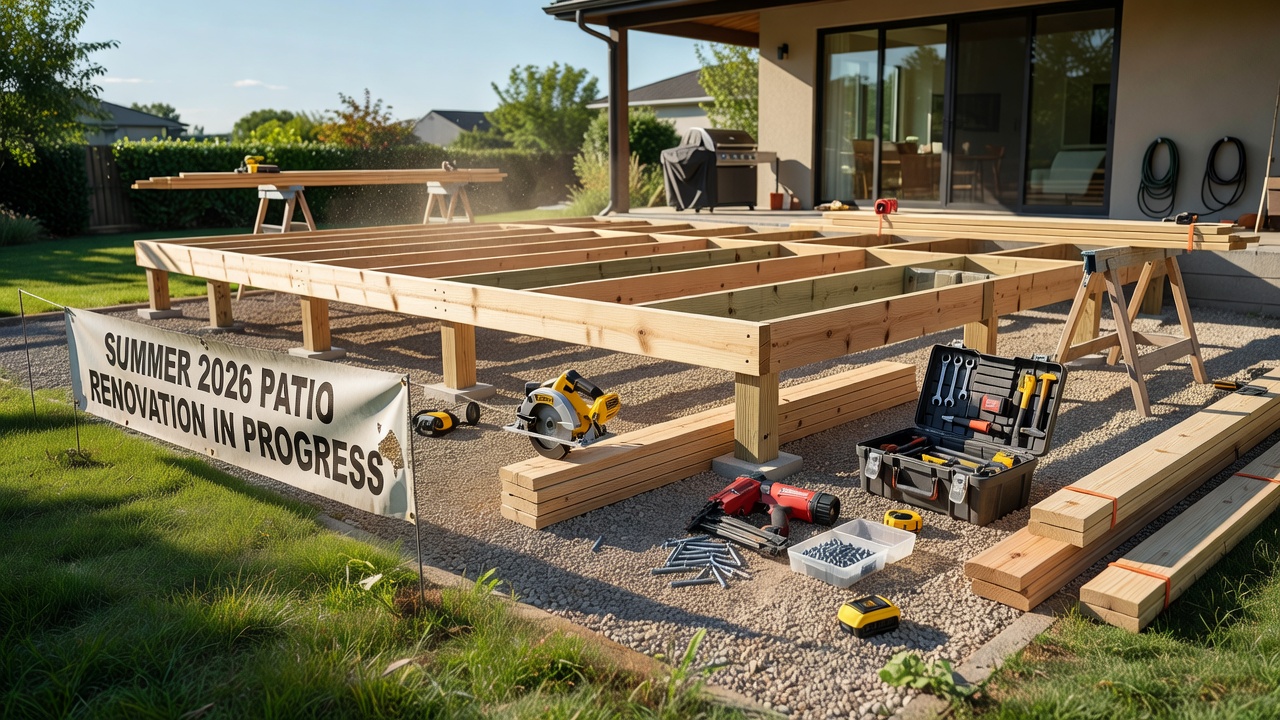
Tool lists for most projects include a cordless drill, circular saw, level, tape measure, post hole digger, and safety gear such as gloves and goggles. Always verify tool calibration before starting. Additional helpful items include a speed square for accurate angles, clamps to hold pieces steady, and a socket set for tightening large bolts. Source tools from reputable hardware retailers and consider borrowing specialty items like post-hole augers from community tool libraries to keep costs down.
Step-by-Step Swingset Construction
Begin with concrete footings for the main supports. Dig holes to the recommended depth based on local frost lines, then set 4x4 or 6x6 posts. Attach cross beams using galvanized hardware rated for outdoor use. Install swing hangers at equal heights and test for level. Add a slide or climbing rope for variety. Sand all edges and apply child-safe sealants. Real-world examples show that modular designs allow future expansions as children grow.
Break the build into phases over a weekend or two. First day focuses on setting posts and allowing concrete to cure. Second day completes framing and adds accessories. Always double-check that every joint is square before moving to the next step. Use pressure-treated plywood for any platforms and reinforce with diagonal bracing to prevent wobble during vigorous play. Families who have completed similar projects recommend pre-drilling all holes to avoid splitting and labeling parts clearly during assembly.
Building a Safe Climbing Wall
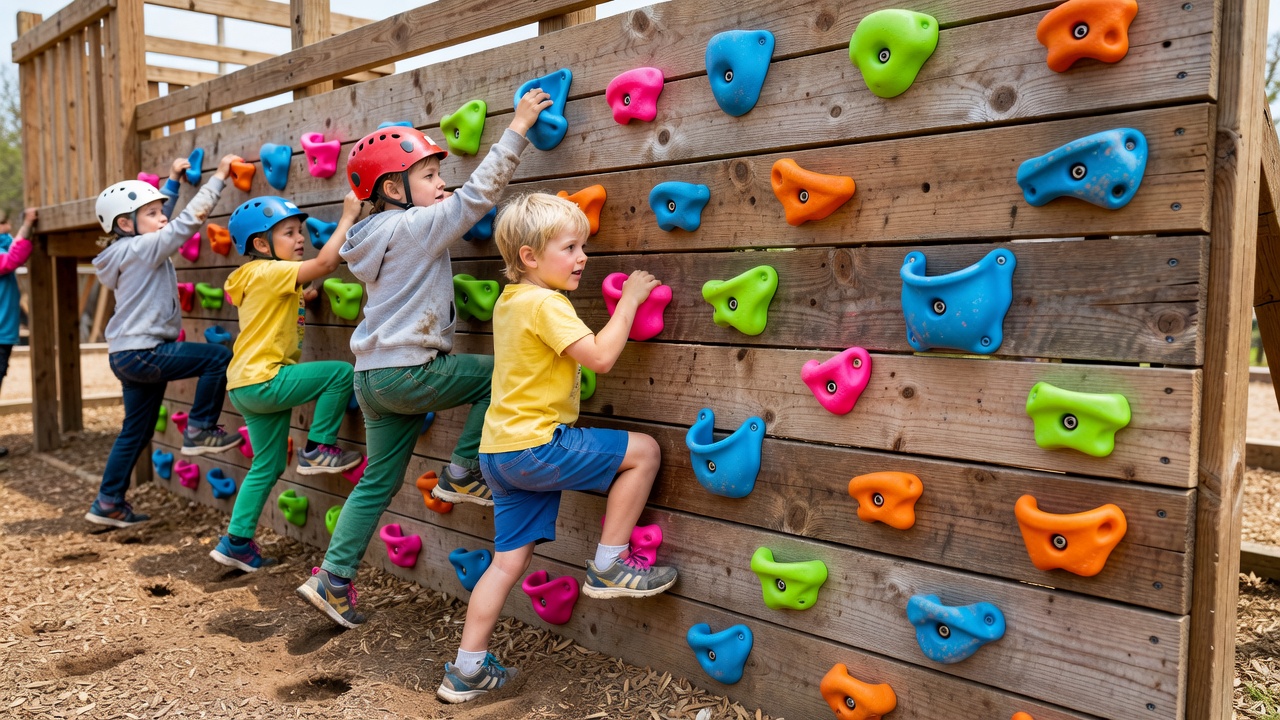
Anchor plywood or composite panels to an existing fence or freestanding frame. Space handholds at varied intervals to challenge different ages. Use T-nuts for adjustable holds that can be repositioned. Incorporate a soft landing zone with mulch or rubber tiles. Check that the wall angle stays between 10 and 30 degrees for stability. Families report higher engagement when walls include multiple routes and resting ledges.
Start by determining the wall height based on the tallest intended user plus a safety margin. Cut panels to size and attach them securely with lag bolts into solid framing. Route electrical conduit or garden hose behind the wall if you want to add future lighting or watering features. Test every hold by applying body weight before allowing children on the structure. Adjustable systems let you rotate difficulty levels seasonally, keeping the play area fresh and challenging year after year.
Safety Standards and Checklists
Follow guidelines from authoritative bodies. The CDC provides playground safety recommendations that apply to residential builds. The OSHA offers general construction safety practices useful during DIY work. The EPA offers resources on choosing sustainable and low-toxicity building materials.
- Inspect hardware tightness monthly
- Maintain at least six feet of clearance around moving parts
- Use impact-absorbing ground cover at least 12 inches deep
- Remove sharp edges and splinters before first use
- Supervise younger children during initial play sessions
- Check for insect damage or weathering after each season
- Verify that all fasteners remain flush with surfaces
Budget Comparisons and Value Boost
DIY approaches typically cost less than professional installations while allowing customization. Compare material grades early to balance durability and expense. Real examples demonstrate that well-executed play structures can increase curb appeal and appeal to future buyers seeking family-ready homes. Consider long-term ownership costs such as occasional hardware replacement or resealing rather than focusing solely on initial outlay. Many homeowners find that investing in quality connectors and weather-resistant finishes reduces maintenance frequency and preserves the structure for a decade or longer.
Before-and-After Examples
One suburban fixer-upper converted a patchy lawn into a multi-station play area featuring a swingset, climbing wall, and sandbox. The project emphasized native plant borders for sustainability. Another urban yard used vertical climbing elements to maximize limited square footage. A third example involved converting an old concrete patio slab into a cushioned base for modular play equipment by adding raised garden beds around the perimeter to soften the look and provide natural shade. Each case shows how incremental improvements compound into dramatic transformations without requiring a full landscape overhaul.
Maintenance and Seasonal Care
Regular upkeep keeps the play area safe and attractive. In spring, tighten all bolts and refresh ground cover. Summer requires checking for sun damage on wooden components and ensuring shade structures remain secure. Fall cleanup involves removing fallen leaves that could hide tripping hazards, while winter protection may include covering metal parts to prevent ice buildup. Create a simple seasonal checklist and store it in a weatherproof container near the play area for quick reference.
FAQ: Common Challenges and Solutions
How do I handle uneven terrain?
Level the site with retaining walls or raised platforms before construction. Test drainage after heavy rain to prevent pooling.
What if local codes restrict structure height?
Consult municipal offices early and opt for low-profile designs that stay within limits while still providing fun.
Are permits required for residential play structures?
Many areas waive permits for small backyard builds, but verify with your local authority to avoid issues.
How can I make the area accessible for all ages?
Incorporate ramps, wider paths, and ground-level activities alongside taller elements.
What are the best ways to incorporate sustainable 2026 trends?
Use reclaimed lumber, solar-powered accent lights, and native plantings that support local pollinators around the play structures.
How do I prevent wood rot in humid climates?
Elevate all wooden posts on metal brackets, apply breathable sealants annually, and ensure good airflow beneath platforms.
Conclusion
Creating a 2026 DIY outdoor play area transforms fixer-upper yards into functional family spaces. Careful planning, sustainable materials, and adherence to safety practices deliver lasting enjoyment and added home value. Start with a thorough site review and build incrementally for the best results. With attention to detail and ongoing maintenance, these upgrades will serve multiple generations of family play while enhancing the overall property.
No comments yet. Be the first!