 Fixated on Home
Transforming your fixer-upper home's exterior begins with thoughtful additions that enhance both beauty and utility. Custom arbors and trellises stand out as versatile projects that homeowners can tackle in 2026 to create inviting outdoor spaces. These structures not only support climbing plants but also define garden rooms, frame views, and increase property value through improved curb appeal. Whether your yard is compact or expansive, building your own versions allows full control over design, materials, and placement while avoiding the premium costs of professional installation.
Why DIY Arbors and Trellises Excel in Modern Outdoor Renovations
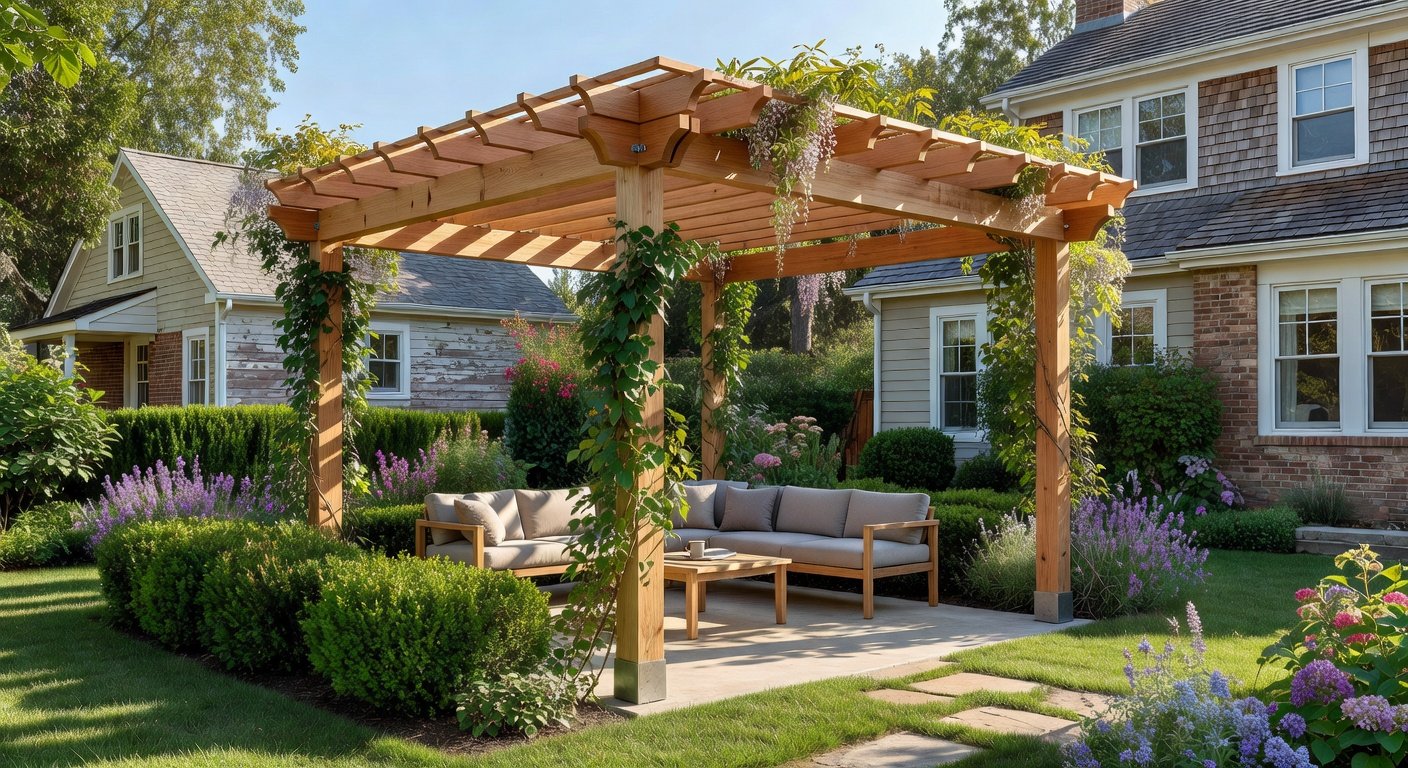
In today's renovation landscape, homeowners seek projects that deliver immediate visual impact with lasting functionality. Arbors create shaded walkways or entry points, while trellises offer vertical gardening solutions ideal for maximizing limited square footage. These builds integrate seamlessly with existing landscapes, turning ordinary yards into personalized retreats. They also promote sustainability by encouraging home-grown produce and flowers, reducing reliance on store-bought options. Many 2026 renovators report higher satisfaction from hands-on projects that reflect personal style rather than generic catalog purchases.
Material Choices: Wood, Vinyl, and Alternative Options
Selecting the right material forms the foundation of a successful build. Natural wood like cedar or redwood provides warmth and accepts stains beautifully, blending with traditional home styles. Pressure-treated pine offers budget-friendly strength but requires finishing for longevity. Vinyl alternatives deliver modern appeal with resistance to cracking, fading, and insect damage, making them suitable for humid or coastal environments. Composite materials combine wood fibers with plastics for hybrid performance. When comparing options, evaluate factors such as local climate, desired lifespan, and aesthetic goals. Wood may need seasonal upkeep, whereas vinyl remains largely maintenance-free after installation.
Essential Tools and Safety Preparations
Successful DIY construction starts with proper equipment. Gather a measuring tape, carpenter's level, framing square, circular saw, cordless drill with various bits, post-hole digger or powered auger, hammer, and assortment of galvanized screws and nails. Safety equipment including gloves, eye protection, and dust masks protects against common hazards. For larger projects, consider renting a concrete mixer for post setting. Always work on level ground and have a helper available when lifting heavy beams or panels. Organizing tools in advance prevents mid-project delays and ensures precision throughout assembly.
Planning Your Design and Site Preparation
Before cutting any lumber, assess your yard's sunlight patterns, soil conditions, and existing features. Sketch scaled drawings that account for mature plant growth and foot traffic flow. Choose locations near patios or garden beds for maximum enjoyment. Mark post positions with stakes and string, then verify measurements multiple times. Clearing vegetation and leveling the site prevents future settling issues. Consider underground utilities by calling local locate services prior to digging.
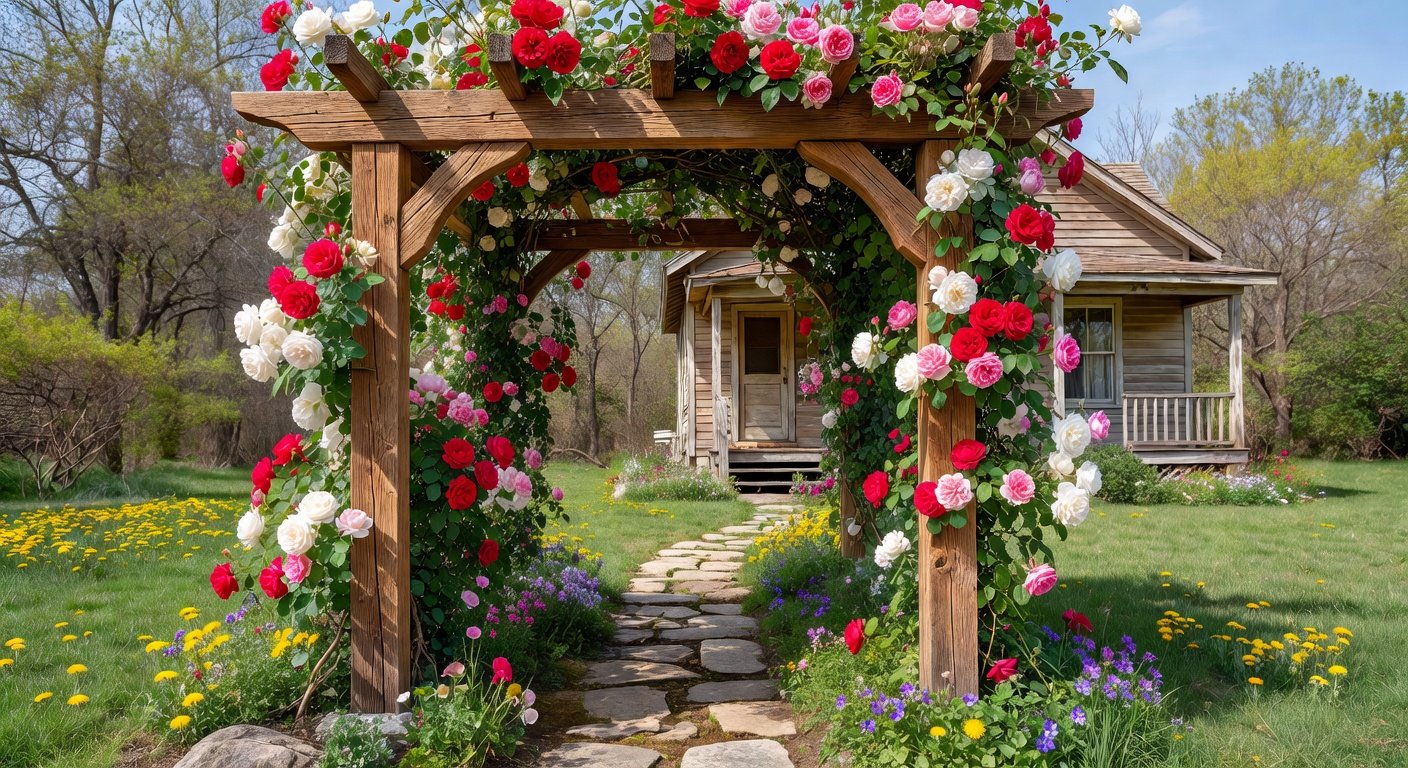
Detailed Step-by-Step Arbor Construction
Begin arbor building by digging post holes at least 24 to 30 inches deep depending on frost lines in your region. Pour gravel for drainage before setting posts in quick-setting concrete, checking plumb with a level. Allow concrete to cure fully before proceeding. Attach ledger boards or beams across the tops of posts using heavy-duty brackets for structural integrity. Install rafters or cross members at regular intervals to form the overhead canopy. Add decorative lattice sides or arched details to personalize the look. Secure all connections with weather-resistant hardware and finish exposed wood with a quality exterior stain or sealant for protection against the elements.
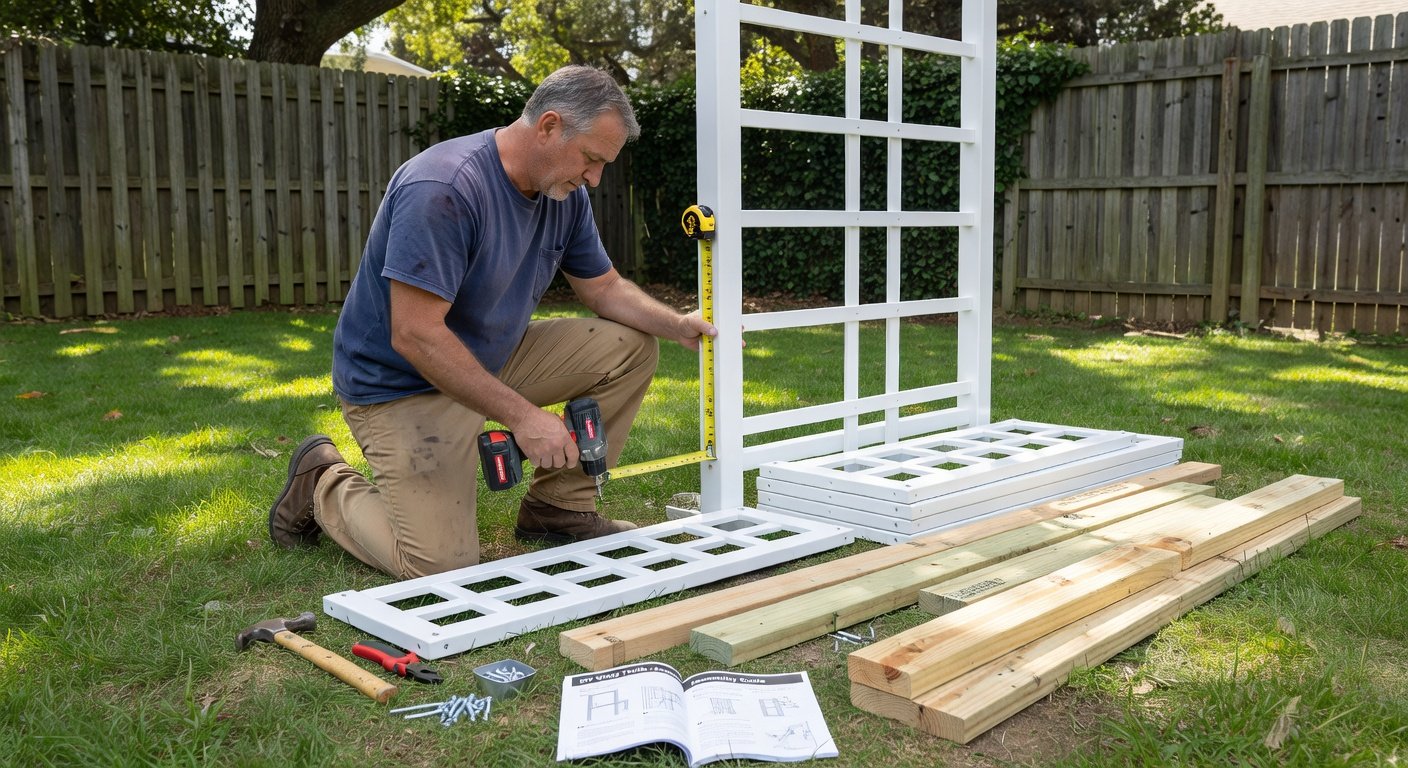
Step-by-Step Trellis Building Guide
Trellis construction offers flexibility for both freestanding and attached designs. Cut vertical and horizontal framing members to desired dimensions, then assemble a sturdy rectangular or arched frame. Secure lattice panels within the frame using screws rather than staples for better longevity. For wall-mounted versions, attach sturdy brackets to house siding or fence posts. Install the trellis at least six inches from the wall to allow air circulation and plant growth space. Larger multi-panel trellises can create privacy screens or support heavy fruiting vines when properly anchored.
Creative Designs for Small and Large Yards
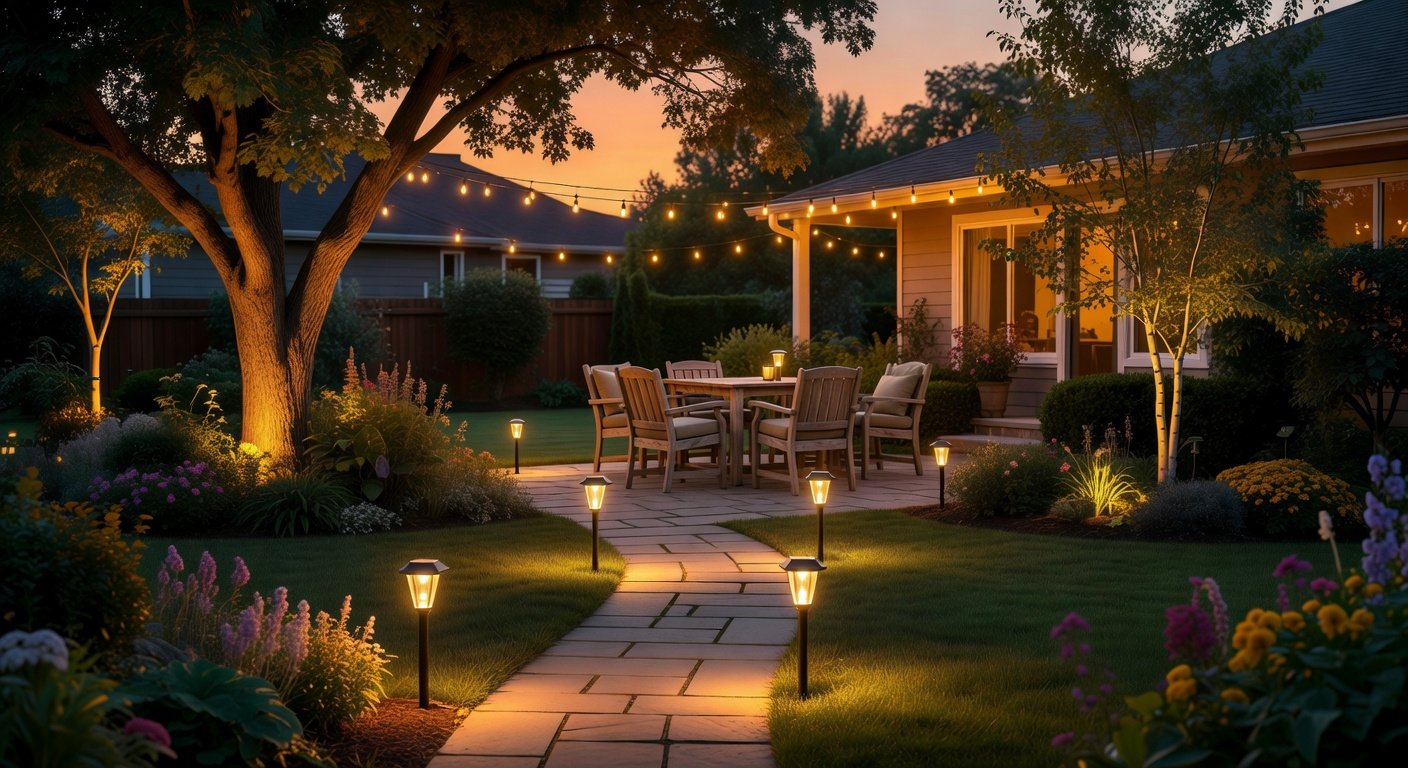
Small urban lots benefit from narrow archway arbors that double as gateways between garden zones. Incorporate built-in benches or hanging planters for added utility. In spacious suburban settings, extend arbor lengths to cover pathways or create outdoor dining areas. Pair trellises with raised beds to form productive kitchen gardens. Experiment with geometric patterns, curved tops, or mixed-material accents to match your home's architectural style. Seasonal lighting additions extend usability into evening hours.
Landscape Integration and Visual Transformation Examples
Successful integration involves aligning new structures with existing hardscaping and plantings. One homeowner used a simple cedar arbor to highlight a front walkway, training wisteria along its beams for dramatic spring blooms. Another project featured vinyl trellises flanking a side entrance, supporting morning glories that softened stark fencing while providing seasonal color. Before-and-after results often show dramatic improvements in perceived space and property charm. Document your progress with photos to track plant establishment and structural settling over the first year.
Durability, Maintenance, and Long-Term Care
Comparing material performance helps set realistic expectations. Well-maintained wood structures endure 15 to 25 years, while quality vinyl often exceeds three decades with basic cleaning. Apply protective coatings annually to wood and inspect fasteners each spring. Remove excessive plant growth to prevent structural stress. Both options perform best when sited away from constant moisture accumulation. Regular upkeep preserves appearance and prevents costly repairs down the road.
Permits, Regulations, and Weatherproofing Best Practices
Local building departments may require permits for structures exceeding certain heights or located near property lines. Review municipal codes early in planning to avoid delays. For weatherproofing, elevate post bases slightly above grade and apply multiple coats of exterior finish. In snowy regions, design overhead elements to shed loads effectively. Choose rot-resistant species or treated materials in damp climates. These precautions ensure your investment withstands seasonal challenges for years.
Common Mistakes to Avoid During Construction
Many first-time builders underestimate post depth or skip concrete reinforcement, leading to leaning structures. Others select lightweight lattice that fails under vine weight. Always overbuild connections and verify alignment frequently. Rushing finishing steps often results in premature weathering. Taking time for proper planning and execution yields professional-looking results that enhance your outdoor space significantly.
Conclusion
Embarking on DIY arbor and trellis projects empowers homeowners to customize their outdoor environments affordably and creatively. With careful material selection, methodical construction, and thoughtful integration, these additions deliver beauty, function, and increased enjoyment for seasons to come. Start small if new to woodworking, then expand designs as confidence grows. Your 2026 renovation can begin with these accessible yet impactful builds that truly make a house feel like a home.
No comments yet. Be the first!