 Fixated on Home
Introduction to DIY Pergola Builds for Fixer-Uppers
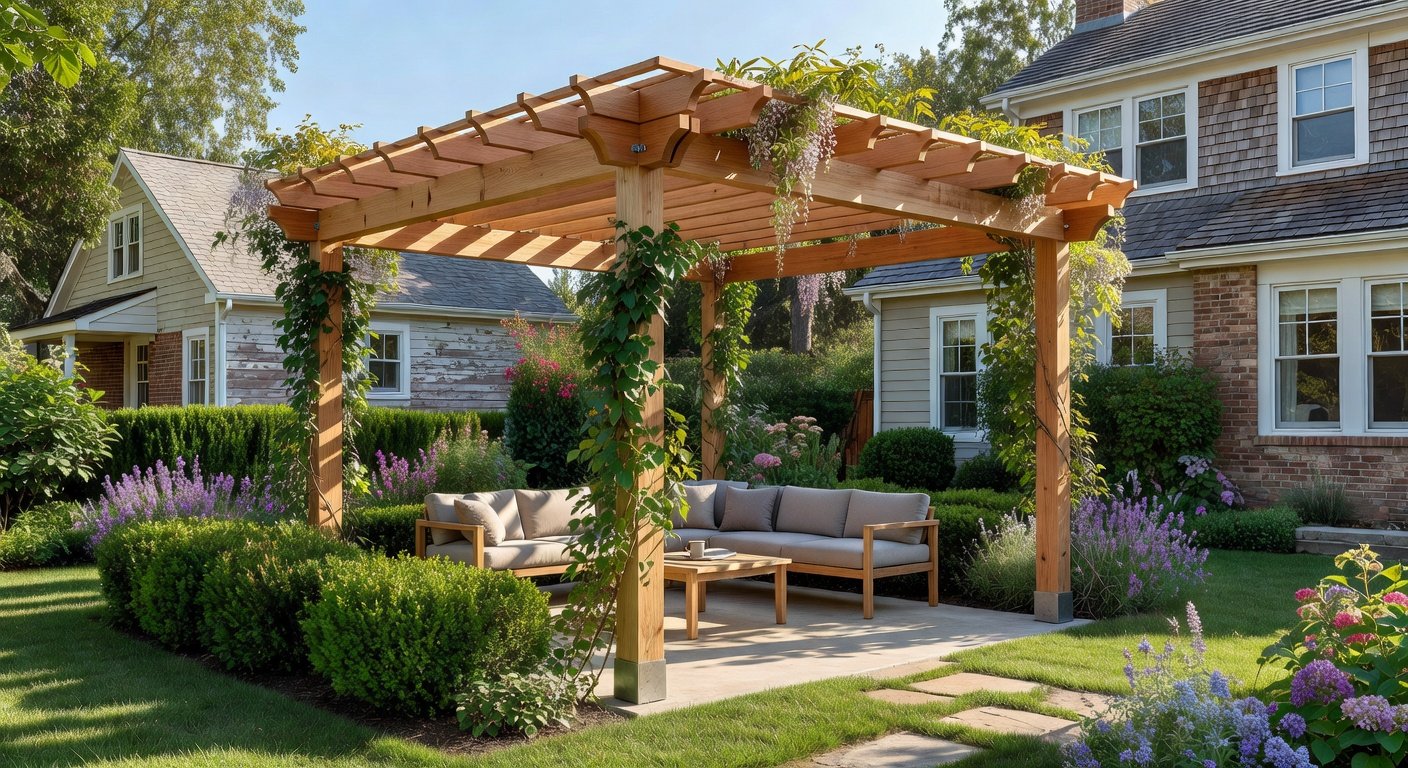
Transforming a neglected backyard into a shaded oasis is one of the most rewarding DIY projects for homeowners. In 2026, DIY pergola builds remain popular for adding style, functionality, and value to fixer-upper properties. These structures provide essential shade while enhancing outdoor living spaces without requiring professional contractors.
Whether you're working with wood or affordable PVC, this guide covers everything from site prep to finishing touches. Focus on budget-friendly approaches that deliver professional-looking results in a single weekend.
Site Preparation Steps
Proper preparation ensures your pergola stands strong for years. Start by assessing your yard's layout, checking for underground utilities, and leveling the ground.
- Measure the desired footprint and mark corners with stakes and string.
- Clear vegetation, rocks, and debris from the area.
- Verify soil stability and add gravel base if needed for drainage.
- Confirm local building codes and obtain any required permits early.
Materials List with 2026 Cost Estimates
Budget-conscious builders often choose pressure-treated lumber or PVC for durability. As of 2026-05-10, typical material costs for a standard 10x12 foot pergola range from $400 to $900 depending on choices.
- 4x4 posts (6 pieces): around $120 as of 2026-05-10
- 2x6 or 2x8 beams and rafters: $250–$350
- Fasteners, brackets, and concrete: $80–$150
- Optional PVC alternative for low maintenance: add 20-30% to lumber pricing
Shop sales at major retailers and reuse existing posts where possible to save further.
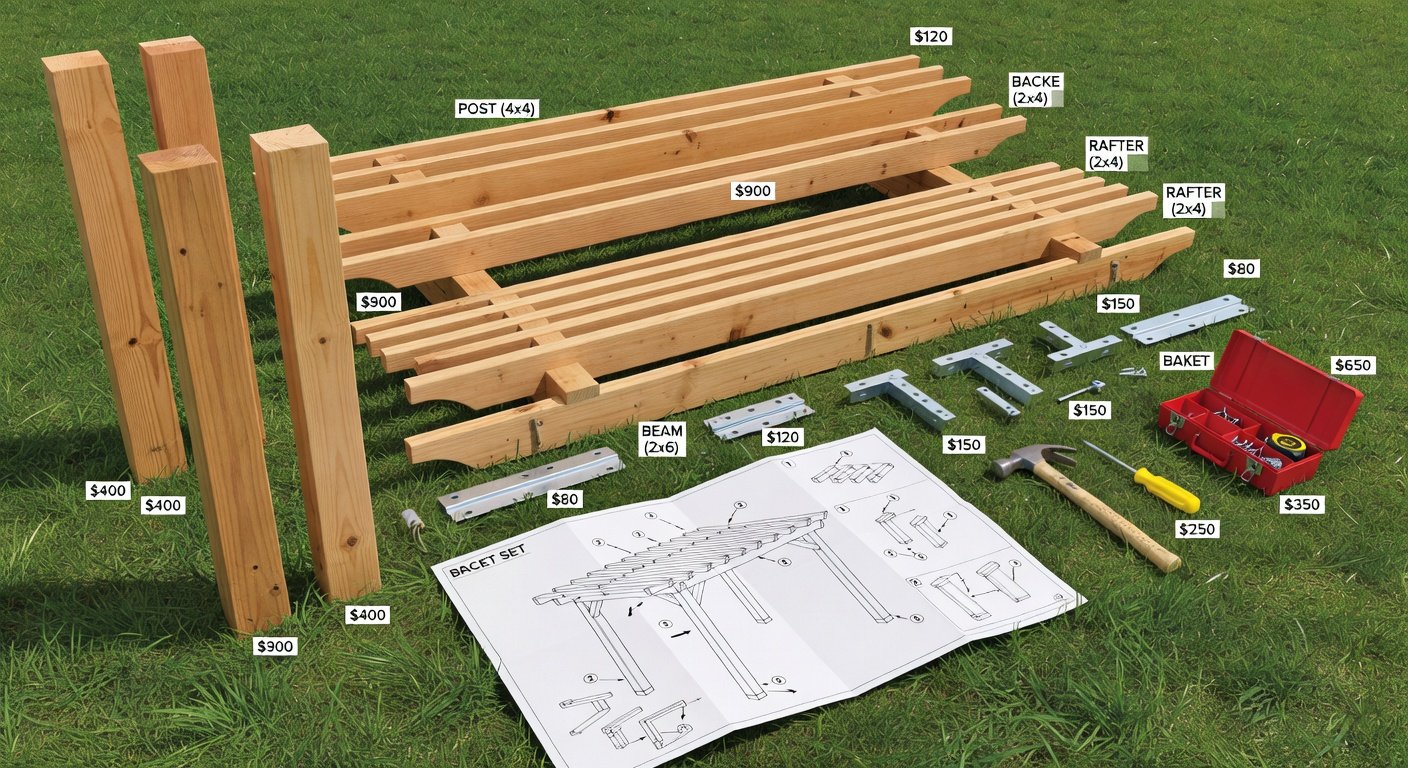
Essential Tools for Quick Weekend Builds
Most projects require basic power and hand tools you likely already own:
- Circular saw or miter saw
- Drill and impact driver
- Level, tape measure, and post hole digger
- Ladder and safety gear
Step-by-Step Assembly Instructions
Follow these core steps for a stable structure. Always double-check measurements before cutting.
- Set and secure posts in concrete footings.
- Attach header beams across the tops.
- Install rafters perpendicular to beams.
- Add cross-bracing and decorative elements.
Diagrams help visualize connections—refer to standard hardware guides for bracket placement.
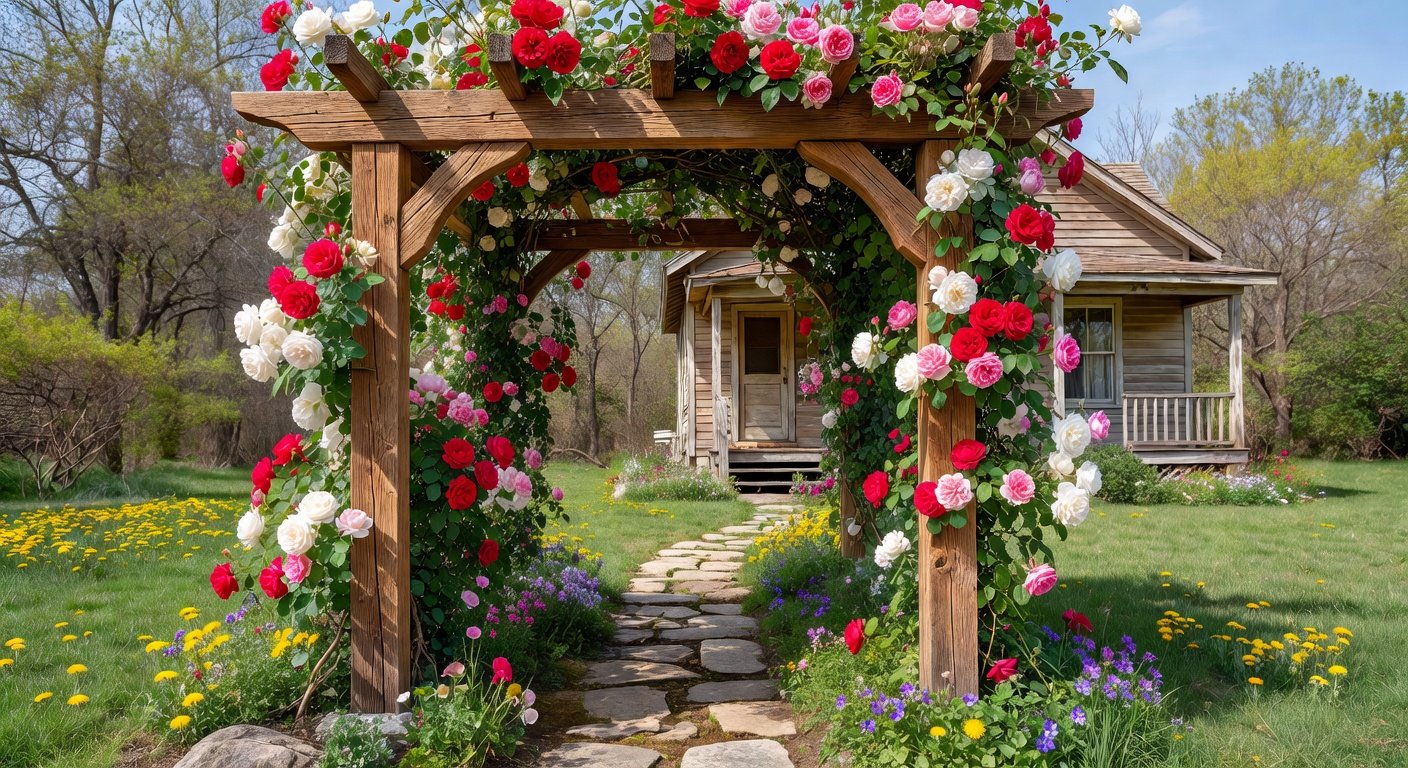
Design Variations: Vine-Covered vs Modern
Classic vine-covered pergolas create natural shade with climbing plants like wisteria. Modern versions feature clean lines, metal accents, or retractable canopies for adjustable coverage.
Safety Tips
Wear protective equipment, work with a partner for heavy lifts, and ensure all connections are torqued properly. Avoid building near power lines.
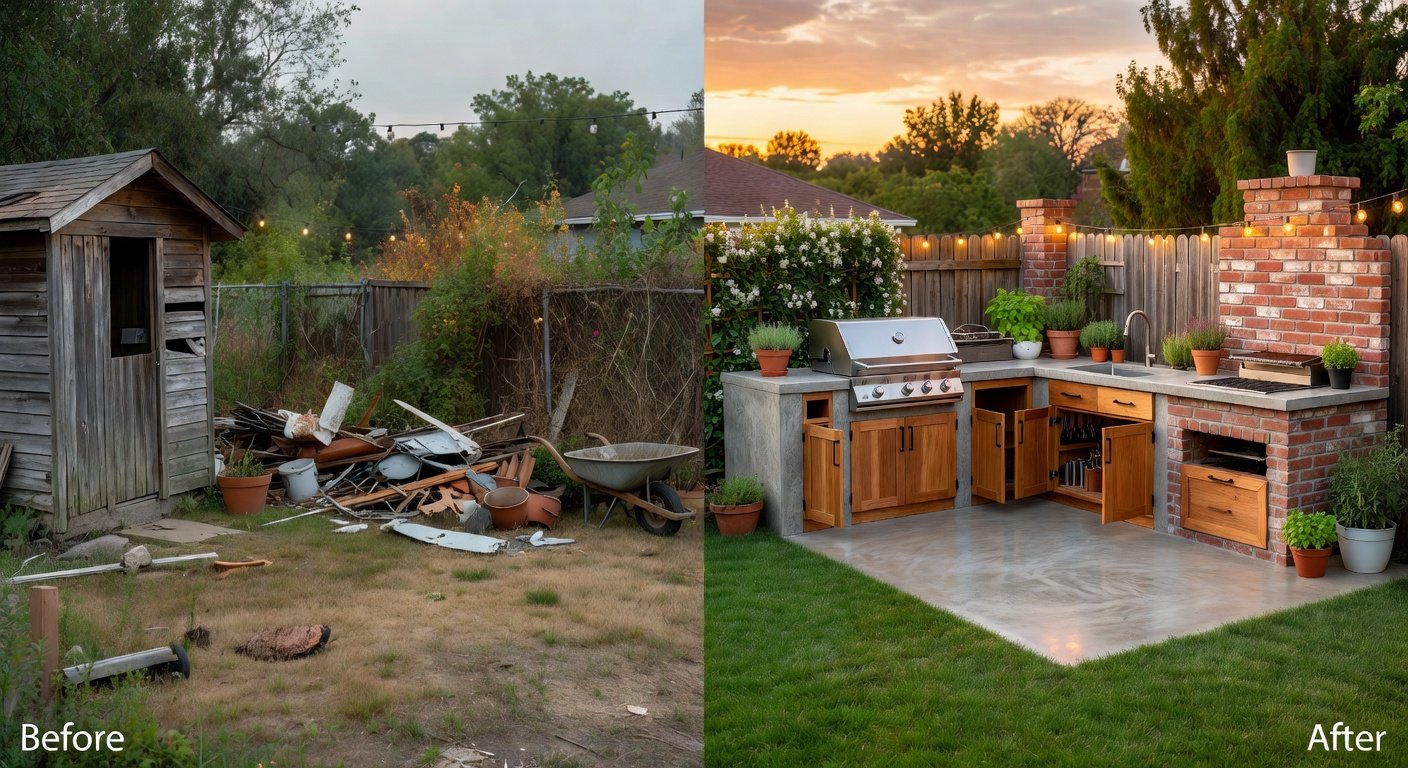
Before-and-After Case Study
A suburban fixer-upper yard went from overgrown weeds to a vine-draped entertainment space. The $650 pergola project increased usable outdoor area and boosted curb appeal significantly within one weekend.
FAQ: Weatherproofing and Permits
How do I weatherproof a pergola? Apply exterior stain or sealant annually and choose rot-resistant materials.
Do I need permits? Check with your local municipality—many areas exempt small structures under 120 square feet.
Conclusion
DIY pergola builds empower homeowners to upgrade fixer-upper backyards affordably. With careful planning and these techniques, you'll enjoy stylish shade for seasons to come.
No comments yet. Be the first!