 Fixated on Home
Introduction: Lighting Up Your 2026 Fixer-Upper Yard
Outdoor lighting transforms neglected yards into safe, inviting spaces that boost curb appeal and property value. For fixer-uppers in 2026, DIY projects using weatherproof LEDs, smart controls, and solar options deliver impressive results without professional costs. This comprehensive guide covers fixture selection, smart integrations, detailed installation for pathways, patios, and accents, along with real-world before-and-after examples, qualitative cost considerations, maintenance routines, and an FAQ addressing common challenges like wiring and efficiency. Proper lighting improves safety by reducing trip hazards, creates ambiance for evening enjoyment, and can enhance resale appeal through thoughtful design. Homeowners often start with solar solutions to minimize electrical work while achieving professional-looking results.
Selecting Weatherproof LED Fixtures for Durability
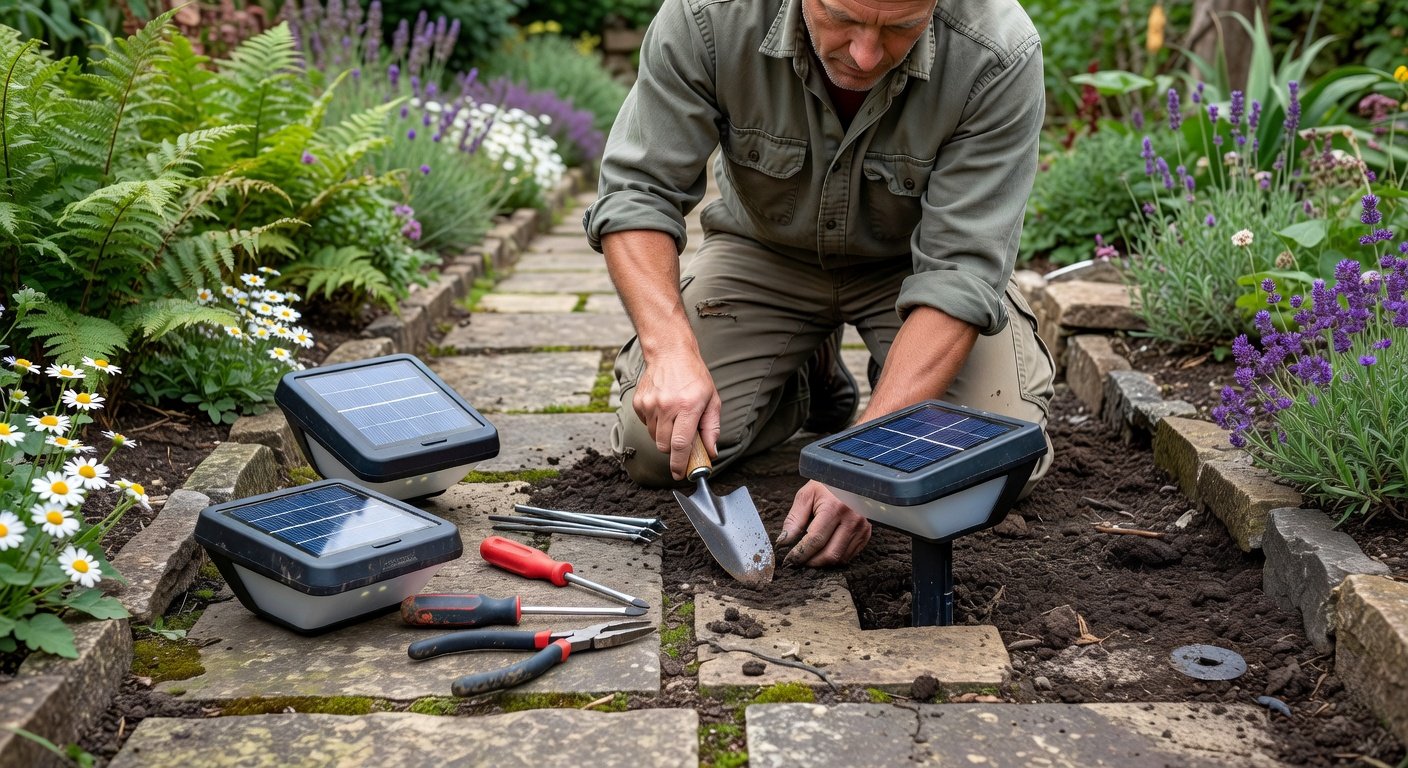
Weatherproof LED fixtures form the foundation of any successful upgrade. Prioritize products with IP65 or IP66 ratings to handle rain, snow, and temperature fluctuations common in many climates. LEDs outperform older incandescent or halogen bulbs by lasting longer and consuming less electricity, making them ideal for continuous outdoor use. Consider beam angles for different applications: wide for pathways and narrow for accenting features like trees or architectural elements. Solar-powered LEDs eliminate the need for trenching and wiring, offering a low-maintenance entry point for beginners. When choosing, verify compatibility with smart systems if automation is planned. Layering different fixture types creates depth, combining ground-level path lights with overhead strings and uplights for a polished effect.
Incorporating Smart Controls and Automation
Smart controls elevate basic lighting into a responsive system. Options include Wi-Fi enabled bulbs, motion-sensor fixtures, and hub-based controllers that integrate with voice assistants. These allow scheduling based on sunset times, adjusting brightness for energy savings, or triggering lights via phone apps when away from home. For fixer-uppers, wireless smart plugs simplify retrofits without rewiring. Benefits include improved security through simulated occupancy and customizable scenes for entertaining. Always select weather-resistant smart components and test connectivity before permanent installation. Resources from the U.S. Department of Energy provide guidance on efficient lighting practices that align with smart technology adoption.
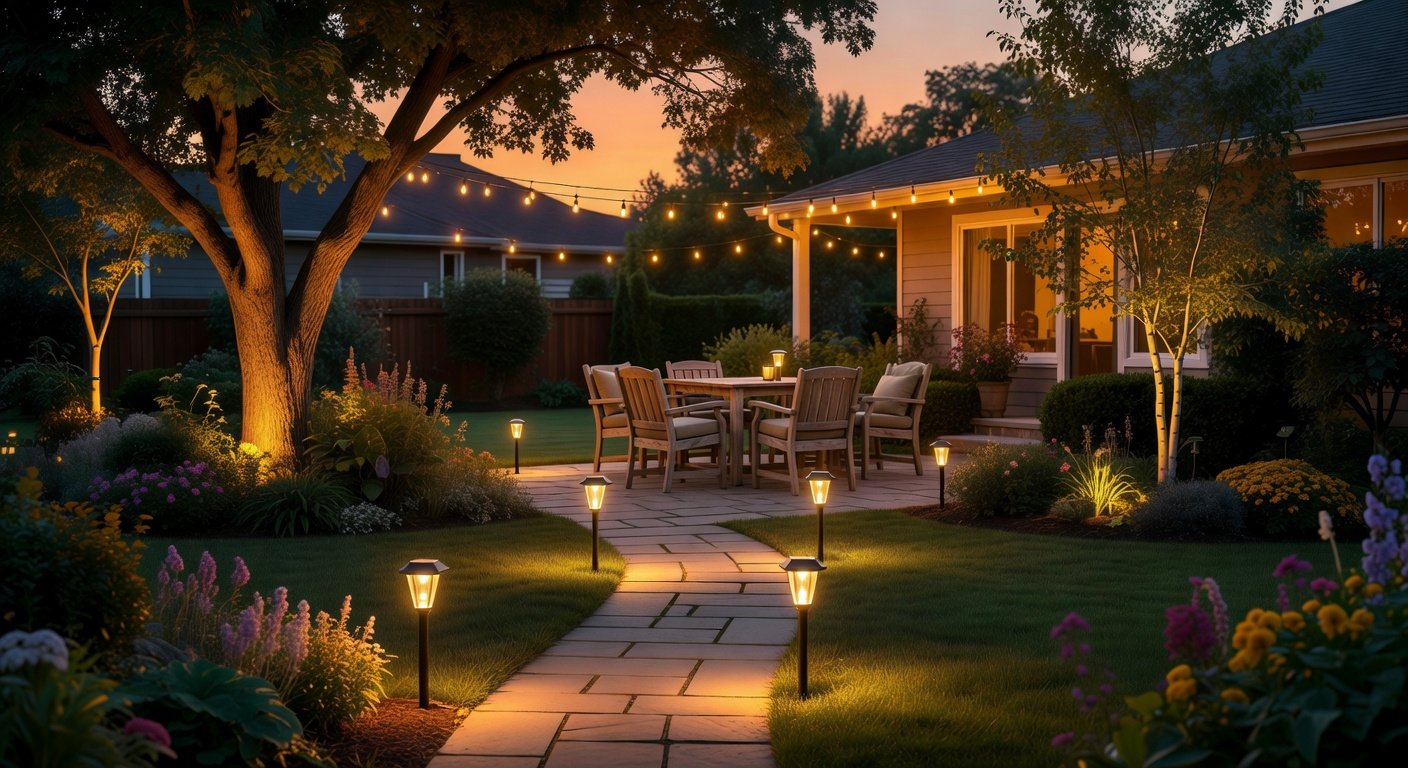
Detailed Step-by-Step Pathway Lighting Installation
Pathway lighting enhances safety and guides guests effectively. Begin by mapping the route during daylight, marking spots every 6-8 feet for even coverage. Gather tools including a shovel, wire strippers if using low-voltage systems, and a voltage tester. For solar options, simply stake fixtures into the ground after assembling per manufacturer instructions. Low-voltage setups require running cable from a transformer plugged into an outdoor outlet; bury the line 6 inches deep in conduit for protection. Connect fixtures in parallel to avoid voltage drops, then test the full circuit at night. Adjust angles to prevent glare into windows. This project suits most skill levels and typically spans one to two weekends depending on yard size and chosen system complexity.
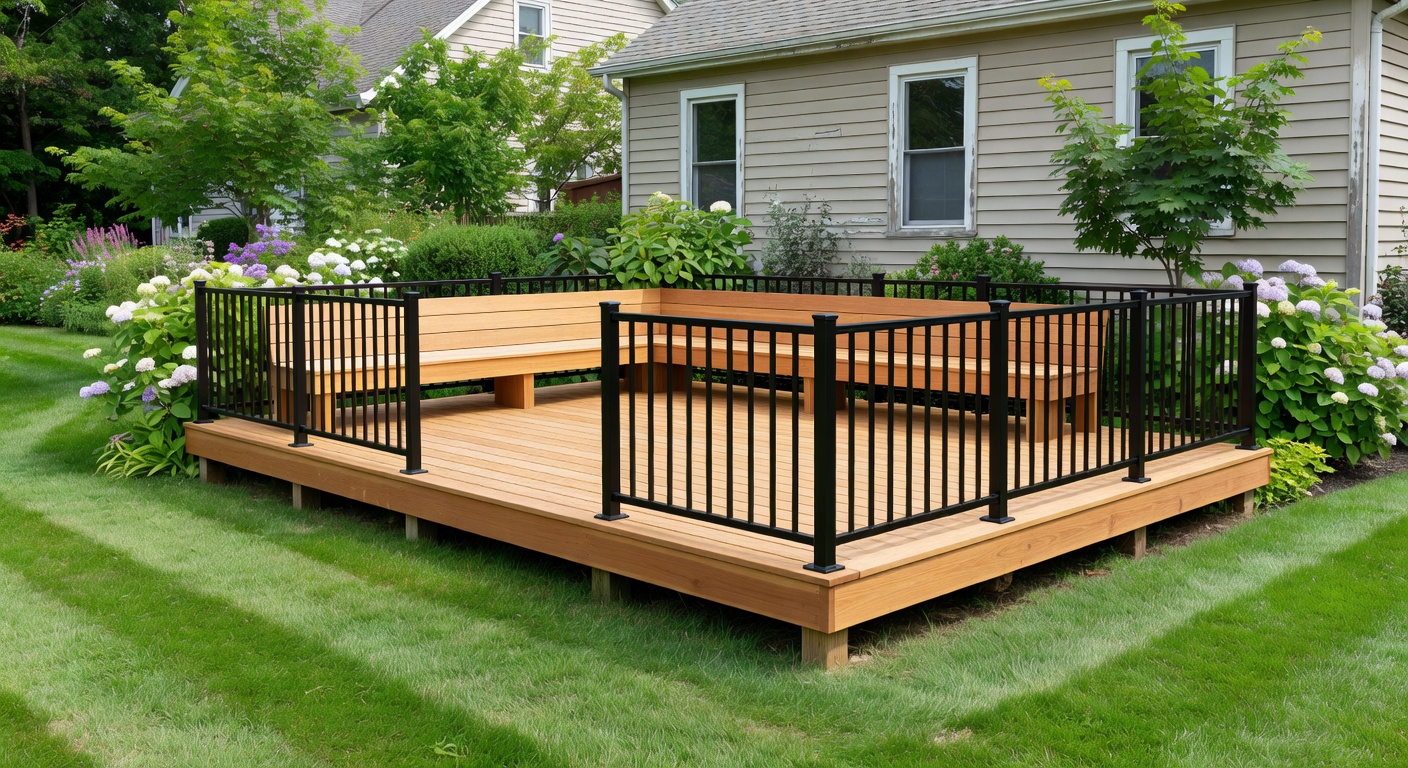
Patio and Deck Lighting Projects for Ambiance
Patios benefit from layered lighting that supports both functionality and mood. Install weatherproof string lights across pergolas or railings for overhead illumination, securing them with hooks rated for outdoor tension. Add wall-mounted sconces or post lights near seating areas for task lighting during meals. Recessed deck lights provide subtle glow without tripping hazards. For solar versions, position panels to receive maximum sun exposure. Combine with dimmable smart bulbs to shift from bright cooking light to soft evening tones. Ensure all connections are sealed against moisture to prevent failures. These upgrades turn underused outdoor rooms into extensions of the home.
Accent Lighting Techniques for Visual Interest
Accent lights highlight landscaping or architectural details. Use uplights at the base of trees or shrubs to create dramatic shadows, or downlights under eaves for subtle house washing. Choose adjustable fixtures with color temperature options from warm white to cool daylight. Solar spotlights offer flexibility for repositioning as plants grow. Avoid over-illumination by focusing beams precisely and using shields where needed. This approach adds sophistication without high energy demands.
Real-World Before-and-After Upgrade Examples
One suburban fixer-upper transformed a dark, overgrown backyard by adding solar pathway stakes and patio string lights, resulting in a welcoming space used for family gatherings year-round. Another project featured low-voltage LED uplights on mature trees paired with motion-sensor floodlights near the driveway, improving both aesthetics and security. A coastal home retrofit used weatherproof sconces around a deck, shifting from a neglected area to a vibrant outdoor lounge. These examples demonstrate how targeted DIY efforts yield noticeable changes in usability and appeal.
Qualitative Cost Comparisons and Budget Planning
DIY solar and LED projects generally require lower upfront investment than full electrical contractor work, with savings amplified by reduced energy consumption over time. Focus on mid-range durable fixtures rather than the cheapest options to minimize replacements. Compare solar versus wired systems based on your site's sun exposure and existing outlets. Planning purchases around sales and prioritizing multi-packs for pathways helps stretch budgets effectively. Guidance from ENERGY STAR helps identify efficient products that deliver long-term value.
Maintenance Tips for Sustained Performance
Regular upkeep ensures lighting systems remain reliable. Clean lenses and solar panels monthly during growing seasons to maintain brightness. Inspect seals and gaskets annually for cracks, replacing as needed. For battery-operated units, swap cells at the start of each season. Check wiring for rodent damage or corrosion in buried lines. Trim vegetation that blocks light or solar collection. Store removable fixtures indoors during harsh winters if recommended by the manufacturer. These steps prevent common failures and extend fixture lifespan significantly.
FAQ: Addressing Common Pitfalls and Efficiency Questions
- How can wiring challenges be avoided? Solar and battery-powered fixtures bypass most electrical work, while low-voltage kits use simple plug-in transformers for easier installs.
- What makes LEDs more energy efficient? They convert a higher percentage of electricity to light with minimal heat; check certified options via authoritative efficiency programs.
- Are smart controls difficult to set up? Most modern systems use intuitive apps, though initial pairing may require stable Wi-Fi near the outdoor hub.
- How to prevent light pollution? Opt for shielded fixtures aimed downward and use timers or sensors to limit unnecessary runtime.
- What maintenance pitfalls arise most often? Neglecting seals leads to water damage, while poor panel placement reduces solar charging effectiveness.
- Can these upgrades improve property value? Thoughtful lighting enhances perceived safety and aesthetics, often appealing to buyers seeking move-in ready outdoor spaces.
Conclusion
Implementing these DIY outdoor lighting strategies equips fixer-upper owners with practical tools for meaningful yard transformations in 2026. By focusing on durable LEDs, smart features, and proper installation techniques, projects deliver lasting safety, ambiance, and efficiency benefits. Begin with a single area to build confidence, then expand systematically for comprehensive results.
No comments yet. Be the first!