 Fixated on Home
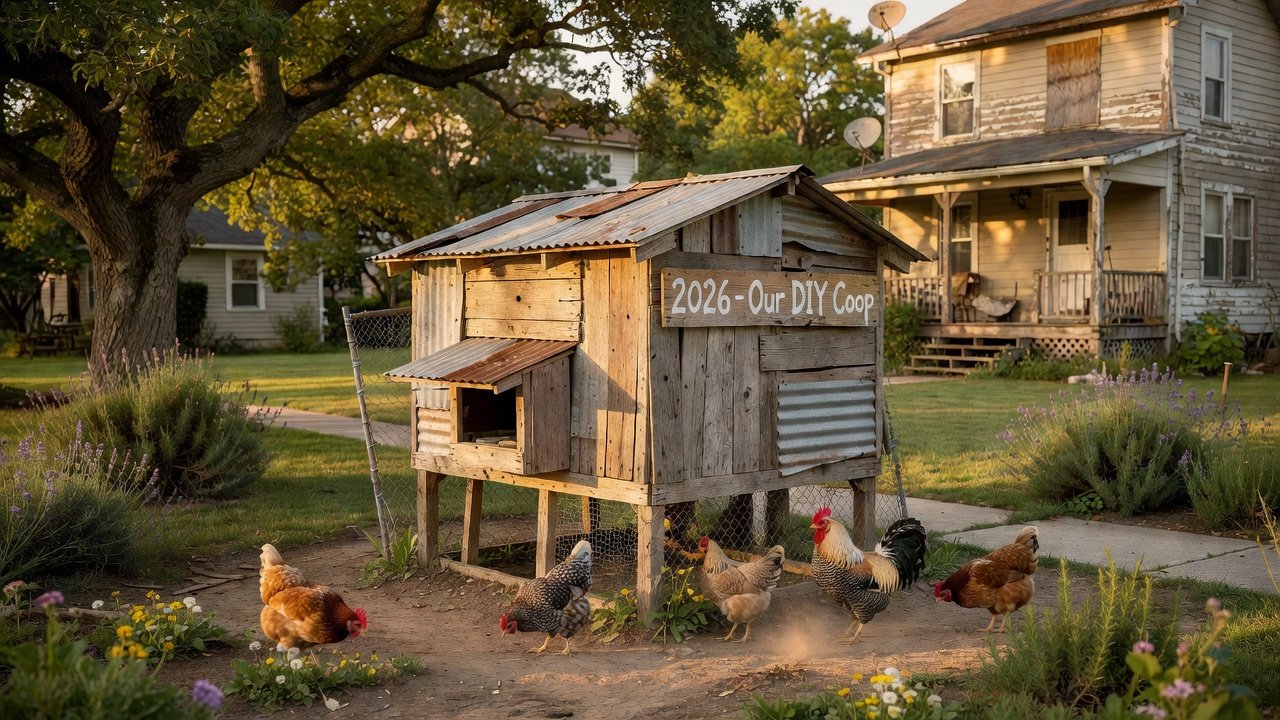
DIY Backyard Chicken Coop Builds: 2026 Fixer-Upper Homestead Guide
Transforming a fixer-upper property often includes practical outdoor upgrades that boost both functionality and value. Building your own backyard chicken coop delivers fresh eggs, natural pest control, and a rewarding homestead experience. This guide walks through every stage of planning and construction tailored for 2026 homeowners working with limited budgets and existing landscapes. Whether your yard is compact or expansive, the following sections provide concrete steps, material recommendations, and real examples to help you create a long-lasting coop that complements your home renovation goals.
Choosing the Right Location on Your Property
Site selection determines long-term success and daily convenience. Place the coop on level ground with good drainage to prevent flooding during heavy rains. South-facing orientation maximizes winter sunlight while providing afternoon shade in summer months. Keep the structure at least 10 feet from property lines and 25 feet from neighboring homes to reduce odor complaints and maintain good relations. Integrate the coop near existing garden beds so chickens can naturally fertilize soil through their scratching and manure. Consider wind patterns to avoid placing the coop in a direct gust path that could stress the birds or damage lightweight materials. Proximity to a water source simplifies daily chores, while avoiding low-lying areas prevents moisture-related issues like mold growth inside the structure.
Understanding Local Zoning and Regulations
Before purchasing materials, verify municipal rules thoroughly. Many cities limit flock size and require specific setbacks from dwellings or wells. Contact your local planning department early in the process to obtain necessary permits. Resources from USDA offer general poultry guidelines that help interpret local codes. Document all approvals to protect your investment during future property sales or inspections. Some areas also regulate coop height or require screening with fencing, so review ordinances for both the coop and any attached run. Failure to comply can result in fines or forced removal, making early research essential for any fixer-upper project.
Material Choices for Budget-Friendly Builds
Recycled wood pallets, reclaimed metal roofing, and salvaged hardware keep costs down while aligning with fixer-upper aesthetics. Pressure-treated lumber works for ground contact areas, while cedar or redwood resists rot in humid climates. Avoid cheap particle board that swells when wet. For predator protection, use ½-inch hardware cloth instead of chicken wire, which predators can easily tear. Compare options by durability: metal lasts longer in wet regions but may require insulation, whereas wood offers better natural insulation yet needs periodic sealing. Source materials from local salvage yards or deconstruction sites to reduce waste and environmental impact. EPA guidelines on sustainable building practices recommend prioritizing reused materials whenever possible for outdoor structures.
Tools You'll Need for Construction
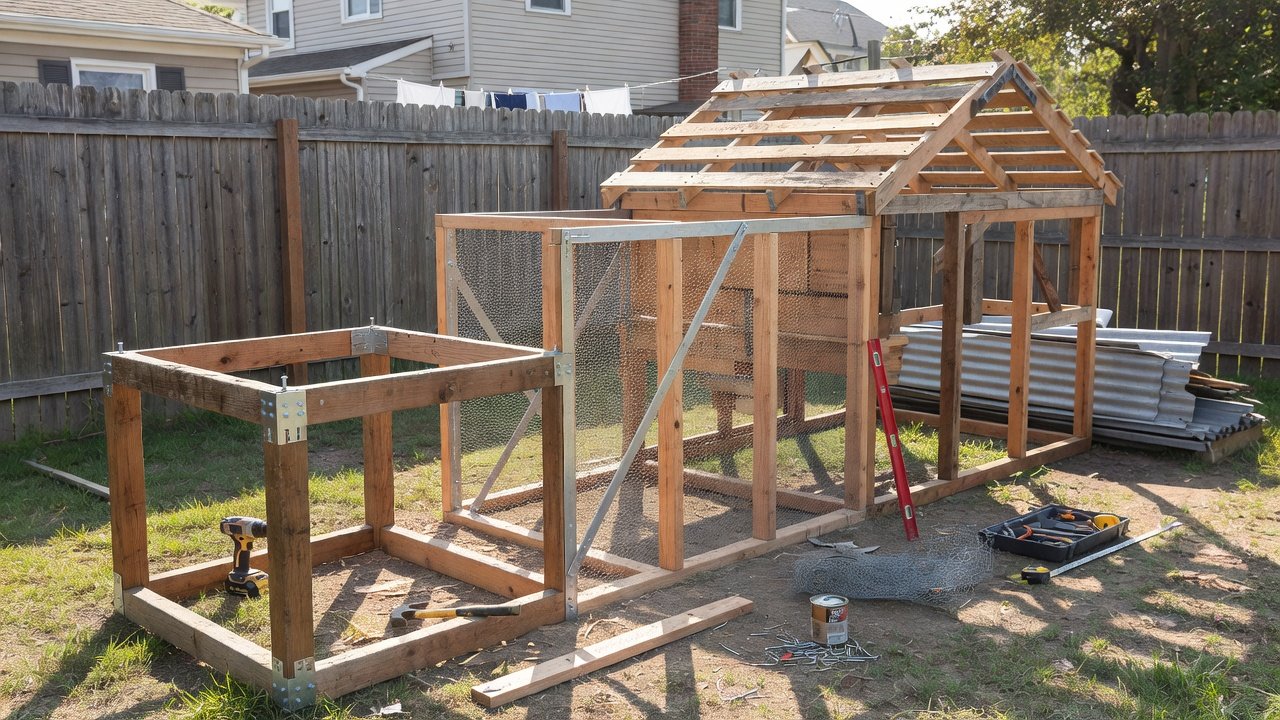
Gather essential tools before starting: circular saw, drill with bits, level, tape measure, hammer, wire cutters for hardware cloth, and safety gear including gloves and goggles. A post-hole digger helps if installing buried barriers for predators. Having these items ready prevents delays and ensures accurate cuts and secure fastening throughout the build.
Step-by-Step Construction Process
Step 1: Build a Sturdy Foundation
Start with concrete blocks or a gravel base. This elevates the coop, discourages rodents, and improves airflow underneath. Level the base carefully before adding floor joists made from treated lumber. Add a vapor barrier under the floor to keep moisture out of the interior.
Step 2: Frame the Structure
Construct a simple 4x8 or 4x12 frame depending on flock size. Use 2x4 studs for walls and reinforce corners with plywood gussets. Include a human door and a smaller pop door for chickens. Frame windows with screens for ventilation while keeping out insects and predators.
Step 3: Add Roofing and Siding
Install metal roofing panels over rafters for quick water runoff. Attach recycled wood siding, leaving ventilation gaps at the top. Paint or stain exteriors to match your home’s curb appeal and protect against weather exposure.
Step 4: Install Nesting Boxes and Roosts
Mount nesting boxes 18 inches off the floor using 12x12-inch compartments lined with straw. Roosts should sit higher than boxes so chickens sleep above nesting areas. Sand all edges smooth to prevent injury to the birds.
Comparing Designs for Different Yard Sizes
- Small urban lots (under ¼ acre): Compact 4x4 tractor-style coops on wheels allow seasonal relocation and fit tight spaces while providing easy access for egg collection.
- Medium suburban yards (¼ to ½ acre): 4x8 walk-in coops with attached 8x10 runs provide room for 6–8 birds and easy egg collection, with space for feed storage inside.
- Larger rural fixer-uppers: 8x12 permanent structures with separate storage for feed and equipment support flocks of 12 or more and allow future expansion.
Real-World 2026 Renovation Examples
A Portland homeowner converted an old garden shed into a coop using reclaimed cedar and added solar-powered ventilation fans for consistent airflow. In Austin, a couple built a modular metal-and-wood design that matches their mid-century modern home while integrating with native plant landscaping. A third example from Denver shows how a family used pallet wood to create a raised coop that doubles as a compost bin area, turning waste into garden nutrients. These projects demonstrate how thoughtful design integrates with existing landscaping and increases property appeal without major structural changes.
Landscaping Integration and Aesthetic Tips
Blend the coop into your yard by planting fast-growing shrubs or vines around the base for natural screening. Use the same mulch or gravel pathways already present in your garden to create visual continuity. Position the run so chickens can access garden edges for weed control while keeping them contained. This approach turns the coop into a functional landscape feature rather than an eyesore.
Maintenance Tips for Longevity
Inspect hardware cloth monthly for holes or tears. Refresh bedding every two weeks and deep-clean the interior quarterly with mild disinfectant. Apply linseed oil to wood surfaces annually. Monitor ventilation to prevent moisture buildup that leads to mold. In winter, add extra straw for insulation, and in summer, provide shade cloths over the run. Regular checks help avoid costly repairs later.
Common Mistakes to Avoid
Many first-time builders overlook predator-proofing the floor or forget to include adequate ventilation, leading to health issues in the flock. Another frequent error is placing the coop too close to the house, which can create odor problems. Always measure twice before cutting and test-fit all pieces to prevent material waste.
FAQ: Predator-Proofing and Egg Production
How do I protect the coop from predators?
Bury hardware cloth 12 inches underground around the perimeter. Add automatic latches and motion lights. Avoid leaving food scraps outside overnight. Consider adding a skirt of buried mesh extending outward to stop digging animals.
What maximizes egg production?
Provide 14 hours of light using low-wattage bulbs in winter. Offer consistent access to fresh water, calcium supplements, and a balanced feed. Keep nesting boxes dark and quiet. Collect eggs daily to encourage continued laying.
How often should I clean the coop?
Perform spot cleaning weekly and a full deep clean every three months. This schedule prevents ammonia buildup and keeps birds healthy.
Conclusion
A well-planned DIY chicken coop enhances any fixer-upper homestead with sustainable benefits and personal satisfaction. Follow local regulations, choose durable recycled materials, and integrate the structure with your landscape for lasting results. Start small, build thoughtfully, and enjoy the rewards of fresh eggs from your own backyard. Additional guidance is available through CDC resources on backyard poultry safety to ensure a healthy flock year-round.

No comments yet. Be the first!