 Fixated on Home
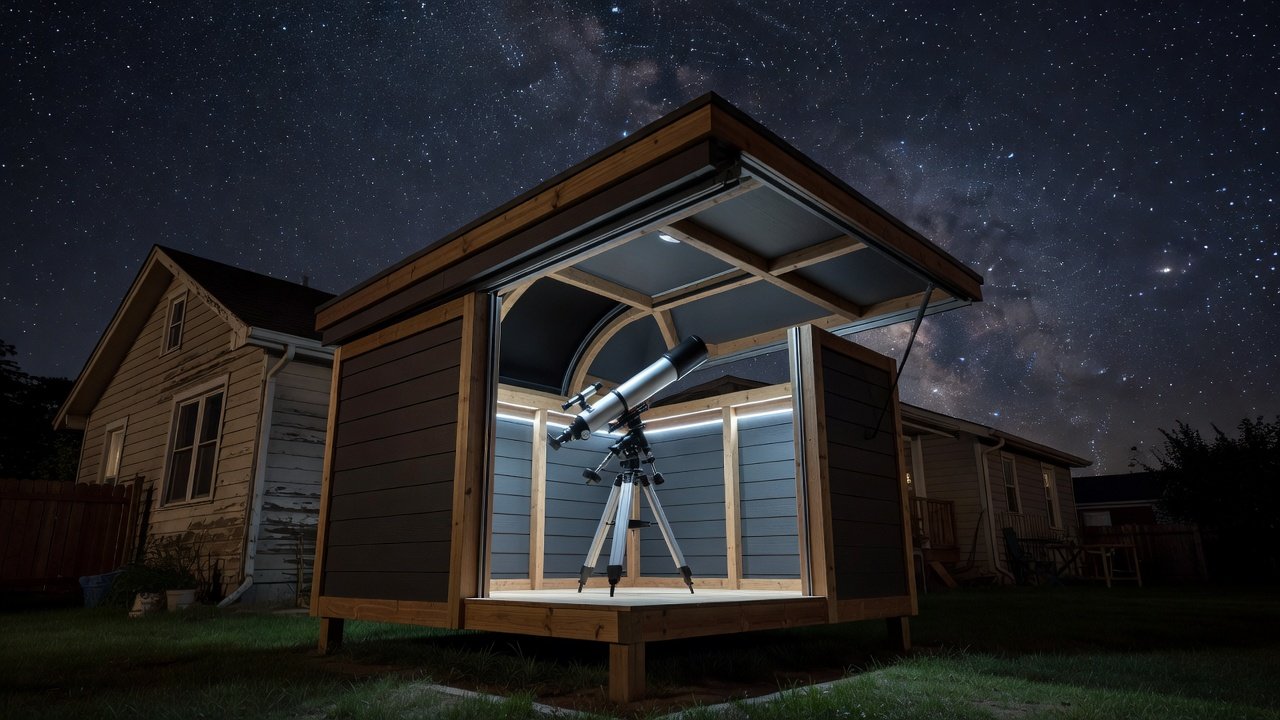
Introduction to DIY Backyard Observatories
Creating a dedicated backyard observatory transforms stargazing from a casual hobby into a serious pursuit, especially for owners of fixer-upper homes seeking advanced outdoor upgrades. This guide covers practical construction techniques using common home improvement materials, focusing on durability against weather and integration with modern smart systems. Whether you're in a suburban setting or rural fixer-upper property, a well-planned observatory protects equipment while enhancing your astronomy experience. Backyard observatories address common challenges like light pollution, dew formation, and equipment storage. Recent 2026 projects demonstrate how enthusiasts combine basic carpentry with astronomy-specific features for year-round use, turning underutilized yards into functional scientific spaces that add value to the property.
Many homeowners start with modest goals but expand their setups over time as they discover the benefits of having a permanent, protected location for telescopes and accessories. The process blends elements of home renovation, electrical work, and astronomy knowledge, making it an ideal project for those already tackling fixer-upper challenges.
Site Planning for Optimal Stargazing
Selecting the right location starts with assessing sky visibility. Choose an area with minimal obstructions from trees or buildings and low light pollution. Use apps or local astronomy club resources to map dark sky conditions. Consider soil stability and drainage to prevent foundation issues during construction. Measure the space for your enclosure, ensuring at least 10x10 feet for comfortable movement around a telescope. Factor in power access for mounts and lighting controls. Professional examples from 2026 highlight how integrating the observatory near existing patios reduces overall renovation scope while providing easy access during evening sessions.
Evaluate potential sites throughout different seasons to account for changing foliage and sun paths. Test for ground moisture levels and consider grading the land slightly for better runoff. Homeowners in 2026 projects often consulted local extension services for soil reports before pouring foundations, avoiding costly rework later. Proximity to the house also matters for running cables and using the observatory as an extension of indoor living spaces.
Weatherproof Enclosure Designs
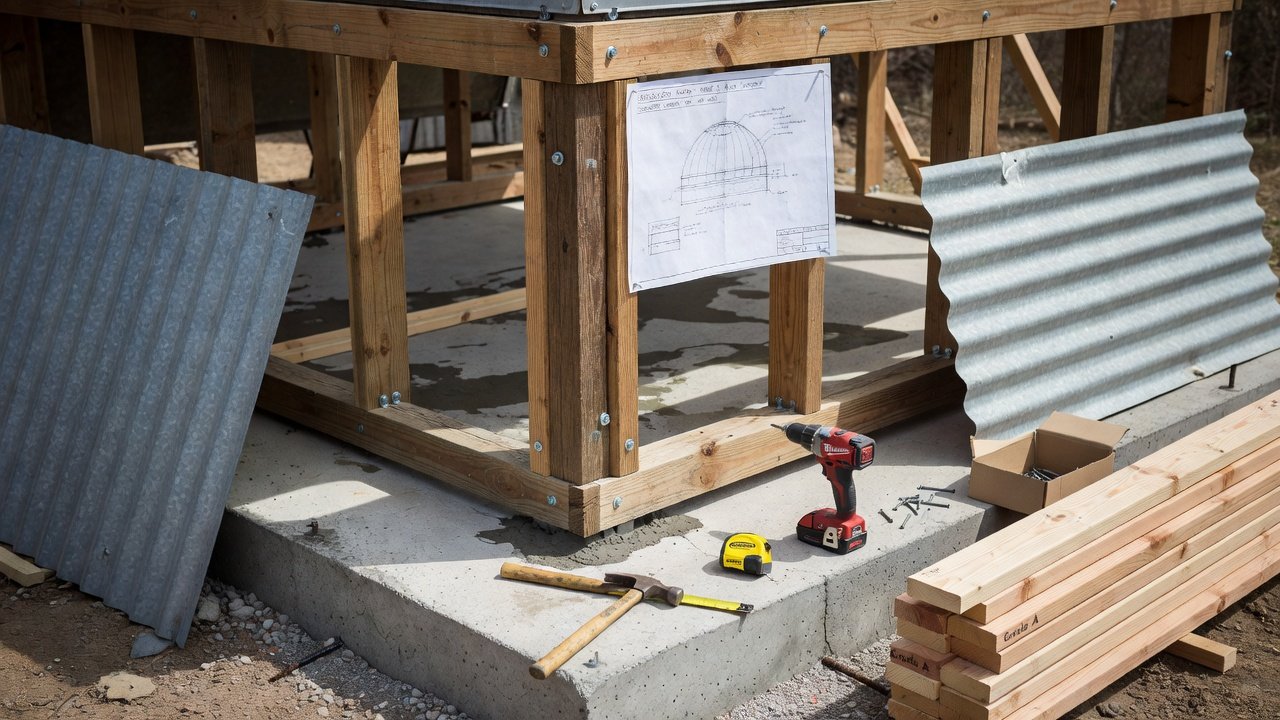
Weatherproofing is essential for outdoor longevity. Use treated lumber, plywood sheathing, and asphalt shingles or metal roofing for the structure. Incorporate roll-off roofs or clamshell designs made from lightweight aluminum or polycarbonate panels for easy opening. Seal joints with weatherstripping and apply exterior paint or stain rated for UV resistance. Ventilation systems prevent condensation on optics. Compare materials: cedar offers natural rot resistance but requires more initial investment, while pressure-treated pine provides budget durability when sealed properly. In coastal areas, consider corrosion-resistant hardware and elevated foundations to combat humidity and salt air.
Many successful 2026 builds featured hybrid enclosures with insulated walls to stabilize internal temperatures, reducing thermal currents that can blur telescope views. Roof mechanisms should include safety stops and smooth tracks to prevent binding during operation in cold weather.
Affordable Telescope Mounting Solutions
Mounting options range from pier foundations to equatorial platforms built with concrete and steel pipes. Anchor a pier into a concrete slab for stability, then attach a commercial or DIY wedge. Use vibration-dampening pads made from rubber mats to minimize ground tremors. For budget builds, repurpose deck posts or create custom tripods from 4x4 lumber reinforced with brackets. Ensure the mount aligns with polar north using a compass app for precise tracking. Adding a permanent pier eliminates the need to realign equipment nightly, saving time during observing sessions.
Step-by-Step Construction Techniques
- Clear and level the site, then pour a concrete foundation with embedded anchors, allowing proper curing time before framing begins.
- Frame the walls using 2x4 studs and install sheathing, checking for plumb and square at every stage to ensure the roof operates smoothly.
- Build the roof mechanism with tracks or hinges for smooth operation, testing the movement multiple times before final sealing.
- Add doors, windows for ventilation, and electrical wiring for smart controls, routing cables through conduit to protect against moisture.
- Finish with siding, roofing, and interior flooring suitable for equipment carts, then apply multiple coats of protective sealant.
Document each phase with photos for future reference or resale value.
Material Comparisons for Durability
Evaluate options based on climate: In humid areas, avoid untreated wood; opt for composites. Metal frames excel in wind-prone regions but require insulation. Recent projects favor hybrid approaches combining wood framing with vinyl siding for low maintenance. Consider long-term factors such as expansion and contraction with temperature changes, which can affect roof alignment over several seasons.
Integrating Smart Lighting Controls
Smart home upgrades enhance observatory functionality. Install LED strips controlled via apps like Philips Hue or compatible hubs to maintain dark adaptation. Use motion sensors and timers to minimize light spill. Connect to existing home automation systems for seamless operation from indoors. This integration allows remote monitoring of conditions and automated shutdowns during inclement weather. Resources from NASA provide guidance on reducing light pollution for better observations, while NOAA offers weather data useful for planning enclosure ventilation.
Budget Breakdowns and Practical Examples
Focus on cost-effective sourcing from local suppliers. Allocate funds primarily to foundation, enclosure materials, and mounting hardware, with remaining for finishes and electronics. 2026 fixer-upper examples show successful builds using recycled materials from home renovations to keep expenses manageable. One project in the Midwest incorporated leftover decking lumber for interior shelving, while another in the Pacific Northwest used salvaged windows for natural light during daytime maintenance. These real-world adaptations highlight how thoughtful material reuse lowers overall investment without sacrificing quality.
Safety Considerations
- Ensure structural stability against wind and snow loads by following local engineering guidelines.
- Ground all electrical components properly and install GFCI outlets near water sources.
- Use non-slip flooring and adequate lighting for safe nighttime access, including handrails on any steps.
- Check local building codes before starting and obtain necessary permits to avoid future complications.
- Store heavy equipment at lower levels to prevent tipping hazards during roof operation.
Maintenance and Long-Term Care
Regular upkeep keeps the observatory performing well. Inspect seals and roofing twice yearly, clean gutters to prevent water intrusion, and lubricate moving parts on the roof mechanism. Repaint exterior surfaces every three to five years depending on exposure. Seasonal checks of electrical systems and smart controls prevent unexpected failures during peak observing months.
FAQ Section
Do I need permits for a DIY observatory?
Many areas require permits for structures over a certain size. Contact your local zoning office early to confirm requirements and avoid fines.
How do I maintain the observatory?
Regular inspections for leaks, repainting every few years, and cleaning optics seasonally keep the build functional. Lubricate roof mechanisms annually.
Can it integrate with existing smart home systems?
Yes, most modern hubs support observatory lighting and security cameras for remote monitoring.
What common mistakes should beginners avoid?
Skipping proper site leveling and underestimating ventilation needs are frequent errors that lead to long-term issues with equipment and comfort.
Conclusion
Building a DIY backyard observatory combines renovation skills with astronomy passion, delivering long-term enjoyment for fixer-upper homeowners. With careful planning and quality materials, your stargazing setup will provide clear views for years ahead. Start small, prioritize safety, and expand features as needed. Additional guidance is available through EPA resources on outdoor lighting best practices that complement dark-sky efforts.
No comments yet. Be the first!