 Fixated on Home
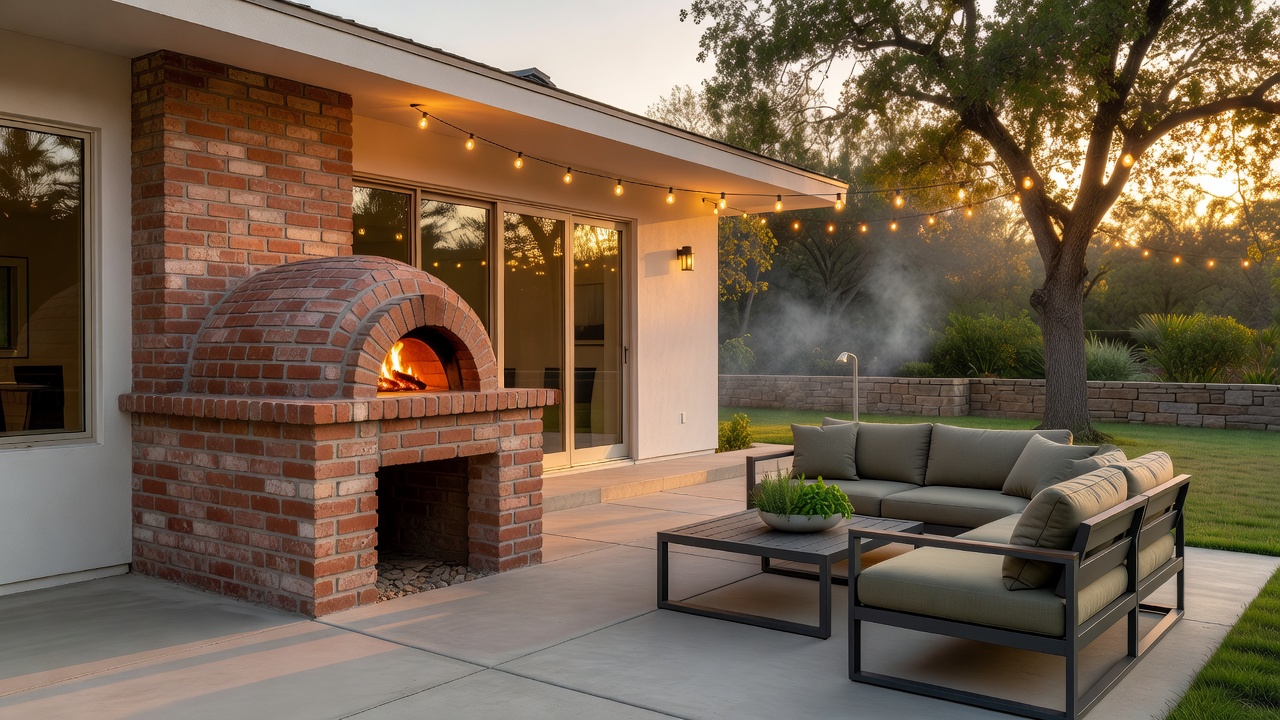
Introduction to DIY Brick Pizza Ovens for Fixer-Uppers
Homeowners tackling outdoor renovations in 2026 often seek projects that combine functionality with lasting appeal. A brick pizza oven adds entertainment value while potentially increasing property worth through thoughtful outdoor upgrades. This guide focuses on practical builds suited to fixer-upper budgets, covering everything from foundation work to weatherproofing. These ovens transform underused yards into social hubs where families and friends gather for memorable meals. Recent fixer-upper transformations demonstrate how such additions create inviting spaces without requiring professional crews, turning neglected patios into the heart of outdoor living.
Integrating a pizza oven into your renovation plan aligns perfectly with growing interest in outdoor renovation and diy projects. It provides both immediate enjoyment and long-term home improvement benefits by enhancing curb appeal and usability of exterior spaces.
Why Choose a Brick Pizza Oven in 2026
Brick construction offers superior heat retention compared to metal alternatives, allowing for consistent high temperatures ideal for authentic Neapolitan-style pizzas. In fixer-upper properties, this project fits well because it can be scaled to available space and budget constraints. Many homeowners report that adding such features helps differentiate their property in competitive real estate markets. The process also builds valuable skills that can be applied to future diy projects around the home.
Material Selection for 2026 Builds
Choosing the right materials ensures longevity and performance. Firebricks rated for high temperatures form the core, paired with refractory mortar that withstands repeated heating cycles. For exteriors, consider standard clay bricks or stone veneer that matches your home's aesthetic for a cohesive look. Insulation options include ceramic fiber blankets or perlite mixes to retain heat efficiently and reduce fuel consumption over time. Always source from reputable suppliers to guarantee quality. Local hardware stores often stock suitable options for DIY budgets, and selecting durable materials upfront prevents costly repairs later.
Foundation Preparation Steps
A solid base prevents cracking and shifting over years of use. Start by excavating a level area and adding a gravel layer for drainage. Pour a concrete slab reinforced with rebar, ensuring it extends beyond the oven footprint for stability. Allow proper curing time before proceeding, typically checking soil conditions and local frost lines first. Check local building codes early to avoid setbacks during your outdoor renovation. This preparation phase is critical because an unstable foundation can lead to structural failures that undermine the entire project.
Bricklaying Techniques
Begin with the hearth using firebricks laid in a herringbone pattern for even heat distribution. Build walls with staggered joints and apply thin mortar layers to maintain strength. Incorporate an arch for the dome using a wooden form during construction to achieve the proper curve. Take your time with alignment to maintain structural integrity. Many DIYers document progress with photos for reference and to share techniques with online communities focused on outdoor upgrades.
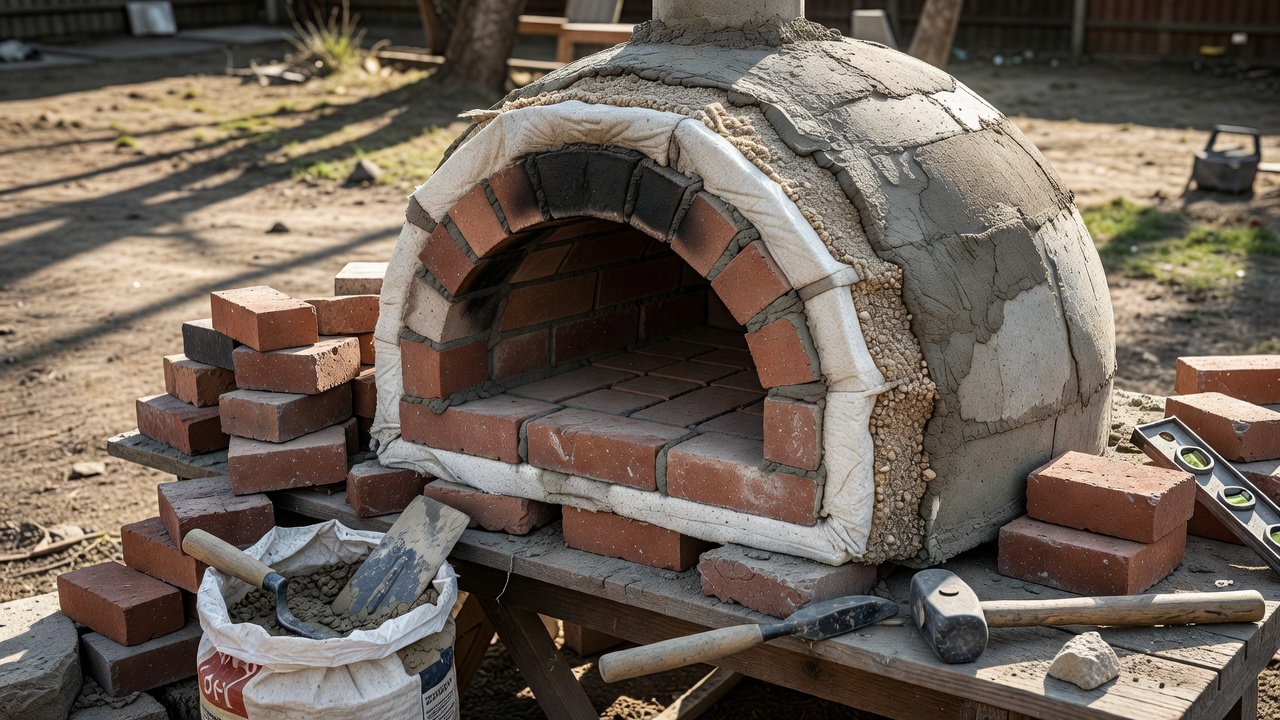
Insulation Methods and Heat Retention
Proper insulation maximizes efficiency and cooking performance. Wrap the dome in ceramic fiber, then add a layer of concrete or stucco for protection against the elements. This approach helps maintain high temperatures while minimizing fuel use, making each firing more economical. Test insulation performance during initial fires to make adjustments as needed, such as adding extra layers in colder climates.
Step-by-Step Assembly Instructions
- Mark and level the site while considering wind patterns and proximity to the house.
- Build and cure the foundation over several days for maximum strength.
- Lay the hearth and walls, checking for plumb at every course.
- Construct the dome and chimney with attention to airflow.
- Apply insulation and finish coat, allowing full drying between layers.
- Cure the oven gradually over several days by building small fires to avoid cracking.
Following these steps methodically reduces common errors and produces a reliable oven ready for years of use.
Temperature Control and Cooking Tips
Monitor heat with an infrared thermometer for precision. Start fires slowly to avoid thermal shock to the bricks. Aim for 700-900 degrees Fahrenheit for authentic pizza results. Experiment with wood types like oak for consistent burns and subtle flavor enhancements. Rotate pizzas frequently and use a peel for safe handling.
Safety Considerations
Position the oven away from structures and flammable materials. Install a spark arrestor on the chimney to contain embers. Wear protective gear during builds and keep a fire extinguisher nearby. OSHA guidelines offer valuable safety resources for construction projects. Always supervise children and pets when the oven is in use.
Cost Comparisons Versus Professional Installs
DIY approaches typically offer significant savings compared to hiring contractors, allowing homeowners to allocate resources toward higher-quality materials or additional features. Focus on quality materials and careful planning to achieve professional results on a budget. Real-world examples from recent transformations highlight how these ovens pay off through increased home enjoyment and appeal.
Real-World Examples from Fixer-Upper Transformations
One suburban renovation featured a compact brick oven integrated into an existing patio, complete with built-in seating that turned the space into a year-round gathering spot. Another urban fixer-upper used reclaimed bricks to match the historic home exterior, demonstrating how customization enhances both function and visual harmony.
Weatherproofing and Maintenance
Protect against rain and freeze-thaw cycles with a sturdy cover or roof extension. Seal exterior surfaces annually and inspect mortar joints each season. Address common challenges like moisture buildup through proper drainage design. Routine care extends the oven's lifespan and preserves its performance.
Benefits for Long-Term Home Improvement
Beyond cooking, these ovens contribute to overall property value by creating versatile outdoor living areas. They encourage more time spent outside and can support additional diy projects such as landscaping or lighting installations around the new focal point.
FAQ Section
How long does a DIY brick oven last?
With quality construction and maintenance, these ovens can endure for decades in most climates.
What wood works best?
Hardwoods like hickory or maple provide clean burns and good flavor without excessive smoke.
Can beginners succeed?
Yes, following detailed plans and starting small leads to success for many first-time builders.
How do I handle weatherproofing in rainy areas?
Incorporate a sloped roof or heavy-duty cover and ensure the foundation includes excellent drainage.
What are common mistakes to avoid?
Rushing the foundation cure time or using inadequate insulation are frequent issues that affect performance.
Explore more outdoor project inspiration at DIY Network or check weather resources via National Weather Service for planning builds. Additional renovation ideas are available through established home improvement references.
No comments yet. Be the first!