 Fixated on Home

Introduction to DIY Outdoor Bar Projects
Homeowners looking to upgrade their outdoor spaces in 2026 are turning to custom DIY bars as a practical way to boost backyard entertaining. These projects combine fixer-upper renovation techniques with durable, budget-friendly builds that integrate seamlessly into existing landscapes. Whether you're refreshing a tired patio or creating a new focal point, a well-planned outdoor bar adds functionality and style without requiring professional contractors. This comprehensive guide explores material selection, detailed construction processes, landscape integration strategies, weatherproofing methods, and emerging design trends. Real-world project examples demonstrate transformations from underused yards into vibrant social hubs, while practical advice helps beginners avoid common pitfalls and achieve lasting results.
Selecting the Right Materials for Durability and Style
Choosing materials suited to outdoor conditions is critical for longevity. Pressure-treated lumber, cedar, and composite decking resist rot and insects while offering aesthetic appeal. For countertops, consider sealed concrete or stainless steel that withstands weather exposure. Always source from local suppliers to match your climate needs and reduce transportation impacts. Compare options based on maintenance requirements: natural woods require periodic sealing, while composites offer lower upkeep. Incorporate hardware like galvanized screws and brackets to prevent rust. These choices ensure your bar lasts through seasons while aligning with 2026 trends toward sustainable, low-maintenance designs. Look for FSC-certified woods when possible to support responsible forestry practices, as outlined by resources from usda.gov.
Essential Tools and Safety Equipment
Before starting construction, gather reliable tools to ensure precision and efficiency. Basic requirements include a circular saw, cordless drill, level, measuring tape, hammer, and sandpaper assortment. For advanced customization, add a jigsaw for curved cuts and a power sander for smooth finishes. Prioritize safety with gloves, safety glasses, ear protection, and a dust mask, especially when cutting treated lumber. Work on a stable surface and keep a first-aid kit nearby. These preparations reduce errors and create a safer building experience for DIY enthusiasts of all skill levels.
Step-by-Step Construction Instructions
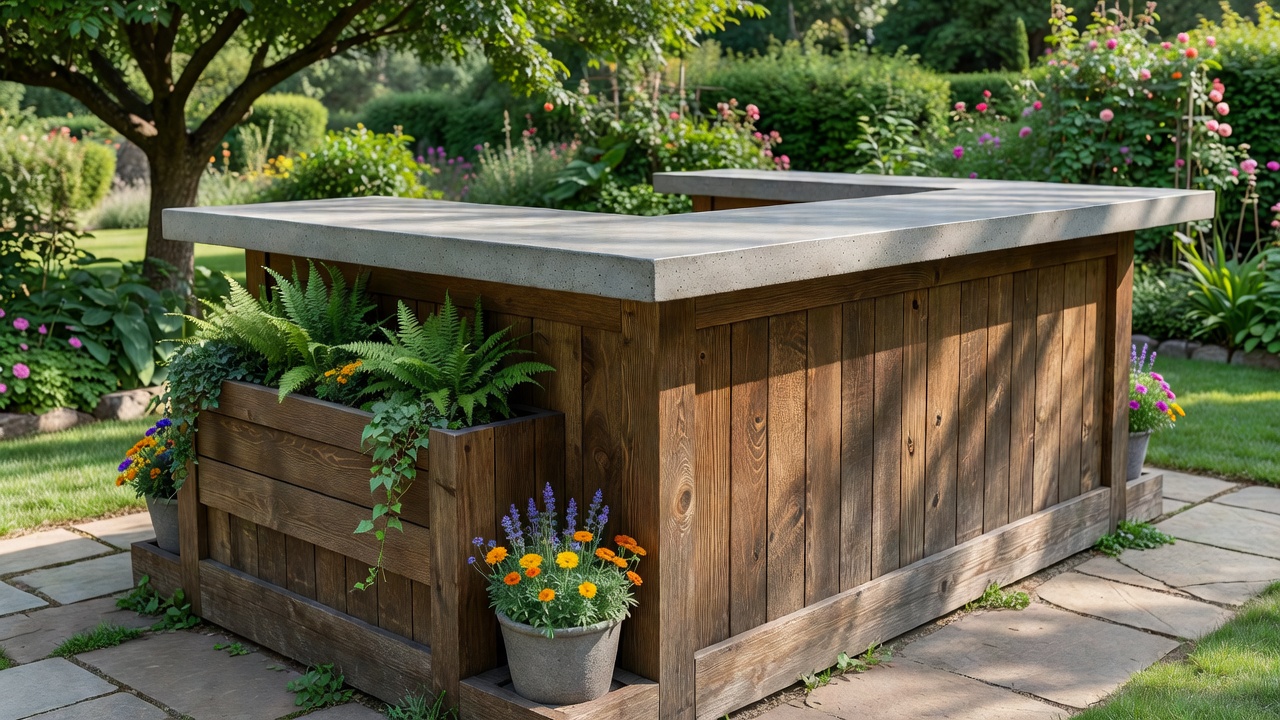
Begin with planning your bar's dimensions to fit your space. Sketch layouts that include storage shelves and a serving counter at comfortable heights around 36-42 inches. Secure a solid base using concrete footings or deck anchors for stability. Frame the structure with 2x4 or 2x6 lumber, ensuring level surfaces throughout. Attach siding or paneling for the front and sides, leaving open areas for shelving access. Install the countertop with proper overhangs and seal all joints. Add finishing touches like LED lighting strips and bar stools integration points. Work in phases over weekends to avoid overwhelm, and double-check measurements at each stage. For added customization, incorporate built-in ice bins or electrical outlets for appliances during later stages. Always test stability before moving to finishes.
Integrating Your Bar with Existing Landscapes
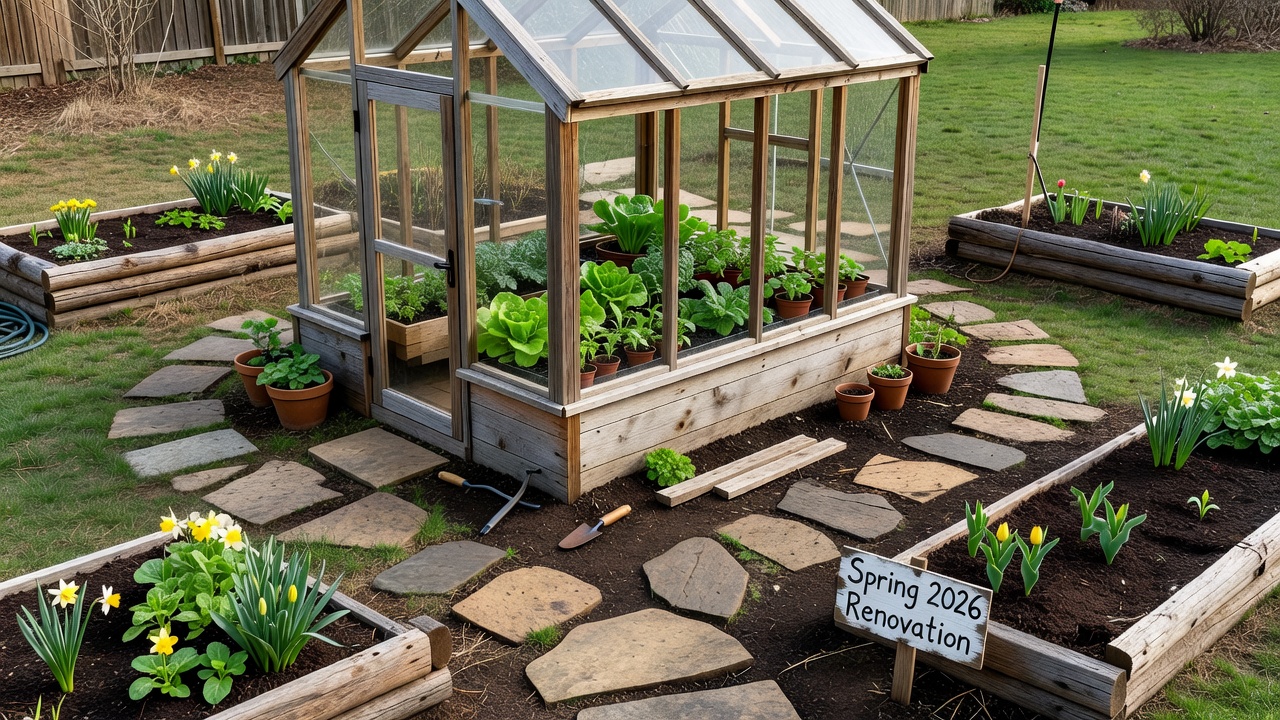
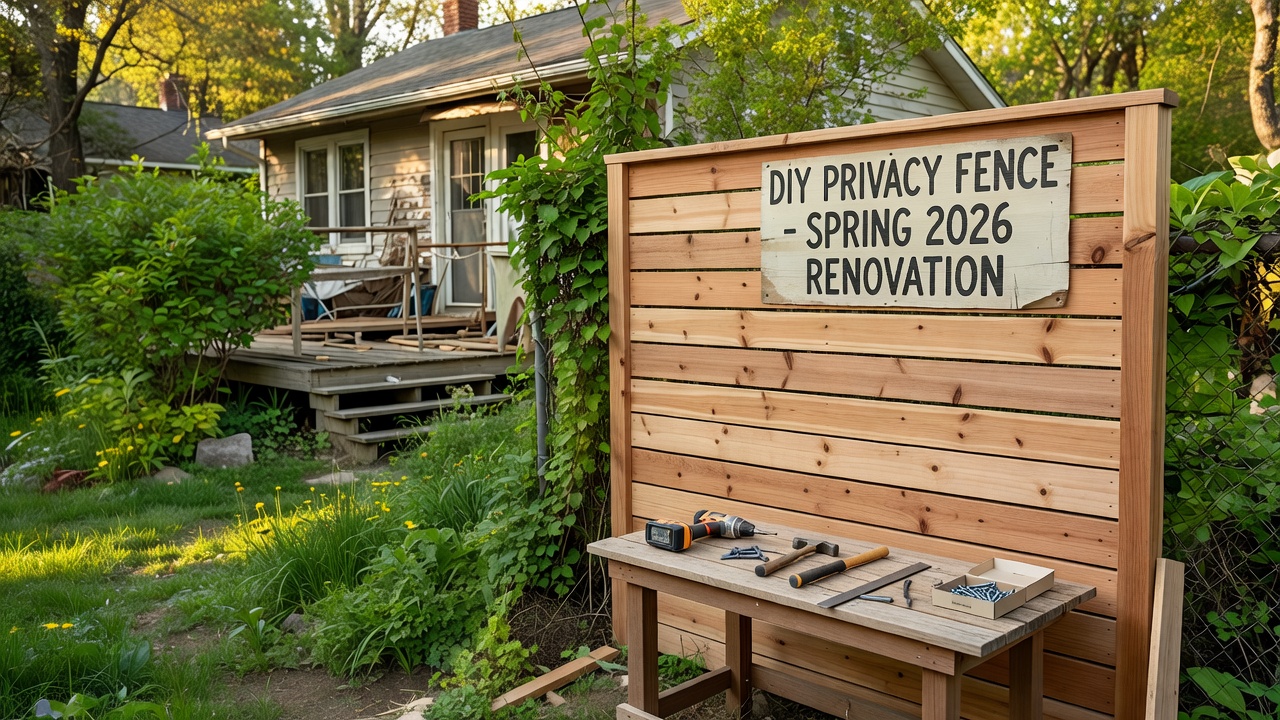
Blend the new bar into your yard by matching surrounding elements. Position it near patios or gardens for natural flow, using matching pavers or mulch borders. Incorporate planters or trellises to soften edges and create privacy screens. This approach turns a standalone build into an extension of your outdoor living area. Before-and-after examples often feature bars added to overgrown corners, revealing dramatic transformations where once-unused space becomes the entertainment hub. Consider grading the ground slightly for drainage to protect the structure. Assess sun patterns and wind directions during placement to maximize comfort for guests throughout the day.
Weatherproofing Tips for Long-Term Performance
Protect your investment with proactive measures. Apply marine-grade sealants to all wood surfaces and use UV-resistant finishes on countertops. Install a simple roof overhang or retractable awning for rain and sun protection. Elevate the base slightly to prevent water pooling, and add ventilation to reduce moisture buildup inside storage areas. Regular inspections every season help catch issues early. These techniques draw from established home improvement practices recommended by sources like epa.gov for sustainable outdoor builds. In regions with extreme weather, consider adding protective covers during off-seasons to extend material life significantly.
2026 Design Trends for Outdoor Bars
Current trends emphasize multifunctional and eco-conscious features. Incorporate modular components that allow easy reconfiguration for different gatherings. Smart elements such as integrated speakers or app-controlled lighting are gaining popularity among tech-savvy homeowners. Sustainable accents like reclaimed wood accents or solar-powered accents align with broader environmental goals. These options provide advanced customization while remaining accessible through beginner-friendly assembly methods.
Mistakes to Avoid During Construction
Common errors include skipping proper foundation work, which leads to uneven settling over time. Another frequent issue is inadequate sealing, resulting in premature weathering. Avoid overcrowding the design with too many features at once—start simple and add elements gradually. Always verify local regulations before building to prevent compliance issues. Measuring twice and cutting once remains a timeless rule that saves both time and materials in every successful project.
Cost Breakdowns and Budget Strategies
Focus on value-driven selections rather than premium upgrades. Reuse salvaged lumber from other projects where possible and shop sales for hardware. Allocate budget primarily to foundational elements like framing and sealing products for maximum durability. Track expenses by category—lumber, hardware, finishes—to stay on target without surprises. This methodical approach keeps projects affordable while delivering professional-grade outcomes.
Real-World Examples and Before-and-After Comparisons
One suburban fixer-upper transformed a plain deck into a vibrant bar area using cedar siding and a concrete top, creating a seamless transition from kitchen to yard. Another project in a coastal climate used composite materials for superior weather resistance, turning a cluttered side yard into a welcoming lounge spot. A third example involved retrofitting an existing pergola structure with bar elements, adding storage and serving space without major excavation. These cases highlight how beginner methods scale to advanced customizations like built-in coolers or modular extensions popular in 2026 designs.
FAQ: Common Challenges and Solutions
- Do I need permits? Check local building codes early; many simple bar structures under certain heights avoid requirements, but verify with your municipality.
- How do I handle maintenance? Clean surfaces seasonally and reapply sealants annually to prevent wear.
- Can beginners tackle this? Yes, with basic tools and patience—start small and expand features over time.
- What about advanced options? Add smart lighting or plumbing integrations for modern entertaining appeal.
- How to handle uneven terrain? Use adjustable footings or build on a raised platform to create a level surface.
Conclusion
Building a DIY outdoor bar empowers homeowners to create personalized entertaining spaces tailored to 2026 lifestyles. By following structured steps, prioritizing durable materials, and planning for weather and integration, your project will deliver lasting enjoyment. Explore these techniques to elevate your fixer-upper backyard today and enjoy years of memorable gatherings.
No comments yet. Be the first!