 Fixated on Home
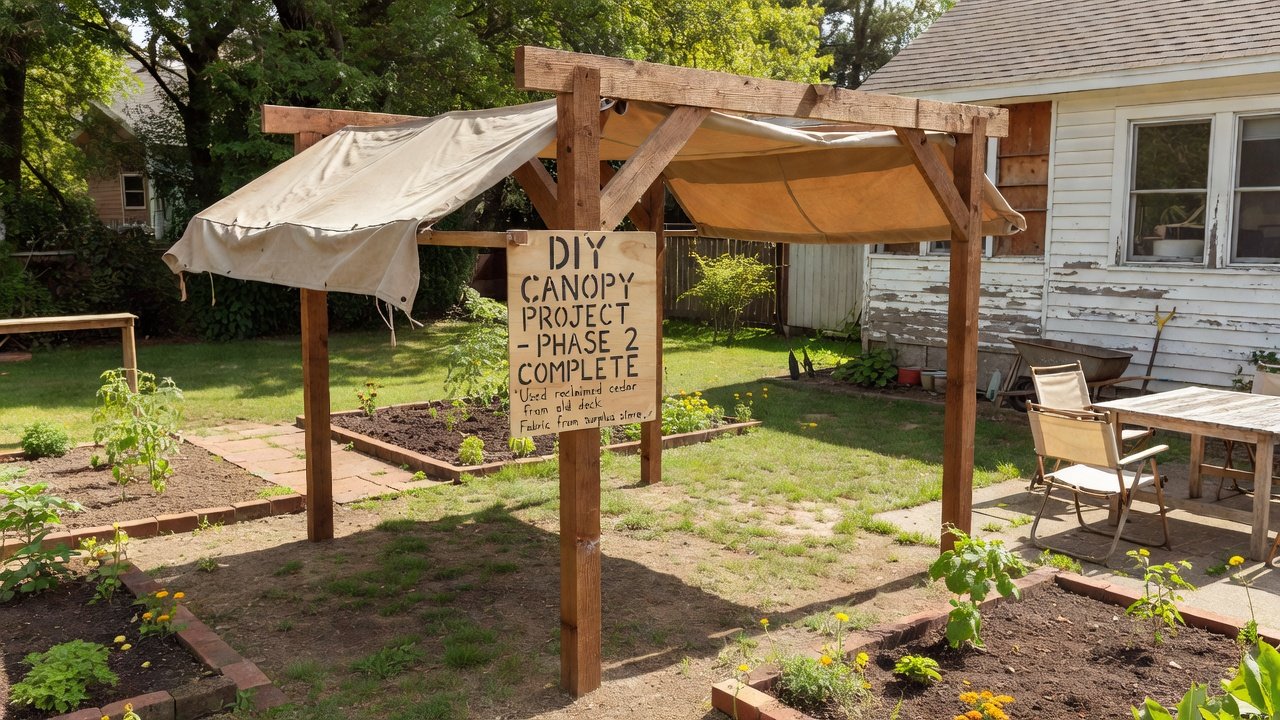
Introduction to DIY Outdoor Canopy Structures
Fixer-uppers often face the challenge of creating functional outdoor spaces without breaking the bank. Building your own canopy structures offers an affordable way to add shade, enhance usability, and boost property value through thoughtful outdoor renovation. This guide covers everything from initial planning to final maintenance, focusing on both retractable and permanent designs suitable for various home styles. Custom canopies not only provide relief from harsh sunlight but also create versatile areas for entertaining, relaxing, or even protecting garden furniture and plants from the elements. By integrating these structures into existing yards, homeowners can transform underused spaces into inviting extensions of their living areas, all while emphasizing safety, customization, and budget-friendly approaches that appeal to DIY enthusiasts at every skill level.
Whether you're working with a modest backyard or a sprawling yard, custom canopies integrate seamlessly with existing landscapes. Emphasis on safety, customization, and budget-friendly approaches makes these projects accessible for DIY enthusiasts. In 2026, with growing interest in sustainable home improvements, these projects align perfectly with outdoor renovation trends that prioritize eco-friendly materials and energy-efficient designs.
Planning Your Canopy Project in Detail
Start by assessing your yard's layout, sun exposure, and local climate conditions. Measure the area where the canopy will stand and consider wind patterns, rainfall, and soil type. Conduct a simple soil test to determine if additional footings or reinforcements are necessary, especially on older fixer-upper properties where ground stability might vary. Sketch out basic designs on paper or using free online tools to visualize how the structure will fit with patios, decks, or garden beds. Structural planning ensures stability, especially for fixer-upper properties where ground may need reinforcement.
Check local building codes early. Some areas require permits for permanent structures, so consult municipal guidelines to avoid issues later. Safety should always come first—follow established best practices from organizations like OSHA when handling tools and materials. Additionally, review resources from the EPA for guidance on selecting environmentally responsible materials that minimize environmental impact during your outdoor renovation.
Material Choices: Fabric vs. Wood Frames
Selecting the right materials balances durability, cost, and aesthetics. Fabric options like heavy-duty polyester or canvas provide lightweight shade and easy retraction. They resist UV rays but may need replacement sooner in harsh weather. Consider UV-treated fabrics for longer life in sunny regions. Wood frames, such as cedar or pressure-treated lumber, offer a classic, sturdy look that complements many fixer-upper styles. Combine wood with metal brackets for added strength. Compare these against alternatives like aluminum or PVC for modern vibes. Each choice impacts longevity and maintenance needs. For example, fabric works well for seasonal use while wood provides year-round permanence but requires periodic sealing.
Practical examples include using breathable mesh fabrics for hot climates to allow airflow or reclaimed wood for a rustic fixer-upper aesthetic that matches older home architecture. Always source materials from reputable suppliers to ensure quality and consistency.
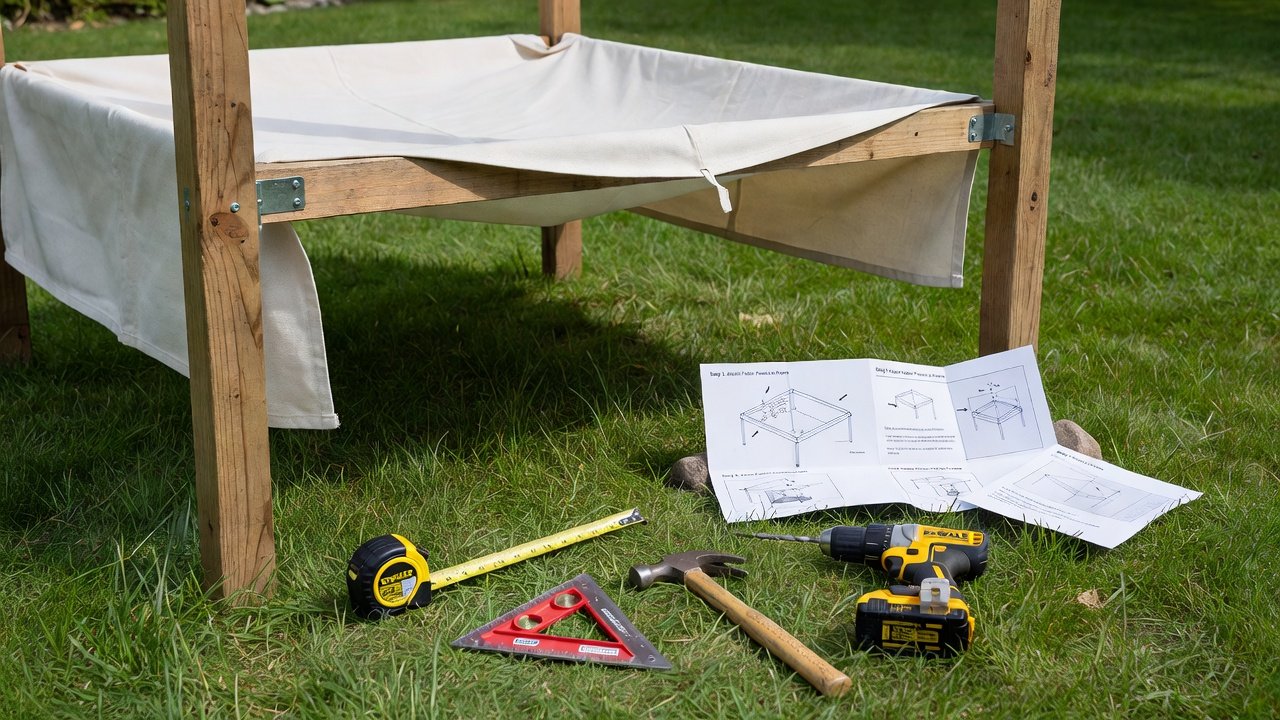
Beginner-Friendly Tool List
- Measuring tape and level for accurate layout
- Circular saw or handsaw for cutting lumber
- Drill and bits for securing joints
- Screwdriver set and adjustable wrench
- Hammer and nails or screws
- Staple gun for attaching fabric
- Safety goggles, gloves, and dust mask
- Ladder and sawhorses for elevated work
Step-by-Step Construction for Retractable Designs
Retractable canopies provide flexibility for changing weather. Begin by anchoring posts into concrete footings for stability. Dig holes at least 24 inches deep depending on frost lines, pour concrete, and set posts plumb. Attach a pulley system or track along the frame edges using galvanized hardware. Secure fabric panels with grommets and tie-downs that allow easy rolling or folding. Work in sections: install the support beams first, then add cross-bracing to prevent sway. Test the retraction mechanism before finalizing attachments. This approach minimizes errors and ensures smooth operation. For added customization, incorporate side panels that can be adjusted independently for privacy or wind protection.
Building Permanent Canopy Structures
For year-round shade, opt for fixed designs with solid roofing elements like corrugated panels or slatted wood. Erect vertical posts, connect horizontal rafters with proper joinery techniques such as mortise and tenon or metal connectors, and layer on the covering material. Integrate the structure with existing fences or pergolas for a cohesive outdoor renovation look. Customization options include adding side curtains, built-in lighting, or planters along the base. Match the design to your home's architecture—rustic wood for farmhouse styles or sleek lines for contemporary fixer-uppers. Consider examples like attaching the canopy to an existing deck railing for seamless flow or building a freestanding version over a gravel patio area.
Weatherproofing Tips and Durability Enhancements
Protect your investment against the elements with proper treatments. Apply sealants to wood frames and use mildew-resistant fabrics. Slope the roof slightly for water runoff and install gutters if needed. Monitor forecasts via resources like the National Weather Service to prepare for storms. Reinforce joints with galvanized hardware to prevent rust. Annual inspections help catch wear early, extending the canopy's life significantly. In regions with heavy snow, design the structure with extra bracing and consider removable fabric sections during winter months to reduce load stress.
Safety Considerations and Common Mistakes to Avoid
Always prioritize safety by wearing protective gear and working with a helper for heavy lifts. Avoid common mistakes such as insufficient anchoring, which can lead to tipping in high winds, or using untreated wood that rots quickly. Double-check measurements multiple times and ensure all electrical components for lighting are rated for outdoor use. These precautions align with broader home improvement safety standards.
Cost Comparisons for 2026 Budgets and Long-Term Value
DIY approaches generally prove more economical than professional installation. Focus on sourcing quality materials from local suppliers and repurposing items where possible. Factor in tools you already own versus new purchases for accurate budgeting. Long-term savings come from reduced energy costs for indoor cooling thanks to outdoor shade, plus increased property appeal that supports higher resale values in competitive markets.
FAQs on Permits and Maintenance
Do I need a permit?
Requirements vary by location and structure size. Permanent canopies often need approval, while temporary ones may not. Always verify with your local building department before starting.
How often should I maintain the canopy?
Clean fabrics seasonally and inspect frames twice a year. Reapply protective coatings as recommended by manufacturers to maintain performance.
Can beginners tackle this project?
Yes, with careful planning and basic tools. Start small and follow detailed instructions to build confidence.
Conclusion
DIY outdoor canopy structures transform fixer-upper yards into inviting retreats. By prioritizing safety, choosing suitable materials, and following structured steps, you create customized shade solutions that enhance your home for years. Embrace these outdoor renovation ideas to maximize both comfort and property appeal in 2026.
No comments yet. Be the first!