 Fixated on Home
Introduction to DIY Outdoor Planter Boxes
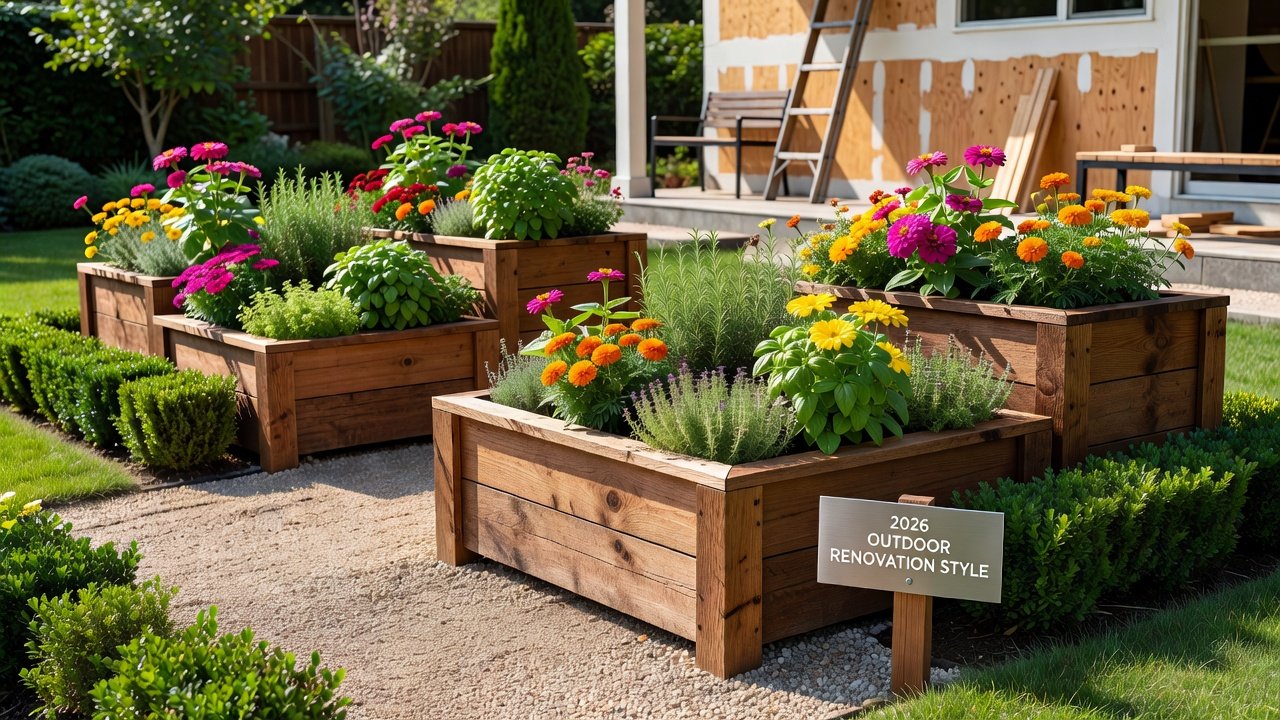
Homeowners tackling outdoor renovations in 2026 frequently choose custom planter boxes as an approachable yet impactful fixer-upper project. These structures enhance curb appeal, support sustainable gardening, and allow precise integration with existing landscapes. Whether refreshing a patio, lining a walkway, or creating focal points in a backyard, planter boxes deliver versatility without requiring advanced carpentry skills. This comprehensive guide walks through material selection, detailed construction steps for multiple sizes, drainage solutions, soil preparation, and long-term care tailored to current climate patterns. Beginners will find practical tool lists, safety protocols, and real-world examples that illustrate successful transformations.
Choosing the Right Materials: Cedar vs Recycled Plastic
Selecting appropriate materials determines the longevity and maintenance demands of your planter boxes. Western red cedar stands out for its natural oils that resist rot, insects, and warping, making it a top choice for regions with high humidity or frequent rain. Its warm grain also complements traditional or rustic fixer-upper aesthetics. Recycled plastic lumber offers an eco-friendly alternative that never needs painting or sealing and withstands extreme temperature swings. When weighing options, factor in local climate data and desired visual style. Cedar may require periodic re-staining every few seasons, while plastic maintains its appearance with simple wiping. For deeper insight into sustainable material choices, consult resources from the EPA. Many 2026 renovators combine both materials, using cedar for visible faces and plastic for hidden bases to balance cost, durability, and style.
Step-by-Step Building Instructions for Various Sizes
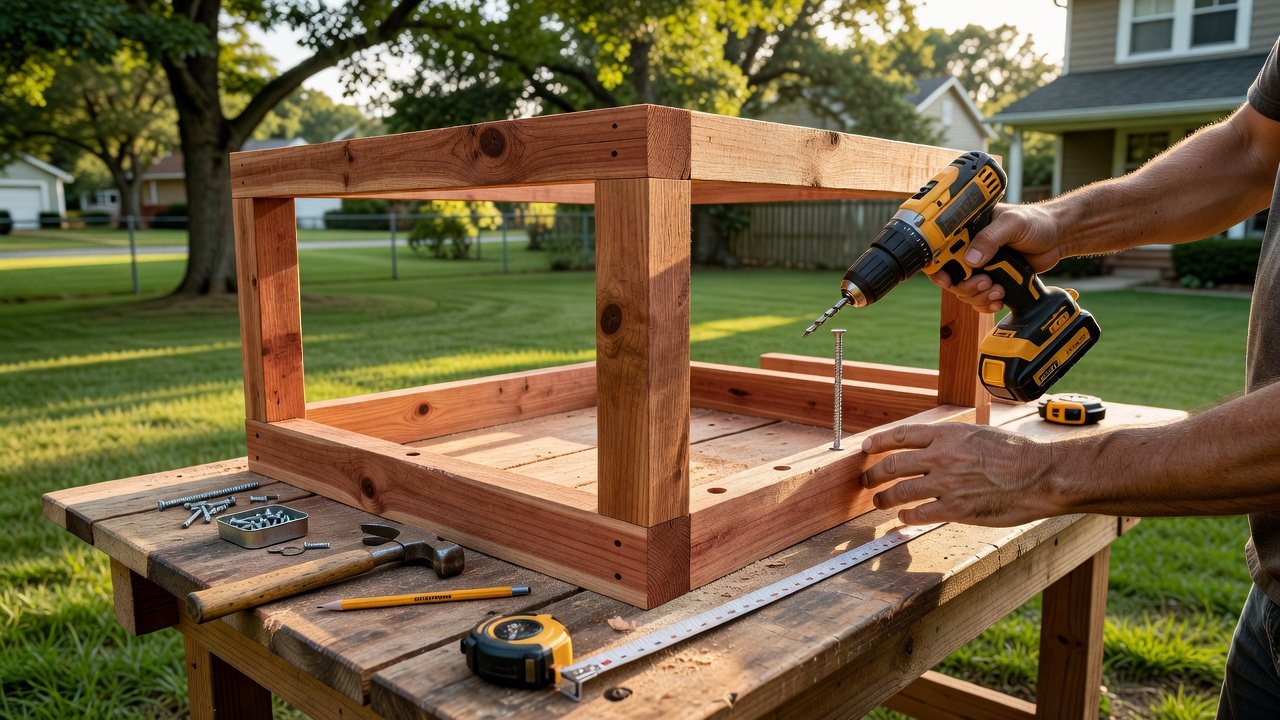
Begin every project by sketching dimensions and gathering supplies. A compact 2-foot by 2-foot freestanding planter suits small patios or entryways. Cut four 2x6 cedar boards to 24 inches for the sides and four 2x4 pieces for the legs. Assemble the frame with 2.5-inch exterior screws, then attach a plywood base drilled with drainage holes spaced six inches apart. For a medium 4-foot by 2-foot design ideal for vegetable gardens, reinforce corners with metal brackets and add internal cleats to support heavier soil loads. Larger 6-foot by 3-foot boxes benefit from dividing walls that create separate planting zones and reduce soil pressure on the sides. Wall-mounted versions start with a sturdy back panel anchored to studs using lag bolts rated for outdoor use. Always pre-drill holes to avoid splitting wood and work on a flat surface. Sand all edges smooth before assembly to prevent splinters during installation and later handling.
Drainage Techniques and Recommended Soil Mixes
Effective drainage remains the most critical factor in plant health. Without it, roots sit in standing water and develop rot. Line the bottom with heavy-duty landscape fabric before adding a two-inch layer of gravel or expanded clay pellets. This creates an air pocket that channels excess moisture outward through pre-drilled holes. Soil composition should match plant needs. A standard mix for herbs and flowers combines equal parts high-quality potting soil, compost, and perlite for aeration. Vegetable planters perform better with added aged manure and a slightly heavier loam base. Cactus or succulent boxes require a fast-draining blend of cactus mix, coarse sand, and crushed granite. Test soil pH annually using an inexpensive kit and adjust with lime or sulfur as needed. Guidance from the USDA helps match mixes to regional growing conditions and 2026 climate trends.
Integrating Planters with Existing Landscaping
Thoughtful placement turns individual boxes into cohesive landscape elements. Position taller units at the back of borders to create depth, and stagger heights along fences or walls. Match stain colors to existing decking or siding for visual continuity. Freestanding boxes can be grouped in clusters to define outdoor rooms, while wall-mounted designs free up ground space in compact urban yards. Consider sight lines from indoor windows and pathways to ensure planters enhance rather than obstruct movement.
Tool Recommendations and Safety Tips for Beginners
Essential tools include a cordless drill with multiple bits, circular saw or miter saw, speed square, clamps, and a tape measure. A power sander speeds finishing work, and a level ensures stable placement on uneven ground. Safety practices include wearing ANSI-rated eye protection, dust masks when cutting treated wood, and gloves to handle rough lumber. Secure all workpieces with clamps before cutting, keep blades sharp, and never operate power tools when fatigued. Common beginner errors include skipping pilot holes, which causes splits, and underestimating the weight of filled boxes, leading to tipping risks. Always build on a stable surface and enlist help when moving completed units.
Before-and-After Fixer-Upper Examples
One suburban patio project replaced cracked concrete borders with three cedar planters filled with lavender and rosemary, instantly creating a welcoming seating area. Another renovation lined a chain-link fence with recycled plastic boxes planted in climbing vines, softening the boundary and adding privacy within a single season. These transformations demonstrate how modest builds deliver dramatic visual impact while increasing property usability.
Comparing Freestanding versus Wall-Mounted Designs
Freestanding planters offer maximum flexibility for seasonal rearrangement and accommodate deeper root systems. They work well on decks, patios, and lawns but occupy floor space. Wall-mounted units excel in narrow side yards or balconies where ground area is limited. They require checking wall structure for load capacity and using corrosion-resistant hardware. Both styles support current trends toward multifunctional outdoor living spaces that blend gardening with relaxation.
Seasonal Maintenance and 2026 Plant Pairings
Regular upkeep extends the life of any planter box. In spring, inspect joints and re-tighten screws, then refresh the top two inches of soil. Summer requires consistent watering and deadheading spent blooms. Autumn calls for removing annuals, cleaning surfaces, and applying a fresh coat of sealant to cedar. Winter protection involves emptying soil from plastic boxes or covering cedar units with breathable fabric to prevent freeze damage. For plant pairings suited to shifting 2026 weather patterns, combine drought-tolerant natives such as coneflower and black-eyed Susan with culinary herbs like thyme and oregano. These groupings attract pollinators while requiring minimal supplemental water once established.
Conclusion
Custom DIY planter boxes represent an achievable way to elevate any outdoor space during a 2026 fixer-upper. By selecting durable materials, following precise construction steps, and applying proper drainage and soil techniques, homeowners create lasting features that integrate beautifully with existing landscapes. With attention to safety, tool selection, and seasonal care, even first-time builders achieve satisfying, professional-looking results that enhance both property value and personal enjoyment for years to come.
No comments yet. Be the first!