 Fixated on Home
Introduction to Outdoor Wood Staining for Fixer-Uppers
Outdoor wood elements like decks, fences, pergolas, and siding on fixer-upper homes demand careful attention to staining and sealing. These surfaces face constant exposure to sun, rain, snow, and temperature swings, which can quickly degrade untreated lumber. This in-depth 2026 guide equips DIY enthusiasts with proven techniques for surface preparation, product selection suited to different climates, and precise application methods that deliver professional results on a budget. Whether reviving a weathered deck or protecting a new fence installation, following these steps ensures your outdoor upgrades withstand the elements for years.
Understanding Surface Preparation
Effective staining begins with meticulous preparation. Remove all dirt, mildew, and previous coatings using a pressure washer set to 1500-2000 PSI or a specialized deck cleaner applied with a stiff brush. Inspect the wood for rot or loose boards and replace any damaged sections before proceeding. Sand the surface starting with 60-grit paper to eliminate rough spots and old finish, then finish with 120-grit for a smooth texture that accepts stain evenly. Rinse thoroughly and allow the wood to dry for at least 48-72 hours, checking moisture levels with a meter if possible to ensure readings below 15 percent. Skipping this drying phase is one of the leading causes of premature peeling and discoloration.
Selecting Products for Durability in Various Climates
Product choice dramatically affects longevity. Penetrating oil-based stains excel in dry or variable climates because they soak deeply into the wood fibers without forming a surface film. Water-based acrylic stains offer easier cleanup and lower VOC emissions, making them ideal for humid coastal regions where mildew resistance is critical. Look for formulas containing UV inhibitors and water repellents. In snowy northern areas, select flexible stains that accommodate expansion and contraction. Always perform a test application on an inconspicuous board to verify color and absorption. For fixer-uppers on tight budgets, semi-transparent stains provide an attractive balance of protection and natural grain visibility, while solid-color options hide imperfections on older lumber.
Essential Tools and Materials
- High-quality exterior stain brushes with angled bristles for cut-in work
- 9-inch rollers with extension poles for large flat surfaces
- Pressure washer or garden hose with adjustable nozzle
- Assorted sandpaper from 60 to 150 grit
- Heavy-duty drop cloths, painter’s tape, and plastic sheeting
- Wood stir sticks, mixing buckets, and disposable gloves
- Safety goggles, dust mask, and knee pads for comfort during long sessions
- Moisture meter and ladder for elevated areas
Step-by-Step Application Methods
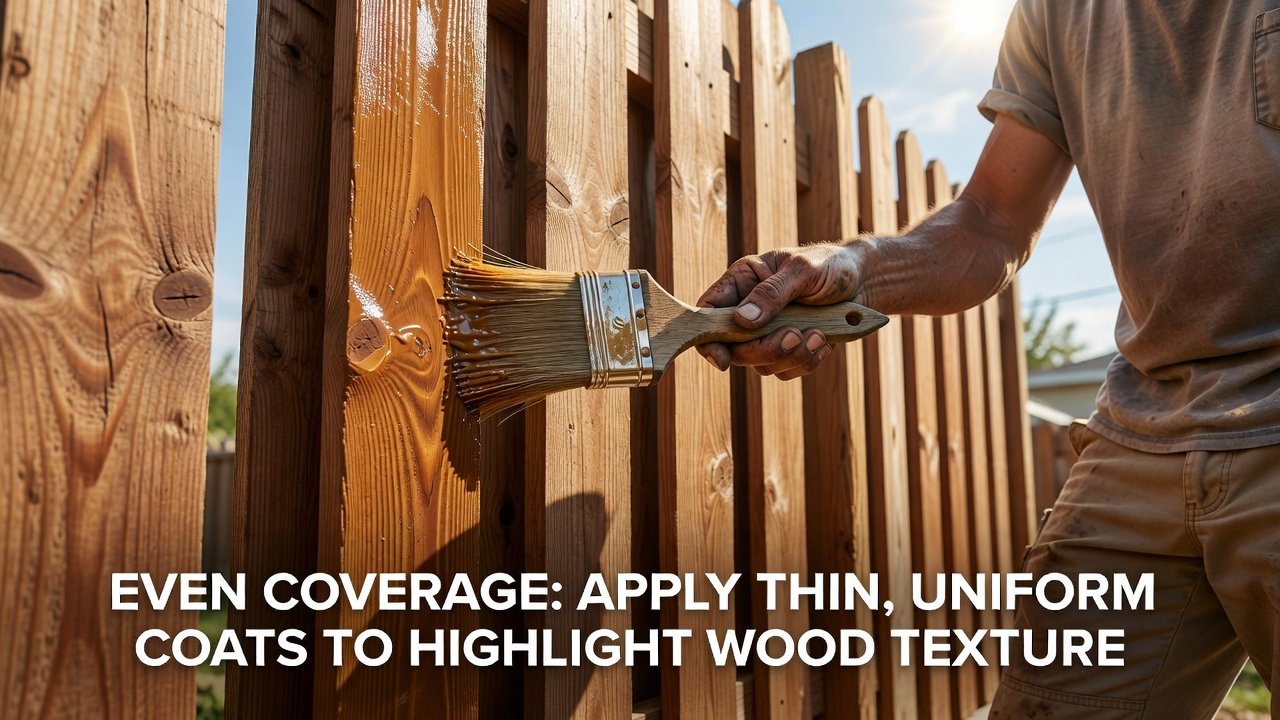
Choose a day with temperatures between 50 and 80 degrees Fahrenheit and low wind to prevent rapid drying or debris contamination. Stir the stain thoroughly for several minutes to redistribute pigments. Begin at the top of vertical surfaces or one end of horizontal boards, applying stain in the direction of the wood grain. Use long, overlapping strokes and maintain a wet edge to avoid lap marks. Apply two thin coats rather than one heavy application; the first coat should be allowed to penetrate for 15-30 minutes before wiping excess, followed by the second coat after the recommended drying interval. Back-brushing immediately after application forces stain into crevices and removes drips. Work in manageable sections of 10-15 square feet to maintain control. For railings and spindles, use a brush to reach all sides evenly.
Common Mistakes to Avoid
Many first-time DIYers rush the process and encounter avoidable problems. Applying stain to damp wood traps moisture and causes blistering within weeks. Staining in full sun or high heat leads to uneven absorption and lap marks that become permanent eyesores. Over-saturating the surface creates a sticky film that collects dirt and attracts insects. Ignoring manufacturer drying times between coats often results in a gummy finish that never fully cures. Another frequent error is neglecting end-grain sealing; these porous areas absorb stain quickly and require extra attention to prevent cracking. Always read the product label for specific climate warnings and recoat windows.
Maintenance Schedules for Long-Lasting Results
Regular upkeep preserves the investment. Conduct a visual inspection every spring and fall, looking for fading, cracking, or water beading failure. Clean surfaces seasonally with a mild soap solution and soft brush to remove pollen and mildew. Reapply a maintenance coat of sealer or stain every 18-36 months depending on sun exposure and foot traffic. In coastal or high-UV zones, plan more frequent touch-ups. Create a simple annual checklist: inspect fasteners, clean gutters to reduce water runoff, and reseal any exposed end cuts. Consistent care can extend the life of the finish by several years.
Practical Examples and Before-and-After Comparisons
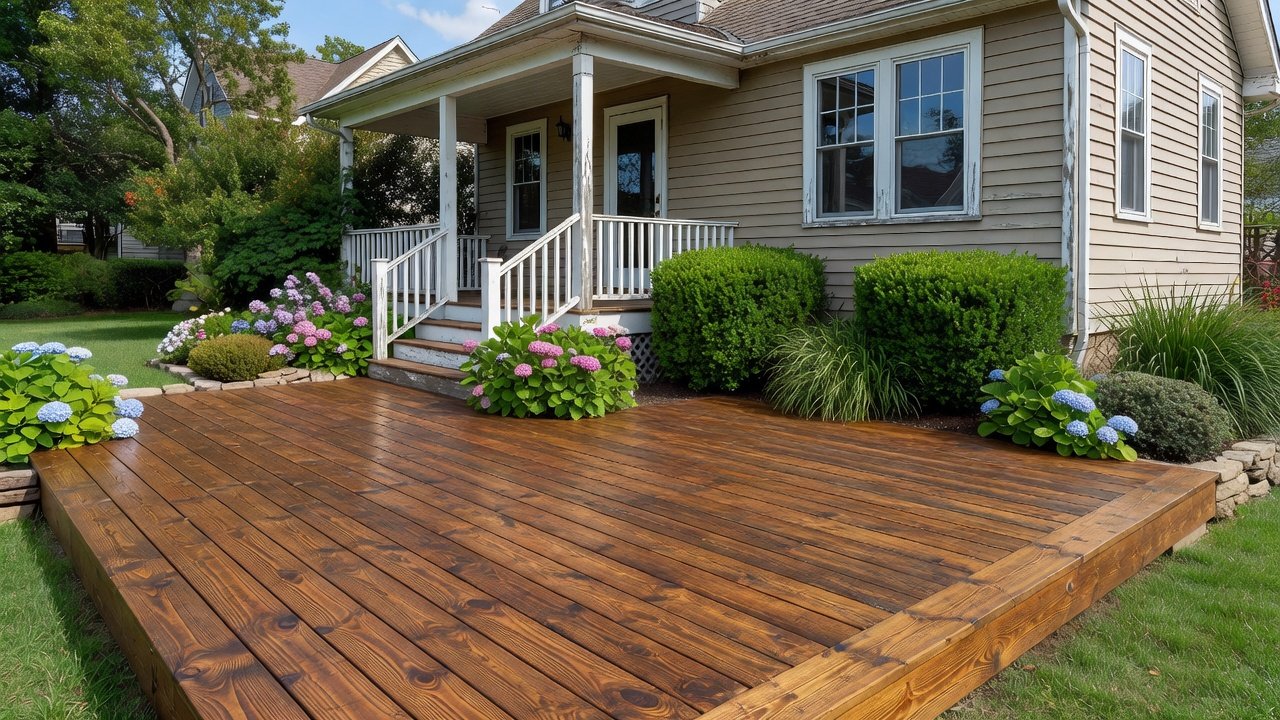
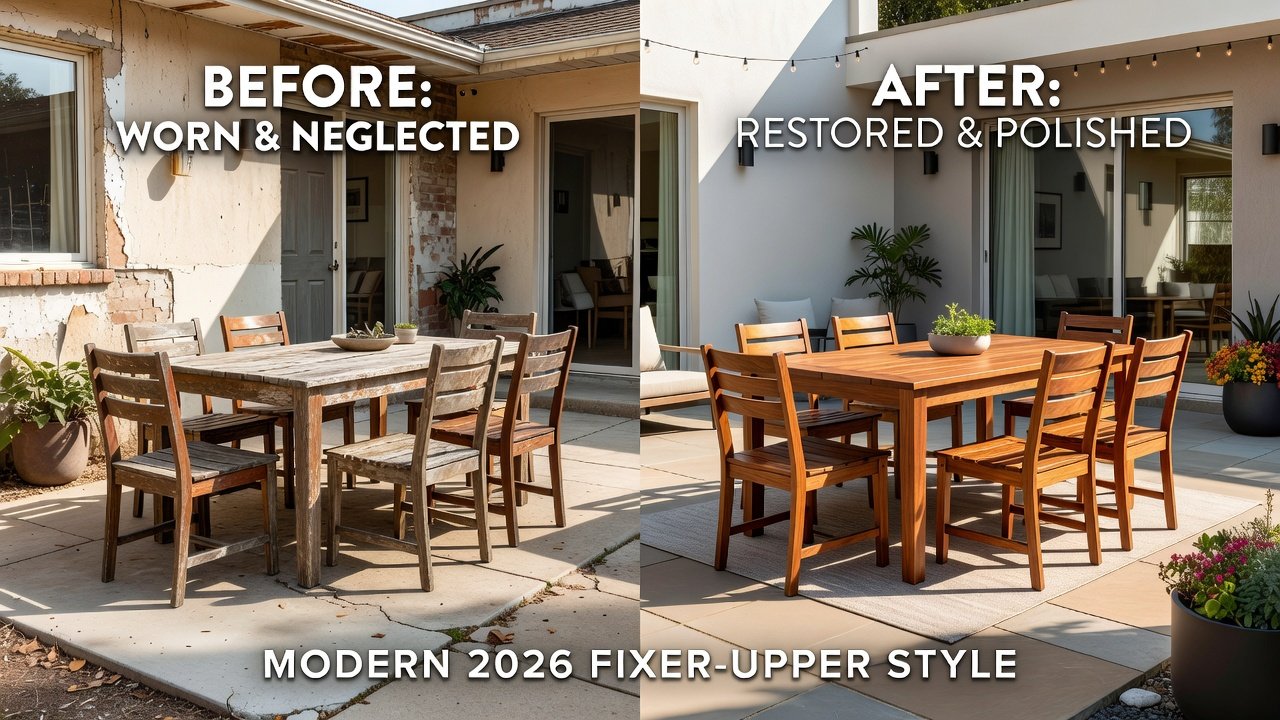
A 1980s cedar deck on a suburban fixer-upper started with gray, splintered boards after years of neglect. Following thorough pressure washing, sanding to 120 grit, and two coats of penetrating oil stain, the surface regained a warm honey tone with visible grain. One year later, the deck showed only minor fading on south-facing sections, easily corrected with a light maintenance coat. In another case, a pine privacy fence received solid-color stain after cleaning; the transformation eliminated visible knots and provided uniform coverage that resisted peeling through two winters. Side-by-side photos revealed dramatic improvement in both appearance and water repellency, demonstrating how proper preparation outperforms quick-fix approaches.
Weather-Related Challenges Addressed in FAQ
How do I stain wood in rainy conditions?
Monitor forecasts closely and apply only when at least 48 hours of dry weather are expected afterward. Fast-drying water-based formulas can help in marginal conditions, but always allow extra curing time.
What if temperatures drop unexpectedly?
Stain adhesion suffers below 50 degrees. Cover the project with tarps and resume work when daytime highs stabilize within the recommended range.
Can I stain during high humidity?
High humidity extends drying times significantly. Choose low-VOC products formulated for such environments and space coats further apart to ensure proper curing.
How does wind affect application?
Strong winds accelerate surface drying and blow debris onto wet stain. Work on calmer days or use temporary windbreaks to maintain even results.
Conclusion
Mastering outdoor wood staining transforms fixer-upper exteriors into durable, attractive assets. By investing time in preparation, selecting climate-appropriate products, and following disciplined application and maintenance routines, homeowners achieve results that rival professional work at a fraction of the cost. Learn more about safe stain handling from the EPA. For climate-specific advice, check National Weather Service resources. Additional guidance on wood preservation is available from the USDA Forest Service.

No comments yet. Be the first!