 Fixated on Home
Introduction to Rainwater Harvesting in Fixer-Upper Yards
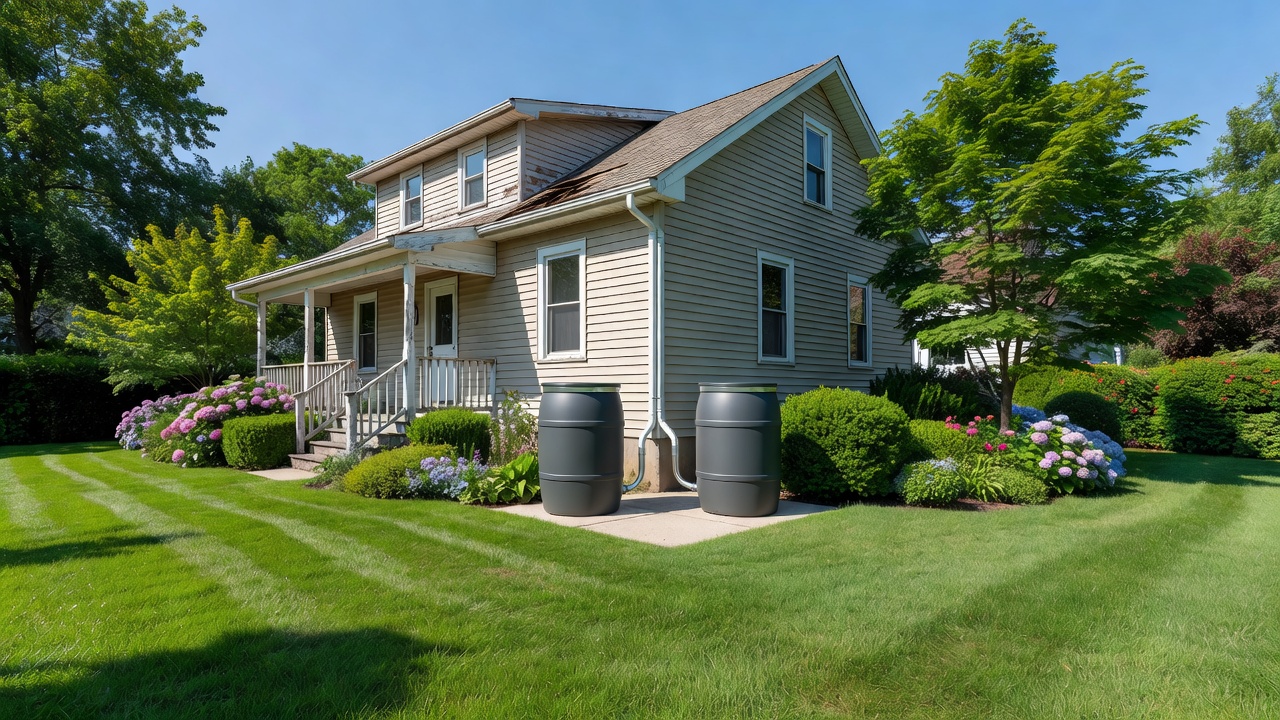
Fixer-upper properties frequently feature neglected outdoor areas that present excellent opportunities for sustainable improvements. Rainwater harvesting collects precipitation from rooftops and channels it into storage containers for reuse in garden irrigation and lawn care. This method supports 2026 eco-friendly renovation trends by decreasing dependence on municipal water sources and promoting responsible resource use on older homes. Homeowners can integrate these systems with existing landscaping to create efficient outdoor spaces that thrive with minimal additional inputs.
Successful projects begin with careful evaluation of roof surfaces, local precipitation patterns, and specific water needs such as vegetable garden support or flower bed maintenance. The result is a self-sufficient yard that enhances property value while aligning with modern environmental priorities.
Key Benefits for Sustainable Outdoor Renovations
Implementing a rainwater system delivers multiple advantages beyond basic water collection. It reduces stormwater runoff that can erode soil or overwhelm local drainage, protects local waterways from excess nutrients, and provides a reliable backup during dry spells. For fixer-uppers, the practice also qualifies as a visible green upgrade that appeals to future buyers interested in low-impact living.
Additional perks include decreased erosion around foundations when overflow is properly directed and the ability to water plants with naturally soft water free of treatment chemicals. Over time, these benefits compound to support healthier soil and more resilient plantings throughout the property.
System Planning and Site Assessment
Start by calculating the effective roof catchment area feeding each downspout. Measure roof dimensions, account for pitch, and identify all collection points. Evaluate soil conditions and existing grading to select stable, accessible storage locations that avoid low-lying flood zones. Map connections to current landscaping elements so harvested water can flow directly to raised beds or newly planted trees without extensive trenching.
Review historical rainfall records for your area to project annual collection potential. This data informs whether a modest barrel array or a larger cistern better matches your renovation timeline and yard size. Include buffer space for future expansion as landscaping evolves.
Material Selection on a Budget
Select UV-stabilized, food-grade plastics or reinforced concrete that resist cracking and chemical leaching. Barrels should feature tight-fitting lids and smooth interiors for easy cleaning. Cistern choices range from above-ground polyethylene tanks to partially buried concrete units depending on available space and aesthetic goals. Essential accessories include debris screens, first-flush diverters, and flexible piping rated for outdoor exposure.
Prioritize components that serve multiple renovation purposes, such as heavy-duty hoses usable for both system distribution and general yard work. Source materials from local suppliers to reduce transport costs and support community businesses while ensuring compatibility with regional building codes.
Step-by-Step Barrel Installation Guide
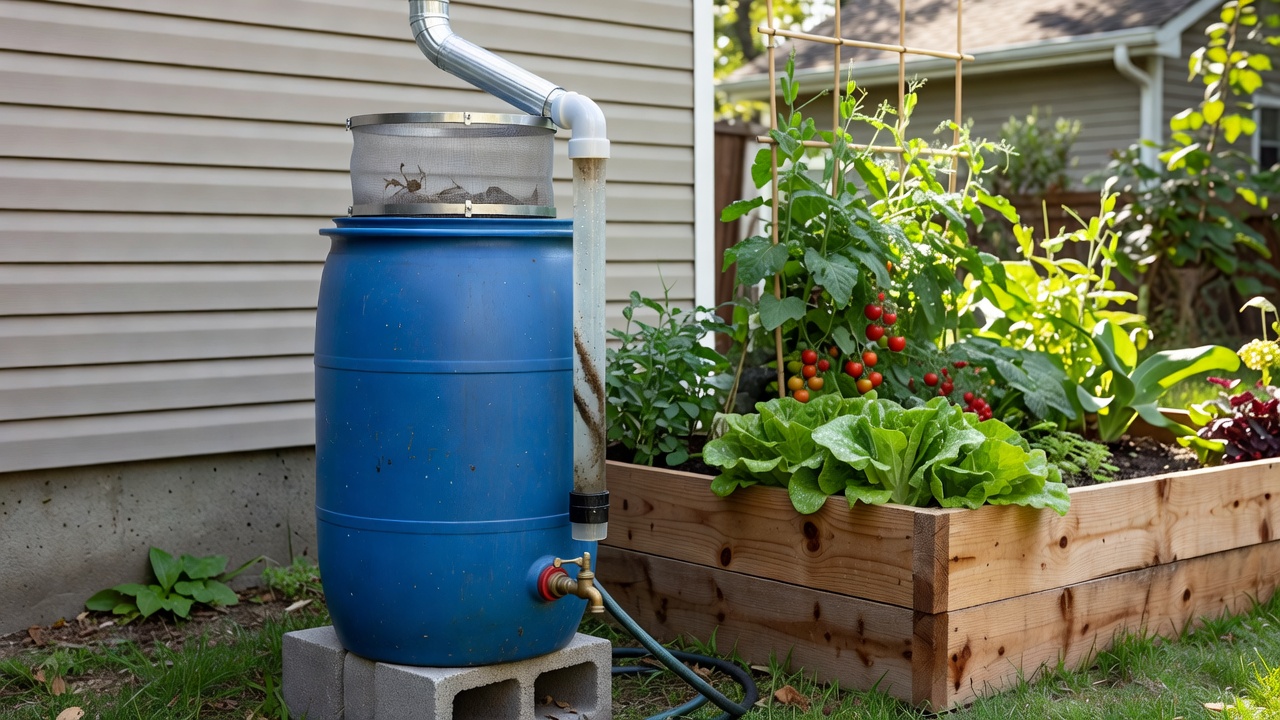
1. Level a sturdy platform made from concrete blocks or treated lumber near the chosen downspout.
2. Attach a diverter kit to redirect flow into the barrel inlet.
3. Secure a fine-mesh screen over the opening and install a shut-off valve at the base.
4. Route overflow piping toward garden zones or a rain garden to prevent foundation damage.
5. Conduct a trial run during rainfall and fine-tune seals and slopes for optimal performance.
Cistern projects follow similar principles but require excavation for stable bases, larger-diameter piping, and optional pump integration for pressurized delivery.
Real-Home Examples Demonstrating Practical Results
A suburban couple converted two 55-gallon barrels connected to their detached garage downspouts, supplying consistent moisture to a new herb garden and eliminating the need for supplemental hose watering during peak summer months. Another homeowner installed a 300-gallon cistern linked to the main house roof, which now supports an expanded vegetable plot and fruit trees on a previously underused side yard. These cases illustrate how modest DIY efforts can yield measurable improvements in plant health and water independence.
DIY Versus Professional Installation Comparison
DIY routes grant complete creative control and allow incremental builds that fit renovation schedules. They require dedicated research time but reward participants with hands-on skills and lower material outlays. Professional services deliver engineered designs, code compliance assistance, and ongoing support, though they involve coordination and higher service expenses. For fixer-uppers, beginning with simple barrels provides valuable experience before scaling to cisterns or automated controls.
Maintenance Routines and Winterization Practices
Inspect screens monthly during wet seasons and remove accumulated leaves or sediment. Check seals and spigots for wear, tightening connections as needed. Before freezing weather, drain all standing water, disconnect hoses, and store barrels upside down or indoors. Larger cisterns benefit from insulated inlet pipes and clear overflow channels to handle snowmelt safely. Spring cleaning restores full functionality ahead of the growing season.
Addressing Zoning Rules and Common Pitfalls
Verify municipal regulations regarding maximum storage volumes and required setbacks from property lines or structures. Some areas mandate permits for systems above a certain capacity or restrict placement near easements. Avoid uncovered containers that encourage mosquito breeding and ensure overflow paths do not direct water onto neighboring lots. Early consultation with local planning offices prevents costly rework and maintains good relations with neighbors and homeowners associations.
Tools Needed and Safety Considerations
- Level, measuring tape, and utility knife for precise cuts and positioning.
- Heavy-duty gloves and eye protection during assembly.
- Stable ladders when working near roof edges.
- Basic plumbing fittings and sealant rated for exterior use.
Always work on stable surfaces and enlist help when moving heavy tanks to avoid strain or tipping accidents.
Scaling the System for Larger Properties
Properties with expansive roofs or multiple outbuildings can link several barrels through shared piping or upgrade to interconnected cistern arrays. Add submersible pumps for gravity-challenged sites and incorporate drip irrigation timers to distribute water efficiently across large garden zones. Phased expansion lets homeowners match system growth to landscaping progress without overwhelming initial budgets.
Conclusion
DIY rainwater harvesting offers fixer-upper owners a practical, rewarding way to enhance sustainability while addressing real yard challenges. Thoughtful planning, quality materials, and consistent maintenance ensure long-term success and meaningful water conservation benefits. By following these steps and respecting local guidelines, homeowners can create resilient outdoor spaces that support both their property and the environment.
Learn more from authoritative sources including EPA water conservation guidance, USDA sustainable practices resources, and USGS water data tools.


No comments yet. Be the first!