 Fixated on Home
Introduction to DIY Treehouse Builds for Outdoor Renovation
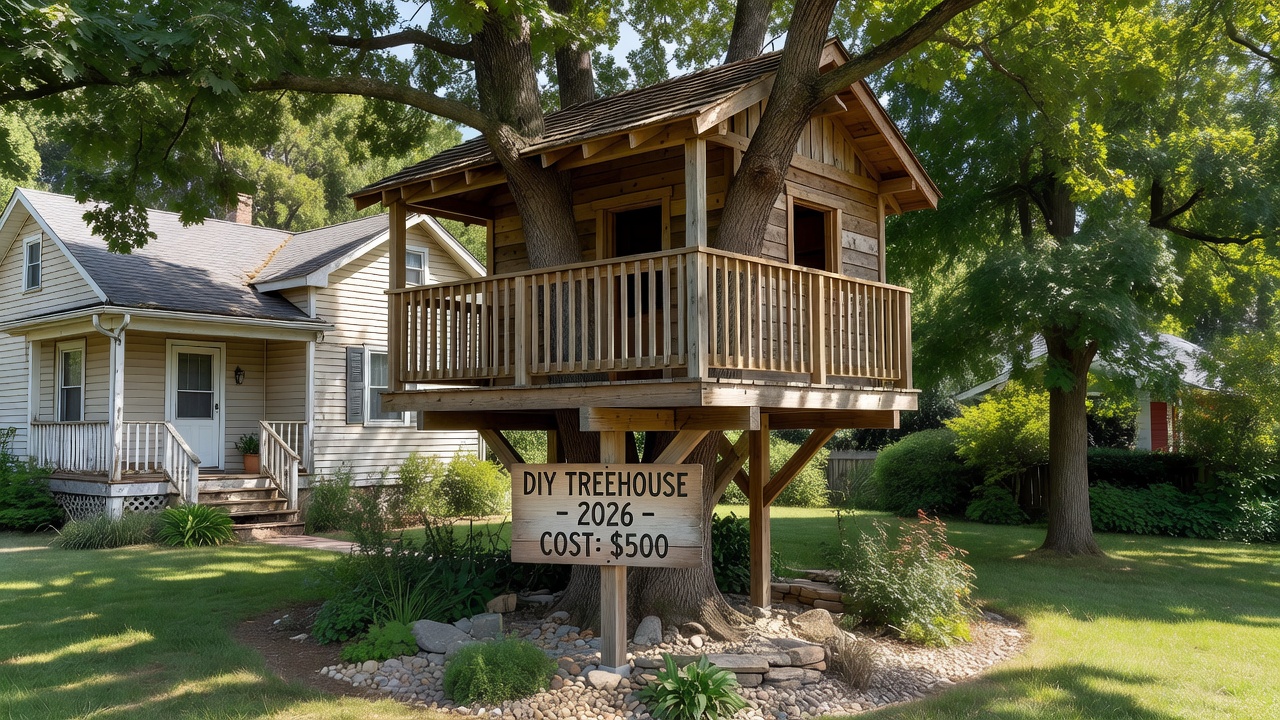
Homeowners tackling fixer-uppers often seek unique ways to enhance their outdoor spaces through creative DIY projects and thoughtful home improvement. A treehouse offers a compelling backyard feature that boosts property appeal while providing functional recreation and family enjoyment. This comprehensive guide focuses on safe, durable construction suitable for beginners interested in outdoor renovation. Building a treehouse integrates seamlessly with existing landscaping and supports broader home improvement goals on a fixer-upper property. With proper planning, you can create a structure that withstands weather and adds lasting value to your home.
Treehouses have grown in popularity as versatile additions that combine play, relaxation, and even small office potential. In 2026, many homeowners are turning to these projects to maximize underutilized yard space without major structural changes to the main house. The key lies in careful site selection, material choices that prioritize longevity, and adherence to safety protocols throughout the build process.
Site Assessment for Your Treehouse Project
Start by evaluating your yard thoroughly. Choose a healthy, mature tree with a trunk diameter of at least 12 inches and strong branch structure. Assess soil stability, sun exposure, prevailing wind patterns, and proximity to utilities or property lines. Measure the area carefully to ensure the treehouse fits without damaging roots or branches. Walk the site at different times of day to observe light and drainage patterns. Consider slope and drainage to prevent water pooling around the base, which could undermine foundations over time. This initial assessment ensures structural integrity and long-term safety from the outset of any outdoor renovation.
Inspect the tree for signs of disease, decay, or pest infestation. Consulting an arborist early can prevent costly mistakes later. Document the tree species and growth habits, as some trees like oaks provide excellent support while others may require additional bracing.
Structural Planning and Safety Considerations
Design a simple platform supported primarily by the tree and supplemented with additional posts if needed for larger designs. Use load calculations for flooring, walls, and potential occupancy to determine beam sizes and spacing. Prioritize safety by reviewing local building codes and setback requirements before breaking ground. Always follow guidelines from OSHA for fall protection and proper tool use during construction. Wear protective gear including gloves, goggles, and hard hats, and work with at least one partner for heavier tasks. Incorporate railings, non-slip surfaces, and secure access ladders or stairs from the beginning.
Material Selection for Durability
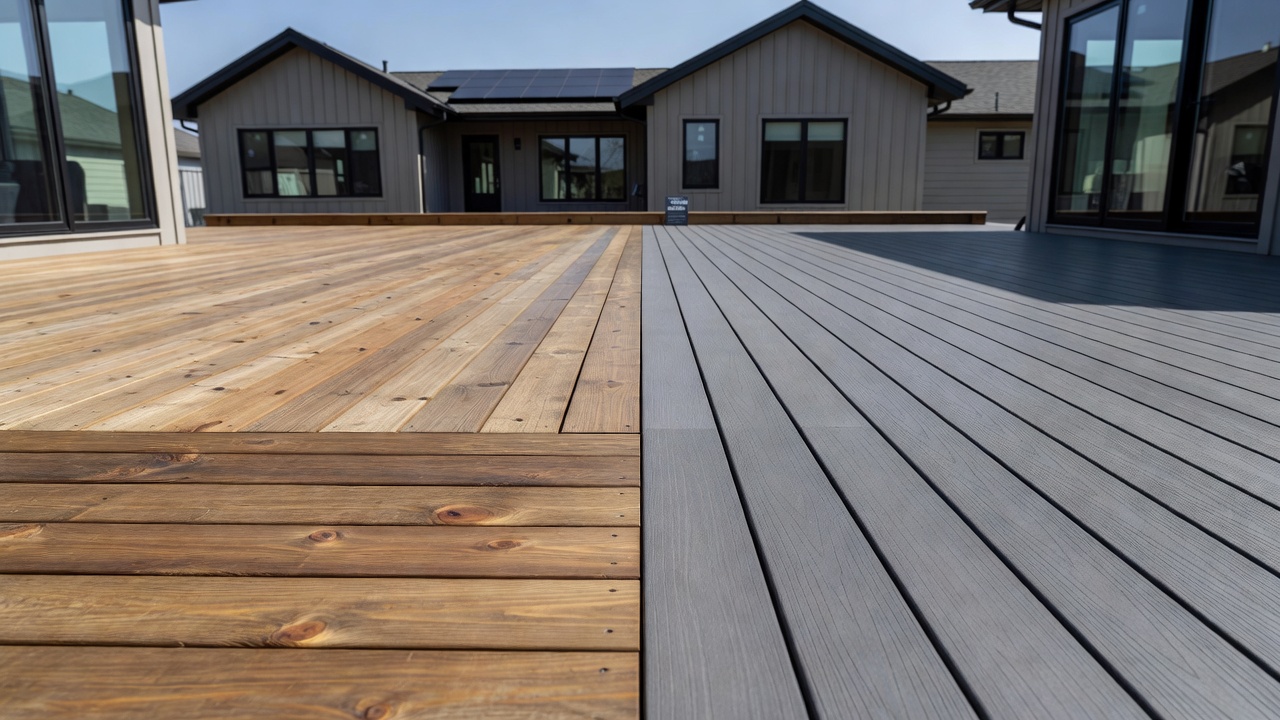
Compare wood types carefully for outdoor use in varying climates. Pressure-treated pine offers affordability and solid rot resistance, making it ideal for budget-conscious builds. Cedar provides natural oils that repel insects and moisture while delivering an attractive appearance, though it typically carries a higher price point. Redwood stands out as a premium option known for exceptional longevity and dimensional stability. For 2026 projects, select materials explicitly rated for exterior exposure and ground contact where applicable. Avoid untreated lumber entirely to prevent premature decay. Factor in high-quality fasteners such as galvanized or stainless steel screws and brackets for superior corrosion resistance. Consider eco-friendly alternatives like composite decking for flooring if maintenance reduction is a priority.
Recommended Tools for the Build
Essential tools include a circular saw for precise cuts, a cordless drill for assembly, a reliable level for accuracy, a tape measure, and a sturdy ladder rated for your weight. Add a post-hole digger for foundations, a framing square, and a sander for finishing surfaces. Rent specialized items like a nail gun or impact driver if the project timeline is tight. Keep a first-aid kit nearby and organize tools in a dedicated workspace to maintain efficiency throughout the DIY process.
Step-by-Step Construction Phases
Foundations and Support
Install concrete footings or use tree-friendly brackets that accommodate growth. Secure main beams to the tree with appropriately sized lag bolts, allowing space for expansion. This base distributes weight evenly and minimizes stress on the living tree. Test all connections for stability before proceeding.
Flooring Installation
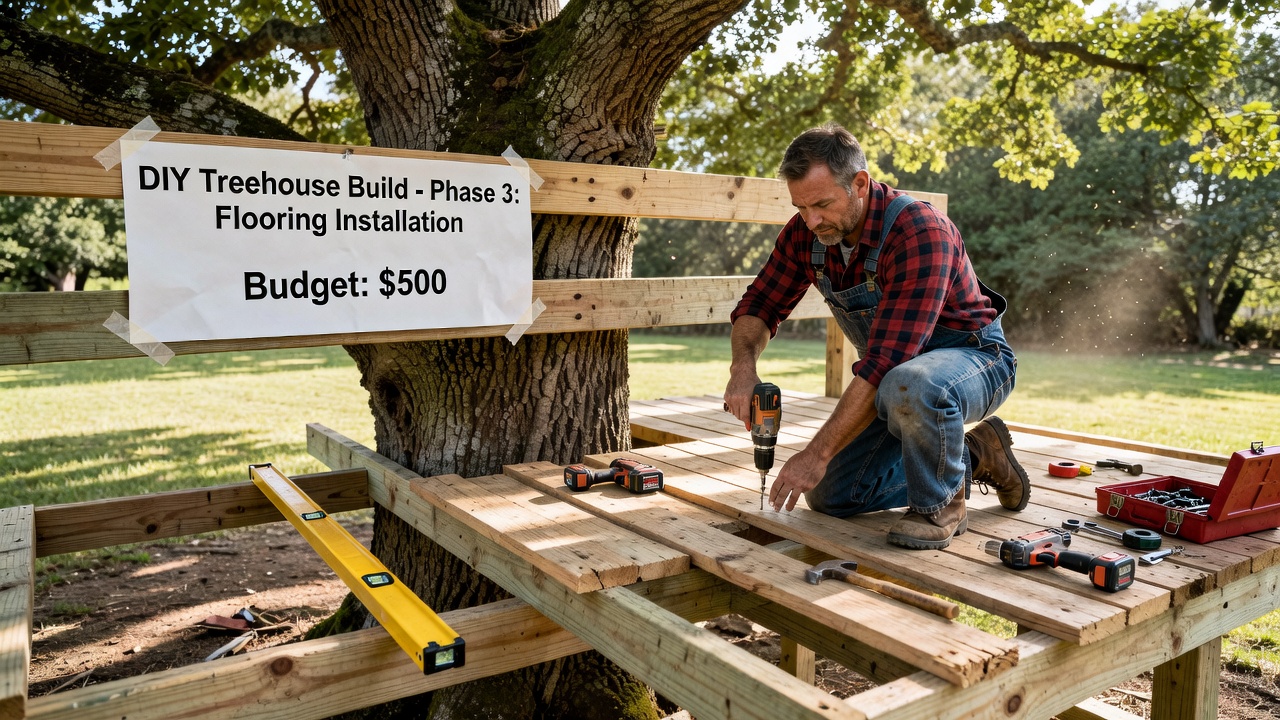
Lay joists perpendicular to supports, then attach deck boards with consistent spacing for drainage and expansion. Use screws rather than nails for a more secure and adjustable surface. Check for level frequently and reinforce any high-traffic areas with additional blocking.
Walls and Railings
Frame walls with 2x4 studs for stability and attach sheathing if enclosing the space. Add railings at least 36 inches high with balusters spaced no more than 4 inches apart. This configuration prevents falls and creates a secure play or relaxation area suitable for all ages.
Roofing for Weatherproofing
Install a sloped roof using shingles, metal panels, or corrugated materials. Extend overhangs to direct water away from walls and flooring. Apply sealants and flashing at all joints to protect against rain, snow, and UV exposure common in 2026 weather patterns. Proper weatherproofing extends the life of your treehouse significantly.
Budget Breakdowns and Cost-Saving Tips
Focus on budget-conscious builds by sourcing reclaimed wood from local suppliers and prioritizing essential structural elements first. Shop seasonal sales and reuse existing landscaping materials such as stones or logs for pathways and edging. Track every expense for lumber, hardware, finishes, and tools to maintain control. Many successful 2026 DIY projects stayed well under $500 as of 2026-08-25 by planning purchases carefully and completing work in phases.
Integration with Existing Landscaping
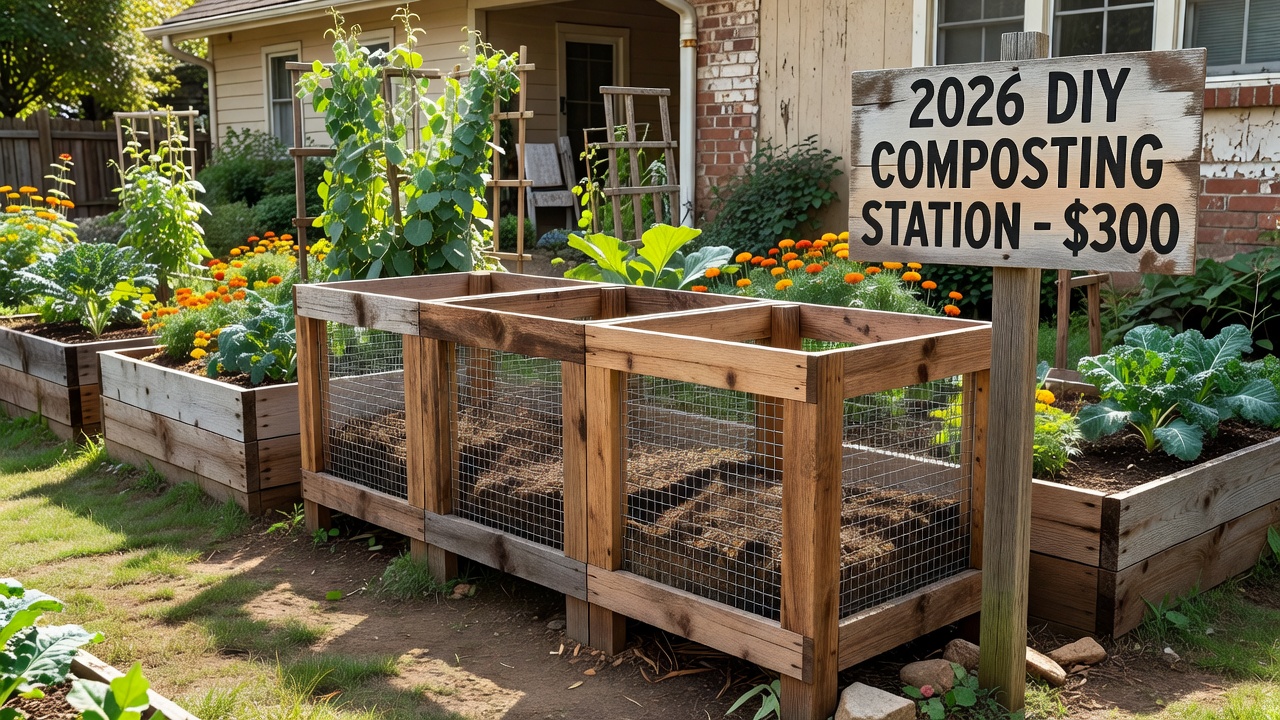
Blend the treehouse naturally into your yard by planting native shrubs and ground cover around the base. Add mulch paths, solar lighting, and climbing vines on nearby trellises to create a cohesive outdoor environment. This approach enhances the overall renovation without major disruption to established gardens or trees.
Real-World Examples from 2026 Projects
Recent DIY builds in suburban fixer-uppers demonstrate practical outcomes. One family completed an 8x8 cedar platform in two weekends using pressure-treated supports, resulting in a structure that withstood intense summer storms. Another project incorporated recycled decking and integrated the treehouse with raised garden beds, creating a multifunctional space for both children and adults. These examples highlight how simple designs can deliver high impact when executed with attention to safety and materials.
Mistakes to Avoid
- Skipping tree health evaluation, which can lead to structural failure.
- Using interior-grade fasteners that rust quickly in outdoor conditions.
- Ignoring local permit requirements, resulting in removal orders or fines.
- Overloading the design beyond the tree's natural capacity without proper engineering.
FAQ: Common Challenges Like Permits and Weatherproofing
- Do I need permits? Check local regulations early; many areas require them for elevated structures over a certain height or square footage.
- How do I weatherproof effectively? Apply quality sealants annually, choose rot-resistant woods, and elevate the floor slightly for airflow underneath.
- What if the tree is unsuitable? Consider a ground-supported design or consult an arborist; resources like USDA provide guidance on tree care and selection.
- How long does construction typically take? Most beginner-friendly builds require 3-5 weekends depending on experience and weather.
- Can I add electricity later? Plan conduit routes during initial construction and consult licensed electricians for safe integration.
Conclusion
A well-planned treehouse elevates any fixer-upper's outdoor space and delivers years of enjoyment. Follow these detailed steps for a safe, functional result that supports your home improvement vision in 2026 and beyond. With patience and attention to detail, your DIY treehouse project can become a standout feature of your property.
No comments yet. Be the first!