 Fixated on Home
Introduction to Outdoor Tiling on Fixer-Uppers
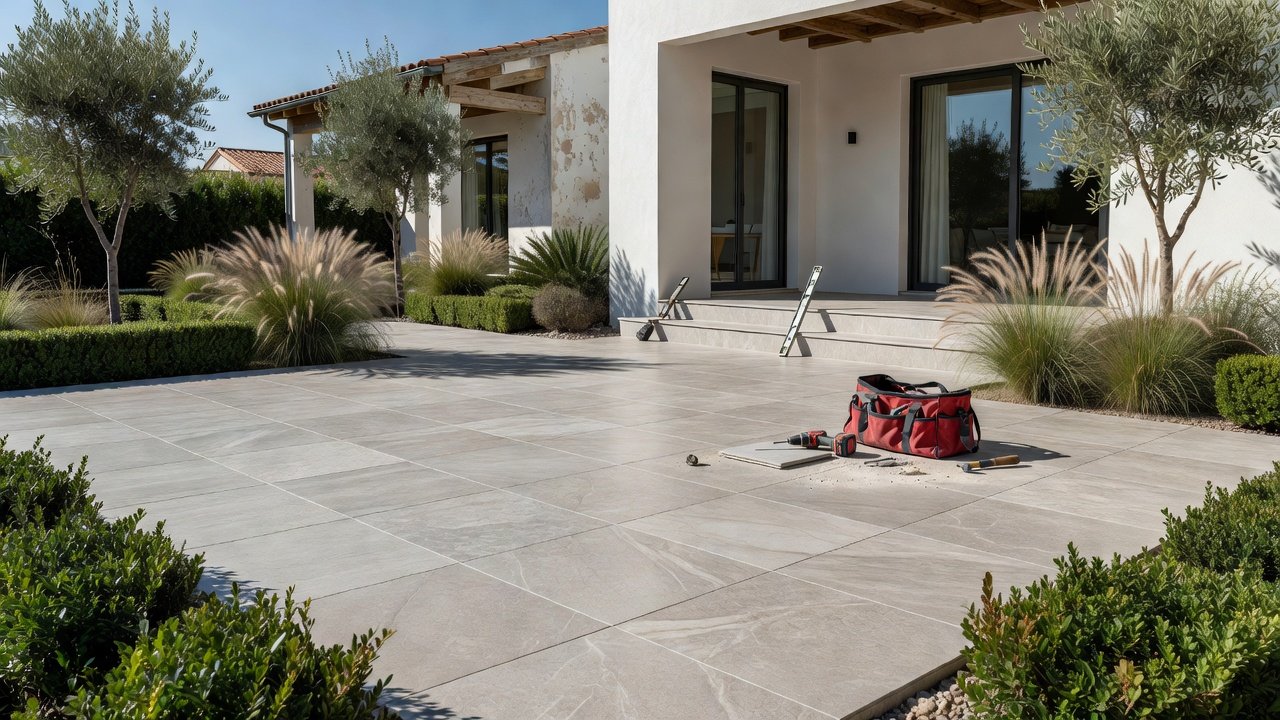
Transforming outdoor spaces like patios and walkways is a popular project for 2026 fixer-uppers. Homeowners are turning to DIY methods to create durable, attractive surfaces that withstand weather while aligning with sustainable trends. This comprehensive guide covers everything from material selection to installation and maintenance for long-term results. Outdoor tiling adds value to properties by improving curb appeal and functionality, especially on older homes needing updates. Whether dealing with cracked concrete or uneven ground, mastering these techniques allows for professional-quality outcomes without hiring contractors. Focus on 2026 priorities such as eco-friendly materials and finishes that require minimal upkeep over time. By following detailed steps and understanding key considerations, you can achieve a surface that lasts for decades while supporting environmental goals.
Comparing Porcelain and Natural Stone Materials
When choosing tiles, porcelain offers excellent durability and low maintenance, making it ideal for high-traffic areas. It resists stains, moisture, and temperature fluctuations better than many alternatives. Natural stone provides a premium aesthetic with unique textures and colors but requires more sealing and can be prone to etching from spills. Consider climate factors, as porcelain resists freezing better in many regions while natural stone like slate or granite may need additional treatments. For fixer-uppers, evaluate the existing environment: porcelain suits modern looks and heavy use, whereas stone fits rustic styles. Both options can incorporate sustainable sourcing when selected from responsible suppliers. Weigh factors like slip resistance for safety and color retention under sunlight exposure. Homeowners often find porcelain easier for beginners due to consistent sizing and lighter weight during handling.
Essential Surface Preparation Steps
Proper preparation ensures longevity and prevents common failures like cracking or shifting. Start by assessing the existing base for stability, then clean thoroughly and apply a suitable underlayment. Level the surface carefully to prevent water pooling, which leads to damage over seasons. Remove debris, old adhesives, and vegetation before testing for slope using a long level or laser tool. In areas with poor drainage, excavate and add compacted gravel layers for a solid foundation. Apply a waterproof membrane where needed to protect against ground moisture. This phase often takes the most time but directly impacts the final quality. For uneven fixer-upper sites, self-leveling compounds can create a flat plane ready for tiling. Always check local soil conditions and frost lines to avoid future heaving.
Recommended Tools for the Project
Invest in quality tools to improve efficiency and safety throughout the process. Essential items include a tile cutter and wet saw for precise cuts, a level and spacers for even installation, a notched trowel and grout float for application, and rubber mallets for setting tiles firmly. Safety gear such as gloves, goggles, knee pads, and dust masks protects during cutting and mixing. Additional helpful tools are a mixing drill for mortar, measuring tapes, chalk lines for layout, and sponges for cleanup. Rent specialized equipment like large wet saws if the project scale justifies it. Proper tool maintenance extends their life and ensures accurate work every step of the way. Beginners benefit from watching demonstration videos on tool handling before starting.
Weatherproofing Methods for Durability
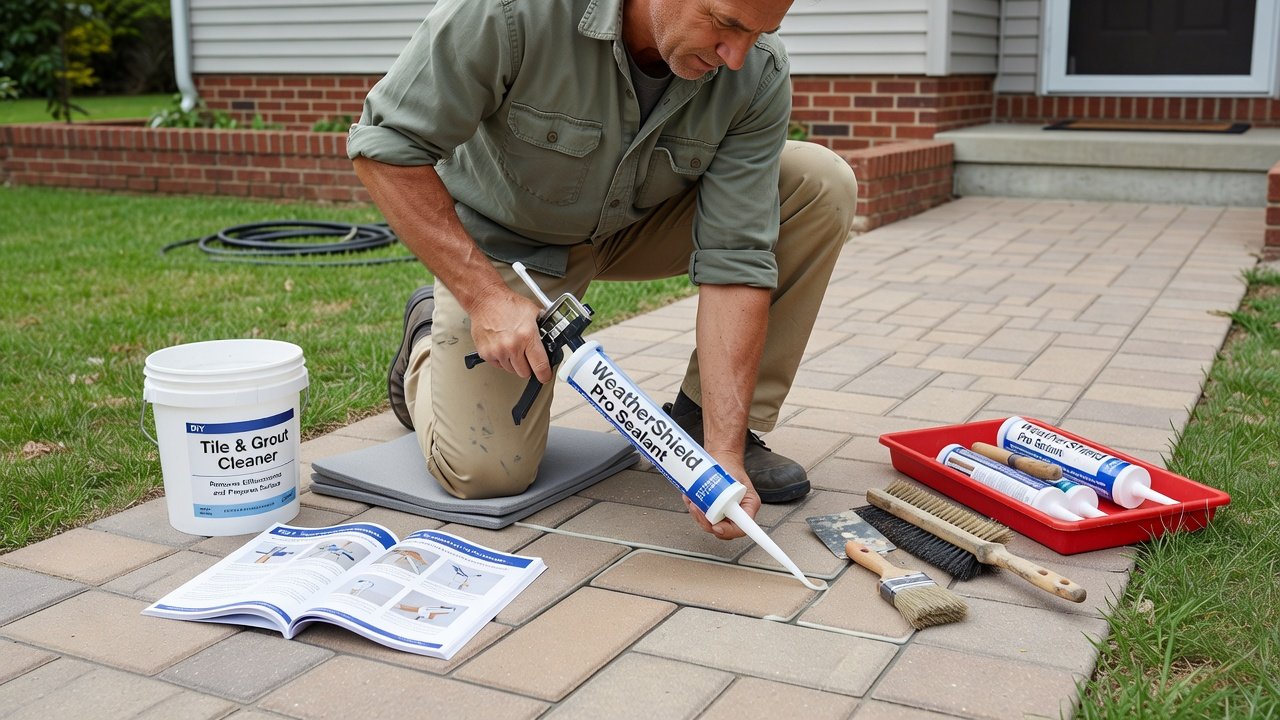
Apply sealants designed for outdoor use to protect against moisture and UV exposure. Incorporate proper drainage slopes during installation, typically a minimum of one-quarter inch per foot. These steps are critical in 2026 for low-maintenance finishes that resist mold, cracking, and fading. Use exterior-grade thinset and grout formulated for freeze-thaw cycles. Consider expansion joints every few feet to accommodate temperature changes. For added protection, install edging or borders that direct water away from the tiled area. Regular inspections after heavy weather help identify issues early. Sustainable sealants with low VOCs align with current environmental standards and reduce indoor-outdoor air quality concerns.
Numbered Installation Steps
- Plan the layout and mark reference lines using chalk and a tape measure to ensure balanced tile placement and minimize cuts at edges.
- Mix and apply thinset mortar evenly with a notched trowel, working in small sections to maintain workable consistency and proper adhesion.
- Place tiles with consistent spacing using plastic spacers, pressing firmly and checking level frequently to avoid lippage between adjacent pieces.
- Cut tiles to fit edges as needed with a wet saw or manual cutter, measuring twice and supporting the tile fully during the process for clean breaks.
- Allow curing time before grouting according to manufacturer guidelines, typically 24 to 48 hours depending on temperature and humidity conditions.
- Apply grout and clean excess with a float and damp sponge, working diagonally to fill joints completely without disturbing the tile positions.
- Seal the finished surface once fully dry, applying multiple coats of outdoor-rated sealer for maximum protection against stains and weathering.
Real-World Project Examples
Many homeowners report successful patio transformations using sustainable sourced porcelain tiles on older properties. One example involved converting a cracked walkway into a durable tiled surface with integrated drainage features for better water management. Another project focused on a backyard patio using natural stone accents for visual interest while prioritizing low-maintenance sealers. These efforts highlight how careful planning leads to surfaces that enhance usability year-round. Focus on quality materials for results that last decades with minimal upkeep, often improving overall property appeal and daily enjoyment.
2026 Trends: Sustainable Sourcing and Low-Maintenance Finishes
Emphasize eco-friendly options from responsible suppliers that minimize environmental impact through recycled content or ethical quarrying practices. Low-maintenance finishes reduce long-term effort, supporting both environmental goals and practical living. Explore resources on green building at EPA resources for guidance on material choices. Trends also include modular systems and slip-resistant textures suited to varying climates. Integrating native landscaping around tiled areas further promotes sustainability. For energy-efficient outdoor lighting paired with tiling, check energy efficiency tips. These approaches ensure projects remain relevant and cost-effective over time.
Common Mistakes to Avoid
Skipping proper base compaction often leads to settling and cracked tiles within the first year. Using interior-grade products outdoors causes premature failure from moisture and UV damage. Ignoring expansion gaps results in buckling during temperature swings. Always follow manufacturer instructions precisely and test small areas first when trying new materials or techniques.
Maintenance Tips for Long-Term Durability
Regular sweeping and occasional pressure washing keep surfaces clean without harsh chemicals. Reapply sealer every one to two years based on exposure levels. Inspect joints for wear and repair promptly to prevent water intrusion. These habits preserve appearance and structural integrity for many seasons.
Troubleshooting FAQ
What if tiles crack after installation?
Check for inadequate base preparation or improper curing times. Reassess the foundation, remove damaged sections, and replace affected tiles promptly with fresh mortar.
How to handle uneven surfaces?
Use self-leveling compounds during preparation for a smooth result, allowing full cure before proceeding with tile placement.
Best practices for cold climates?
Select frost-resistant materials and ensure excellent drainage with adequate slopes and expansion provisions.
Dealing with grout discoloration?
Apply a quality sealer early and clean spills immediately to maintain consistent color over years of use.
Conclusion
Mastering these techniques empowers homeowners to enhance their fixer-uppers effectively. With attention to materials, preparation, and trends, outdoor tiling projects deliver lasting value and beauty. For additional guidance on safety protocols during DIY work, refer to OSHA guidelines. Careful execution transforms underused spaces into functional outdoor living areas that stand the test of time.
No comments yet. Be the first!